Surogate DMS quickstart
This page takes you from signing in to a signed document that you can find again: you file a building permit, fill in its metadata, validate it, find it with Search, mention a colleague and ask for a signature. It takes about ten minutes.
The pictures were taken in a demo city hall, Example City Hall, with made-up people and documents. You are Ioana Dobre, an urban planning inspector; your colleague is Mihai Stan, the Secretary General.
You need:
- the address of your institution’s DMS and the e-mail address and password of your account (ask your administrator);
- the right to file documents in the folder Building permits 2026, which your administrator grants;
- a file to upload, such as a PDF.
1. Sign in
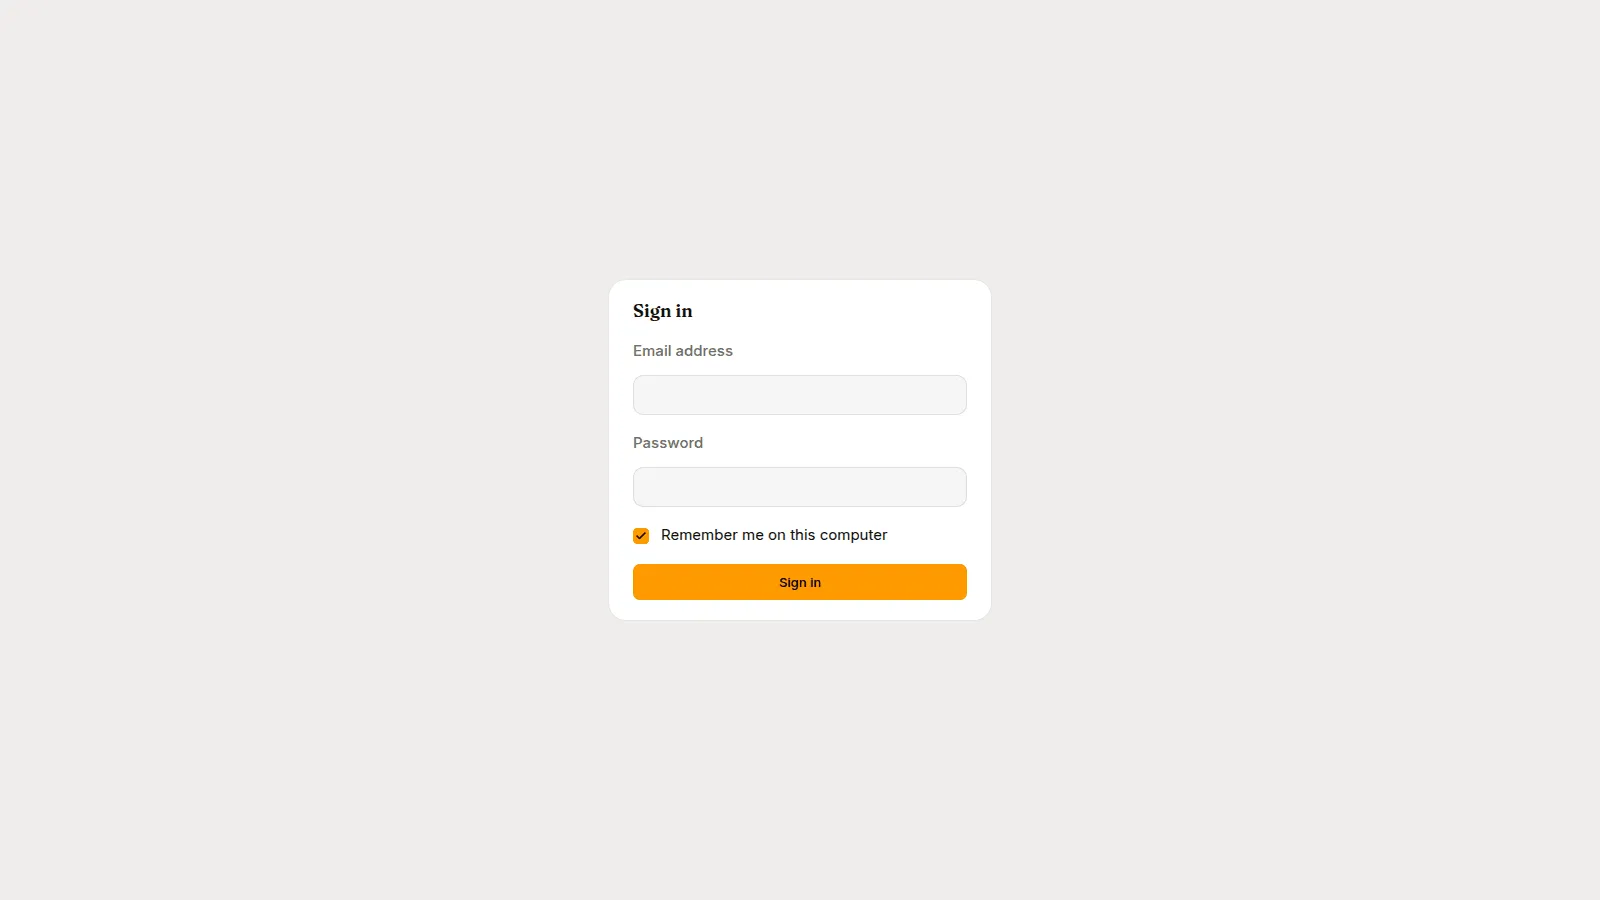
Section titled “1. Sign in”Open the address, type your Email address and Password, and press Sign in. Leave Remember me on this computer ticked if the computer is yours.
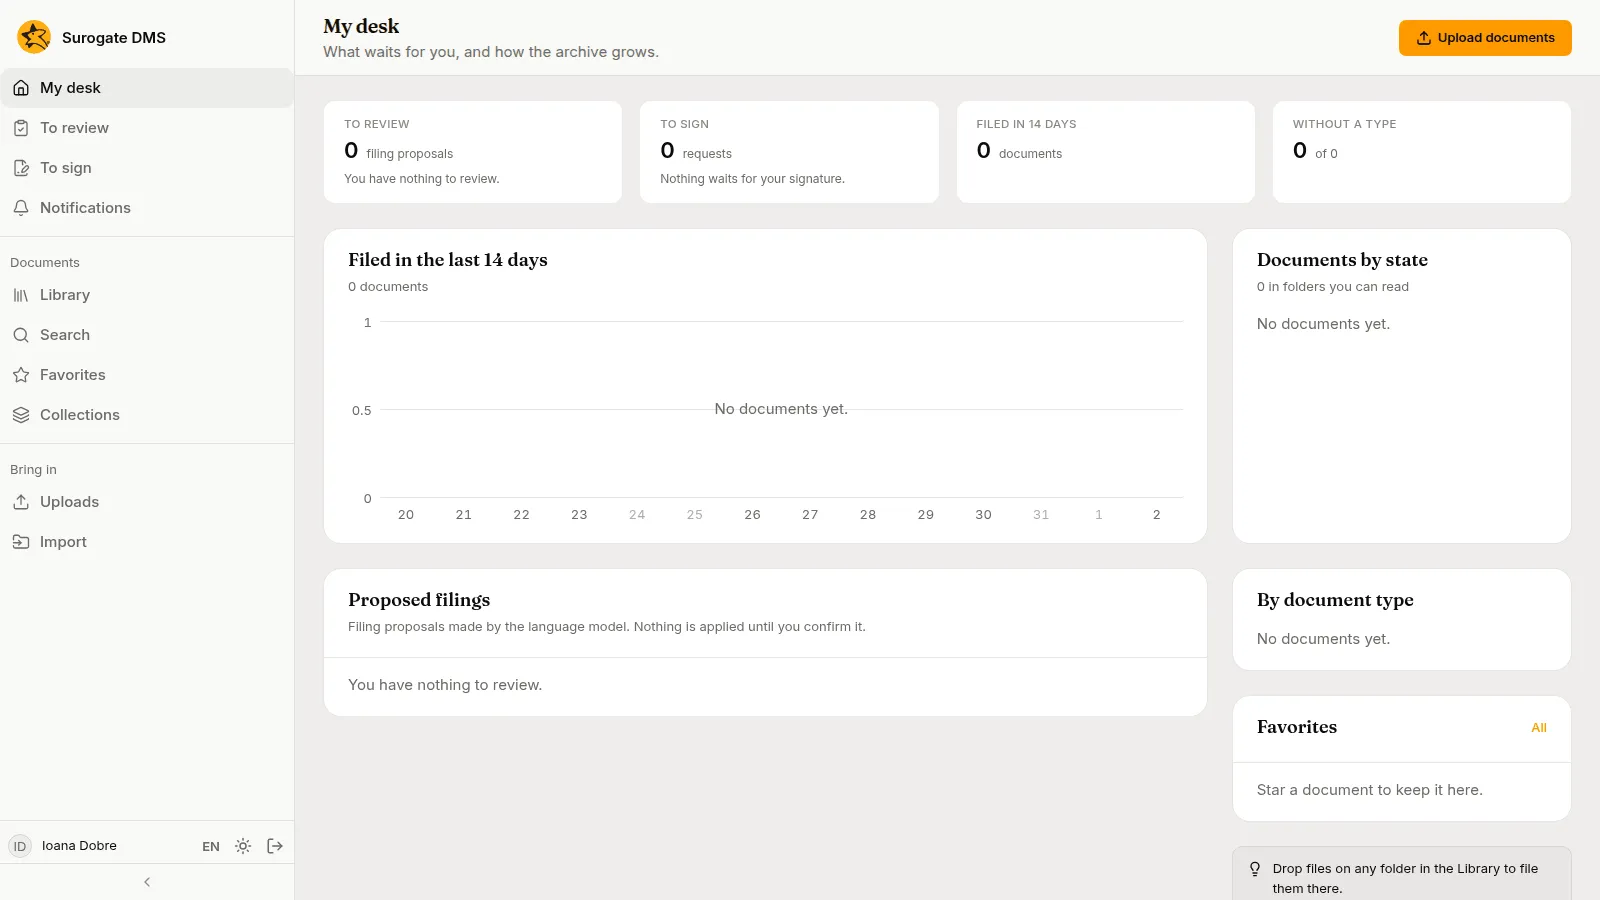
You land on My desk. On a new account it is empty: there is nothing to review or sign, and the sidebar lists only the pages your roles allow.
2. Open the library
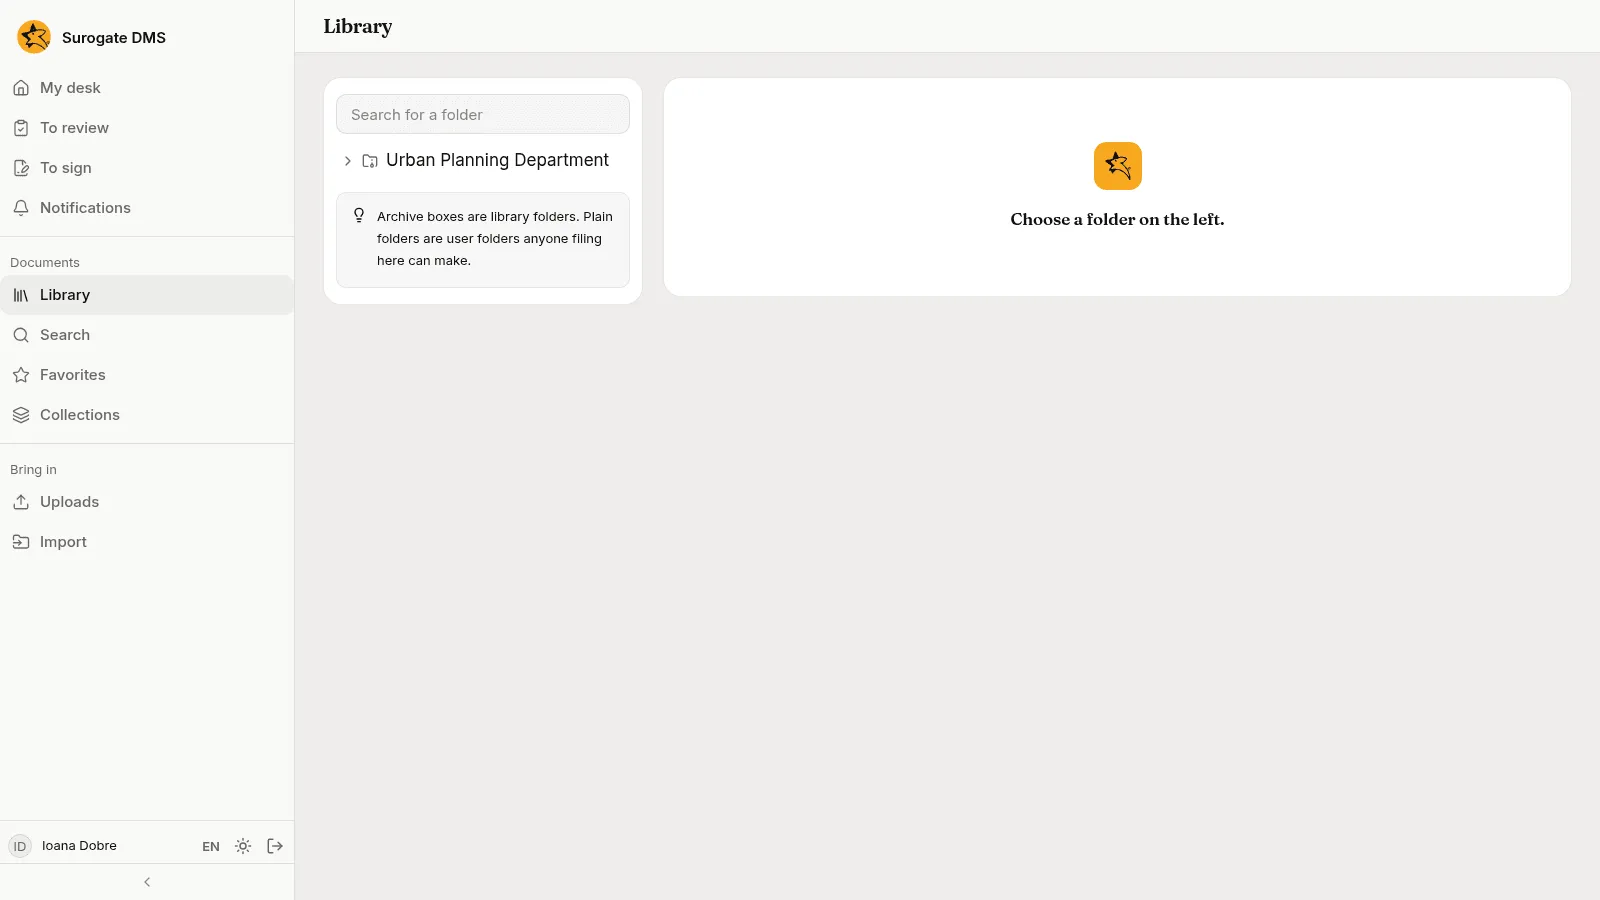
Section titled “2. Open the library”Choose Library in the sidebar. You see the folders you may read.
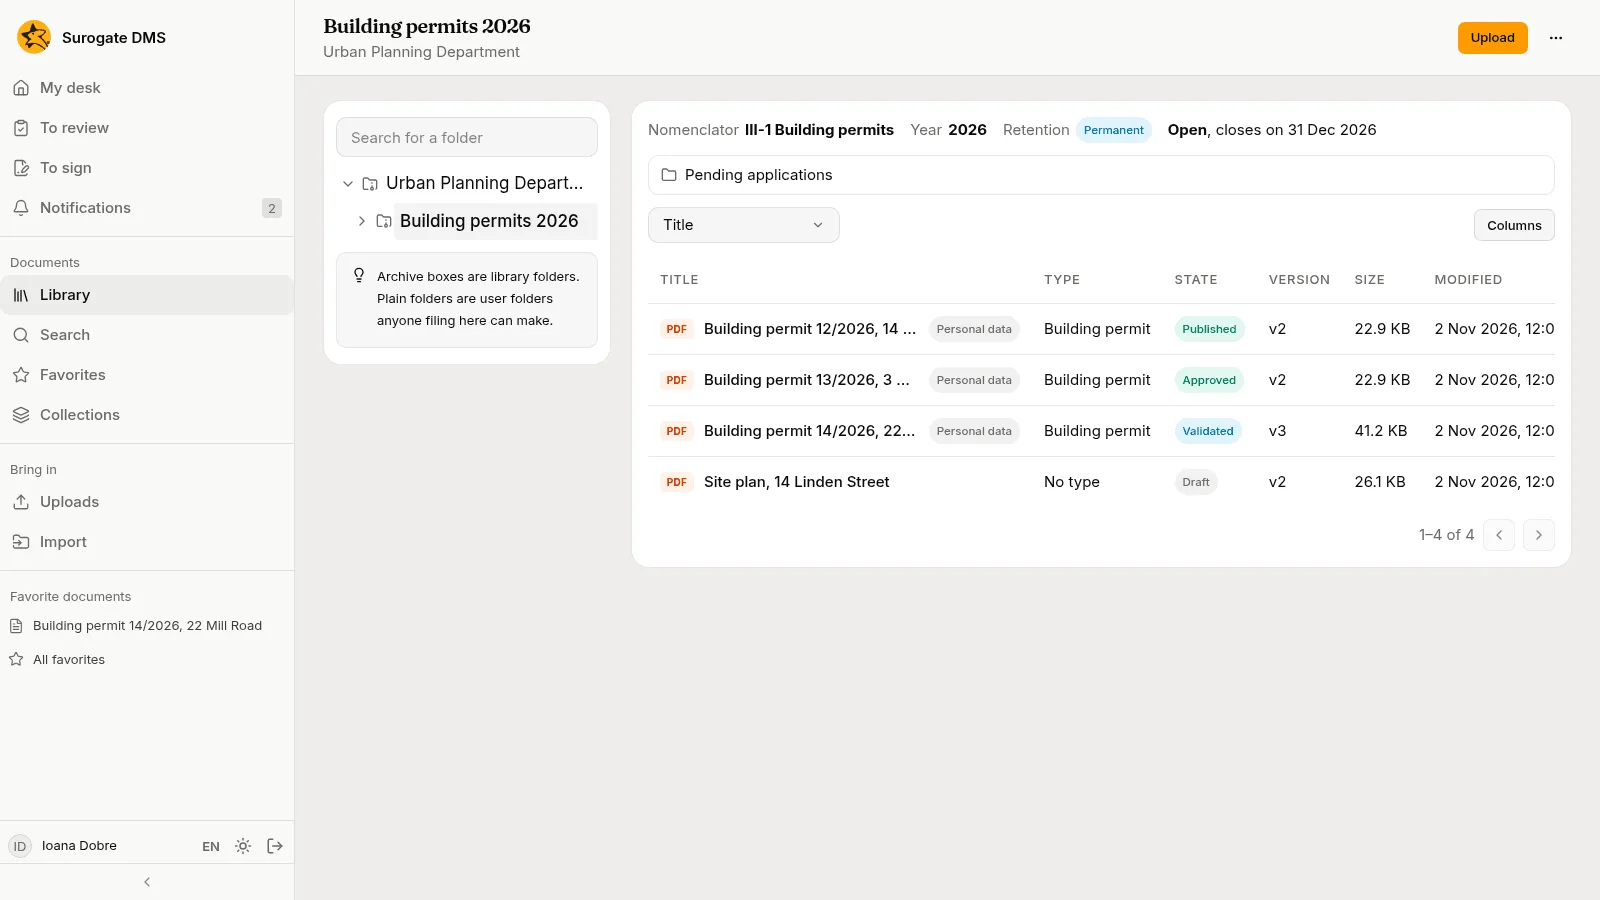
Open Urban Planning Department, then Building permits 2026. The top of the page tells you what kind of folder it is: this one is a dosar, with the nomenclator entry III-1 Building permits, the year 2026, a Permanent retention and the closing rule “Open, closes on 31 Dec 2026”. Under it the table lists the documents, and the user folder Pending applications.
3. Upload a document
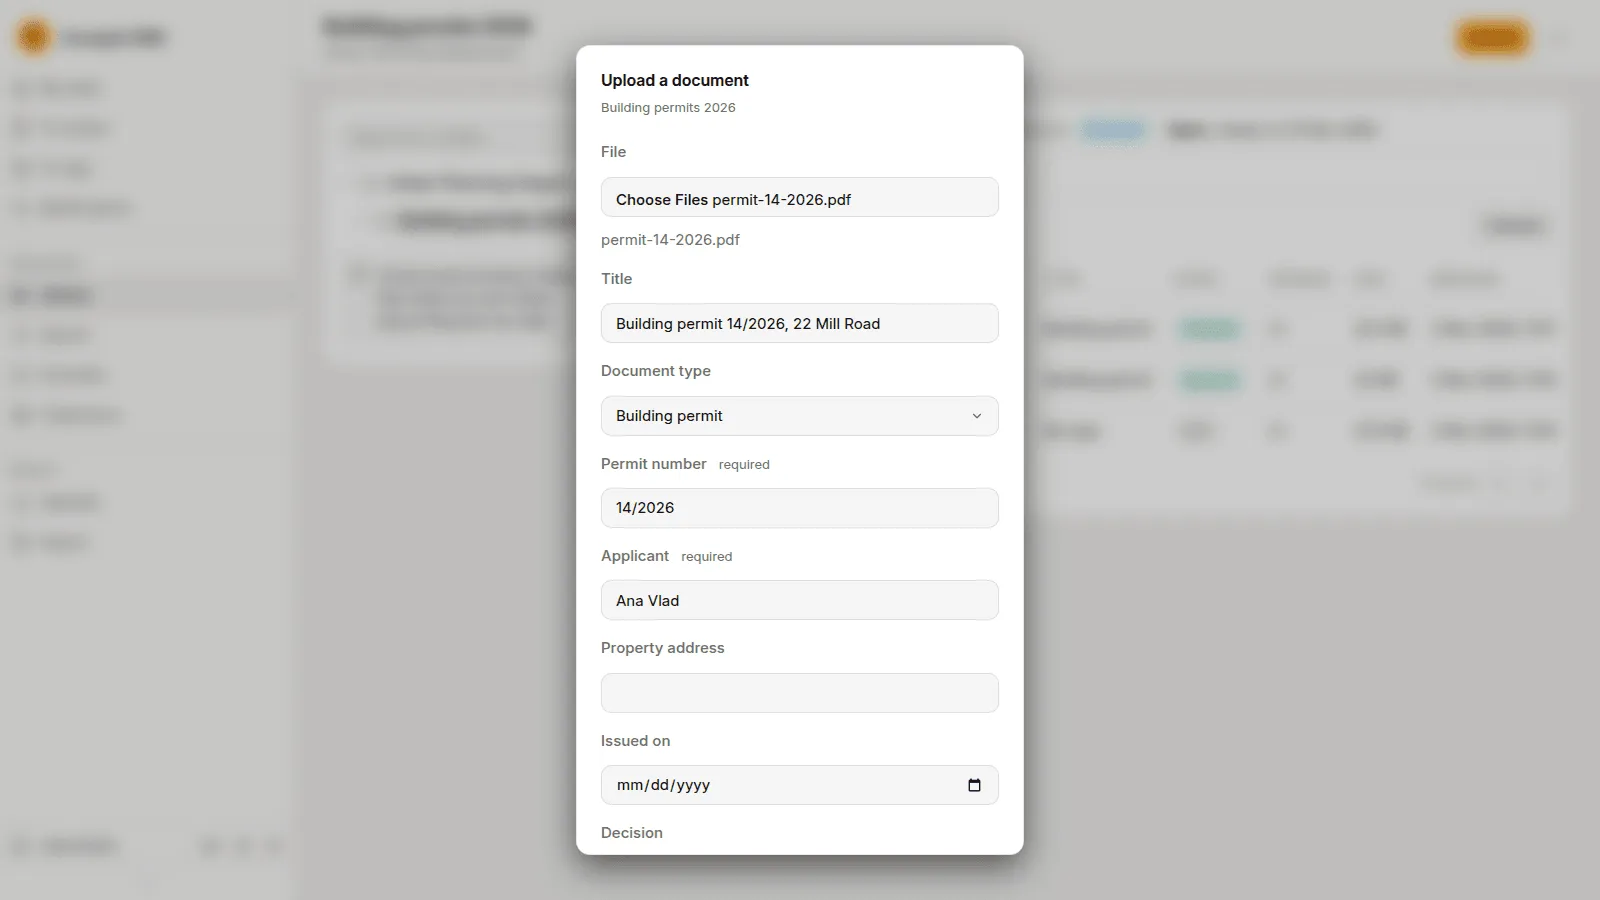
Section titled “3. Upload a document”Press Upload. In the dialog choose the File, give it a Title and choose the Document type. The fields of the type that are required, Permit number and Applicant here, appear under it. Fill them in and press Upload.
4. Look at the document
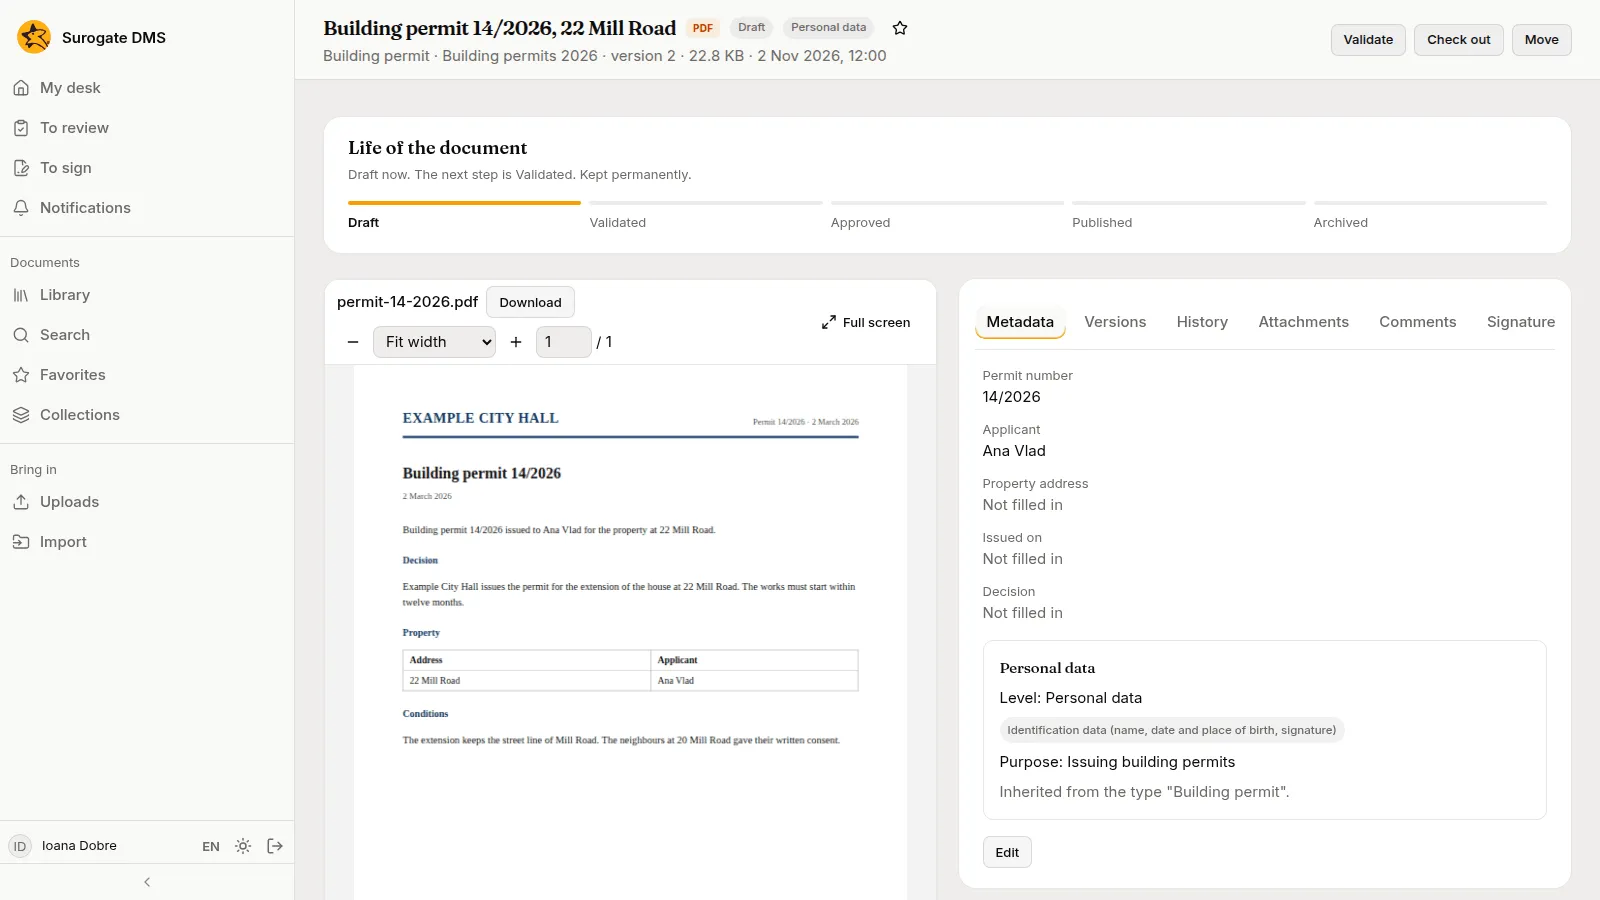
Section titled “4. Look at the document”When the upload ends, open the document from the folder’s table. The header shows its title, its state (Draft) and the pill Personal data. The viewer is on the left. On the right the Metadata tab shows what is filled in and, for the rest, “Not filled in”.
5. Fill in the metadata
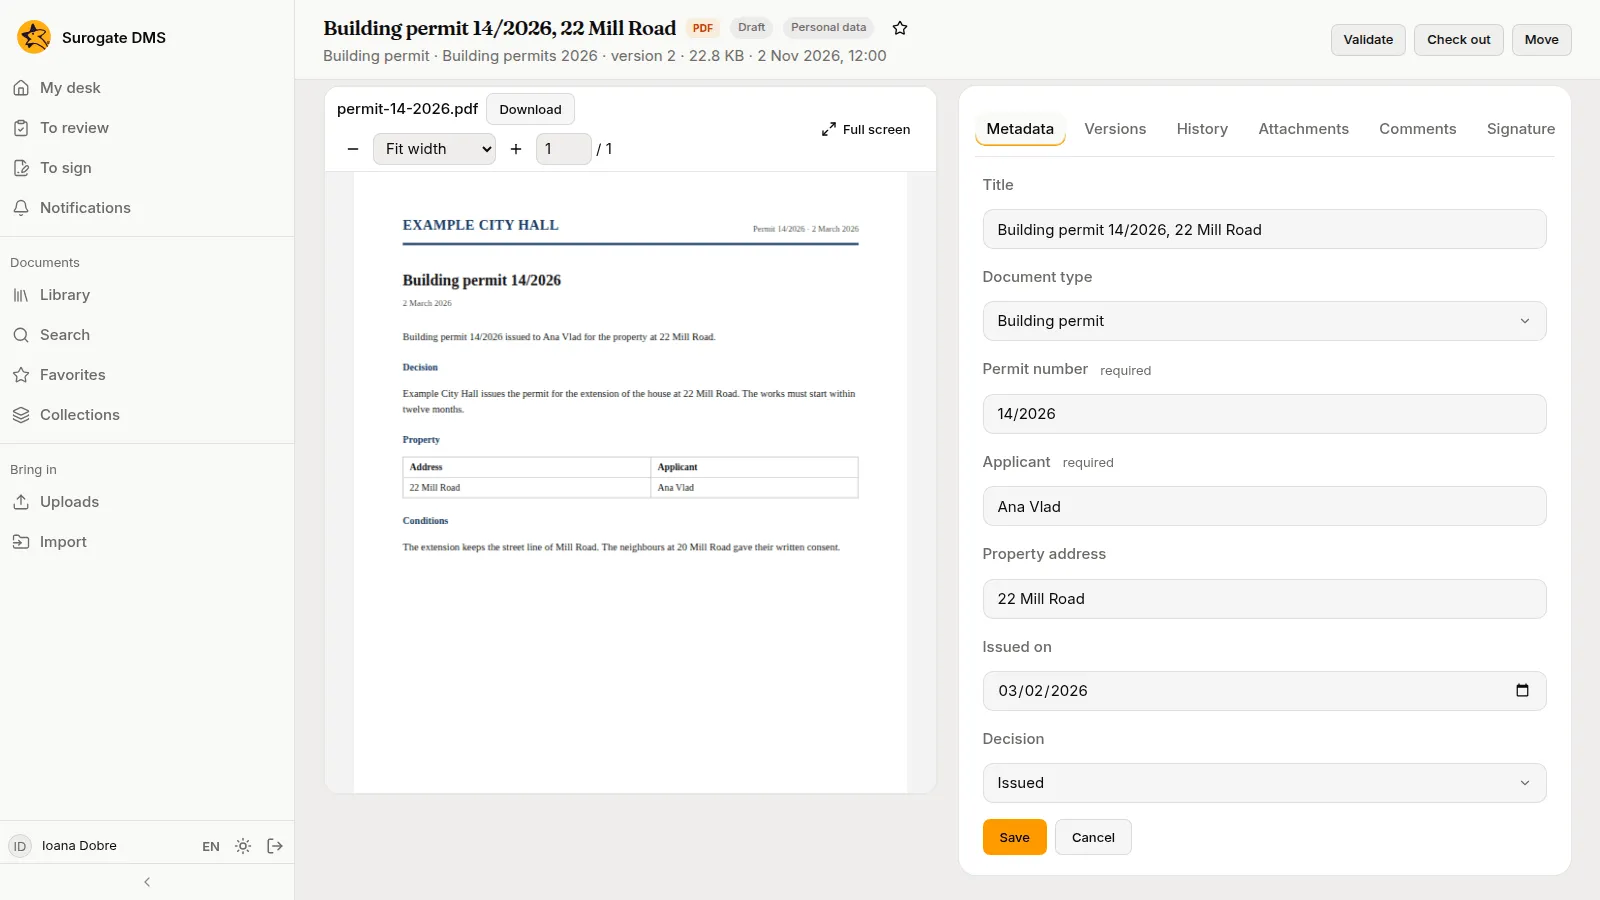
Section titled “5. Fill in the metadata”On the Metadata tab press Edit, fill in the Property address, Issued on and Decision, and press Save.
6. Validate it
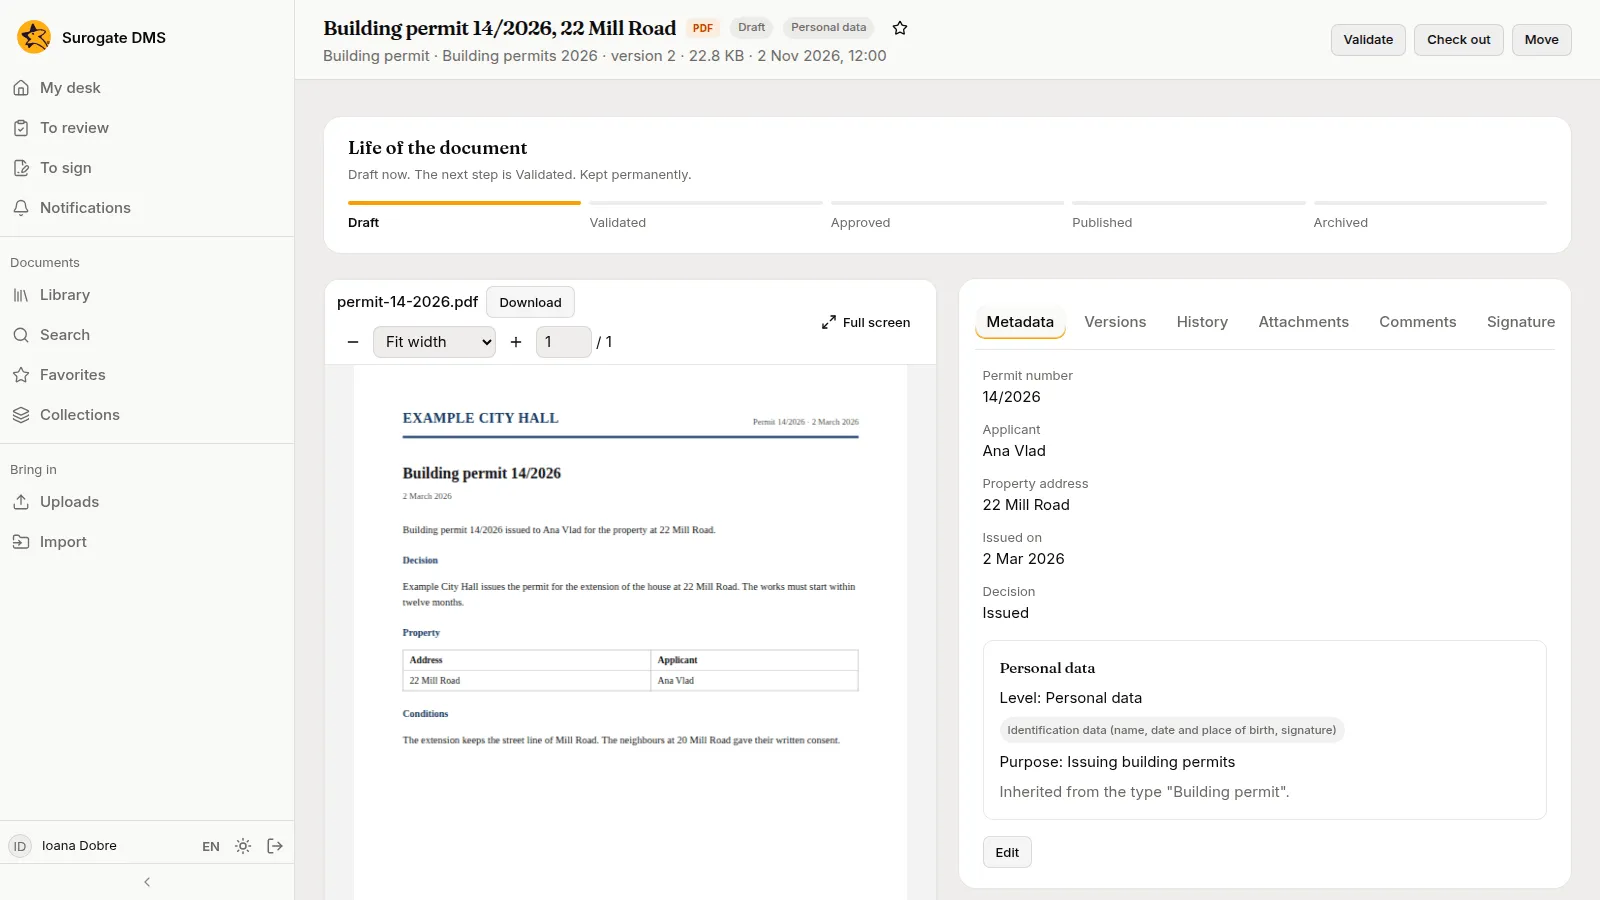
Section titled “6. Validate it”The card Life of the document shows where the document is and what comes next. Press Validate at the top right. A document needs a type and its required fields before it can be validated; the page tells you when something is missing.
7. Find it
Section titled “7. Find it”Choose Search, type Mill Road and press Enter. Search finds words inside the files as well as in the titles and metadata.
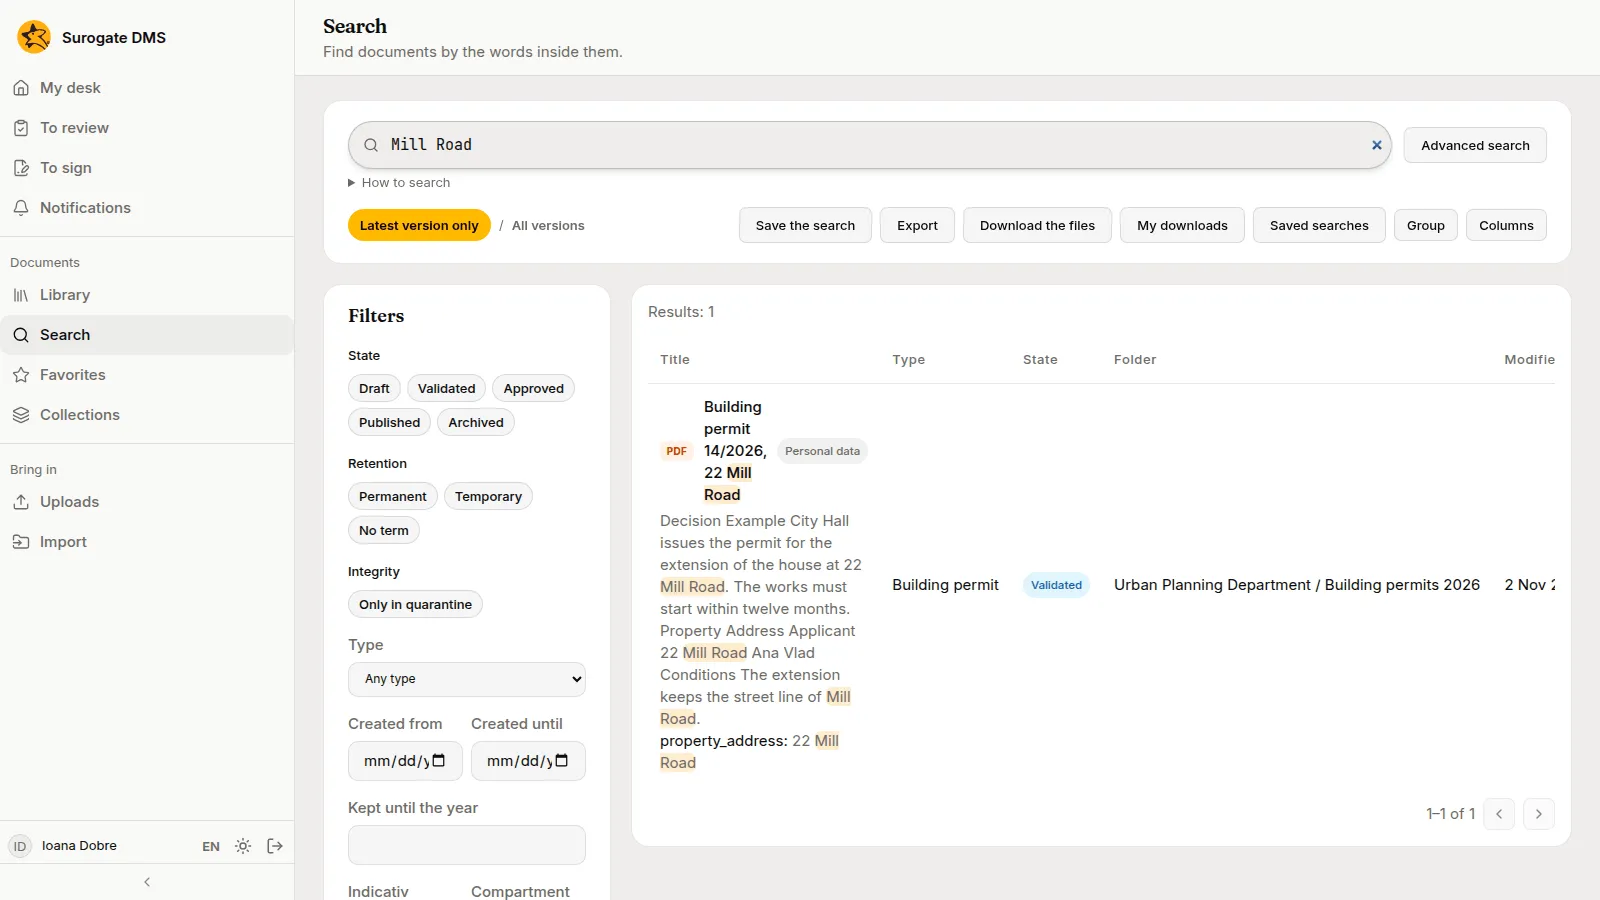
Open the result: the matches are marked in the viewer and the bar over it counts them.
8. Mark it a favorite
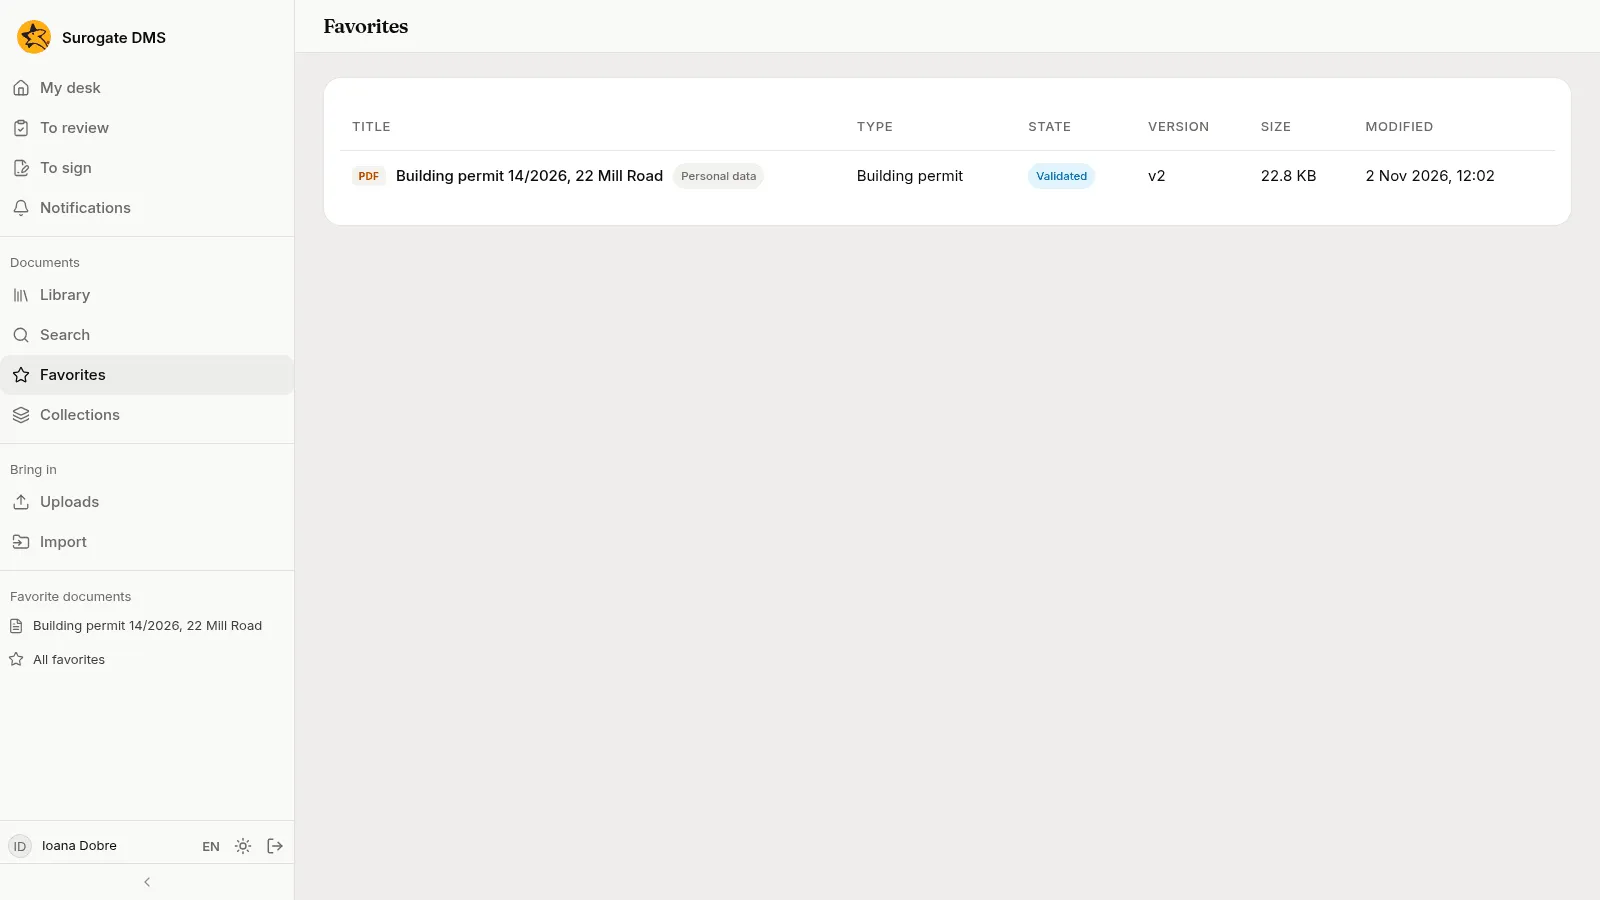
Section titled “8. Mark it a favorite”Press the star next to the title. The document appears under Favorite documents in the sidebar, and on the Favorites page.
9. Mention a colleague
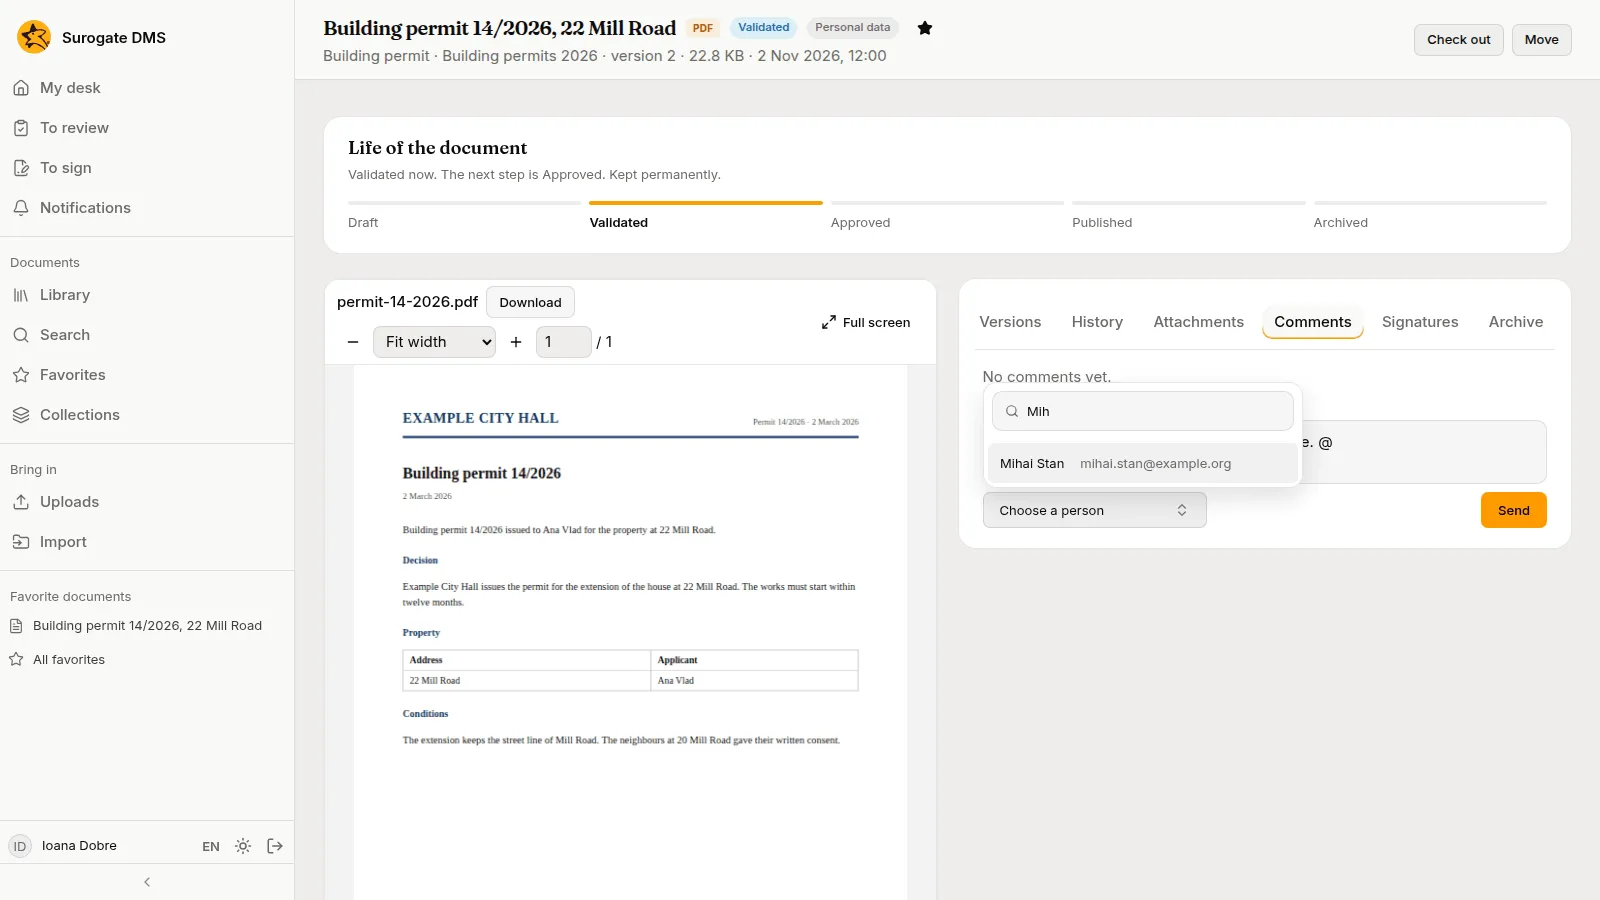
Section titled “9. Mention a colleague”Open the Comments tab. In Your comment type @Mih and choose Mihai Stan from the list that opens, finish the sentence and press Send. Mihai gets a notification.
10. Ask for a signature
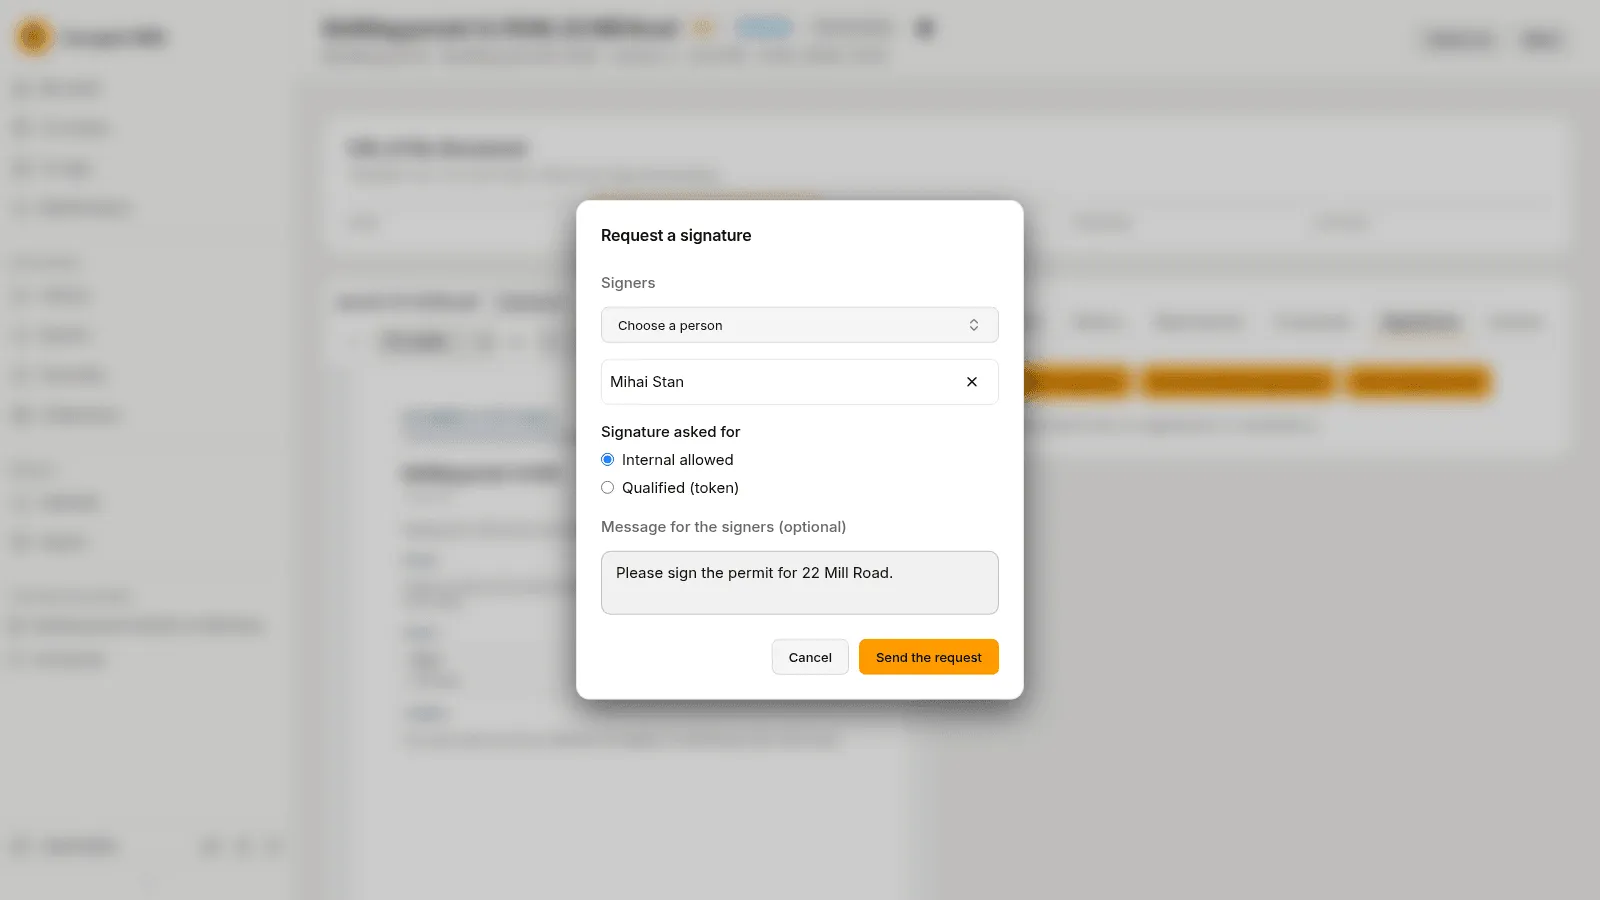
Section titled “10. Ask for a signature”Open the Signatures tab and press Request a signature. Choose the Signers, leave Internal allowed selected and write a message for the signer if you wish. Press Send the request.
What Mihai sees
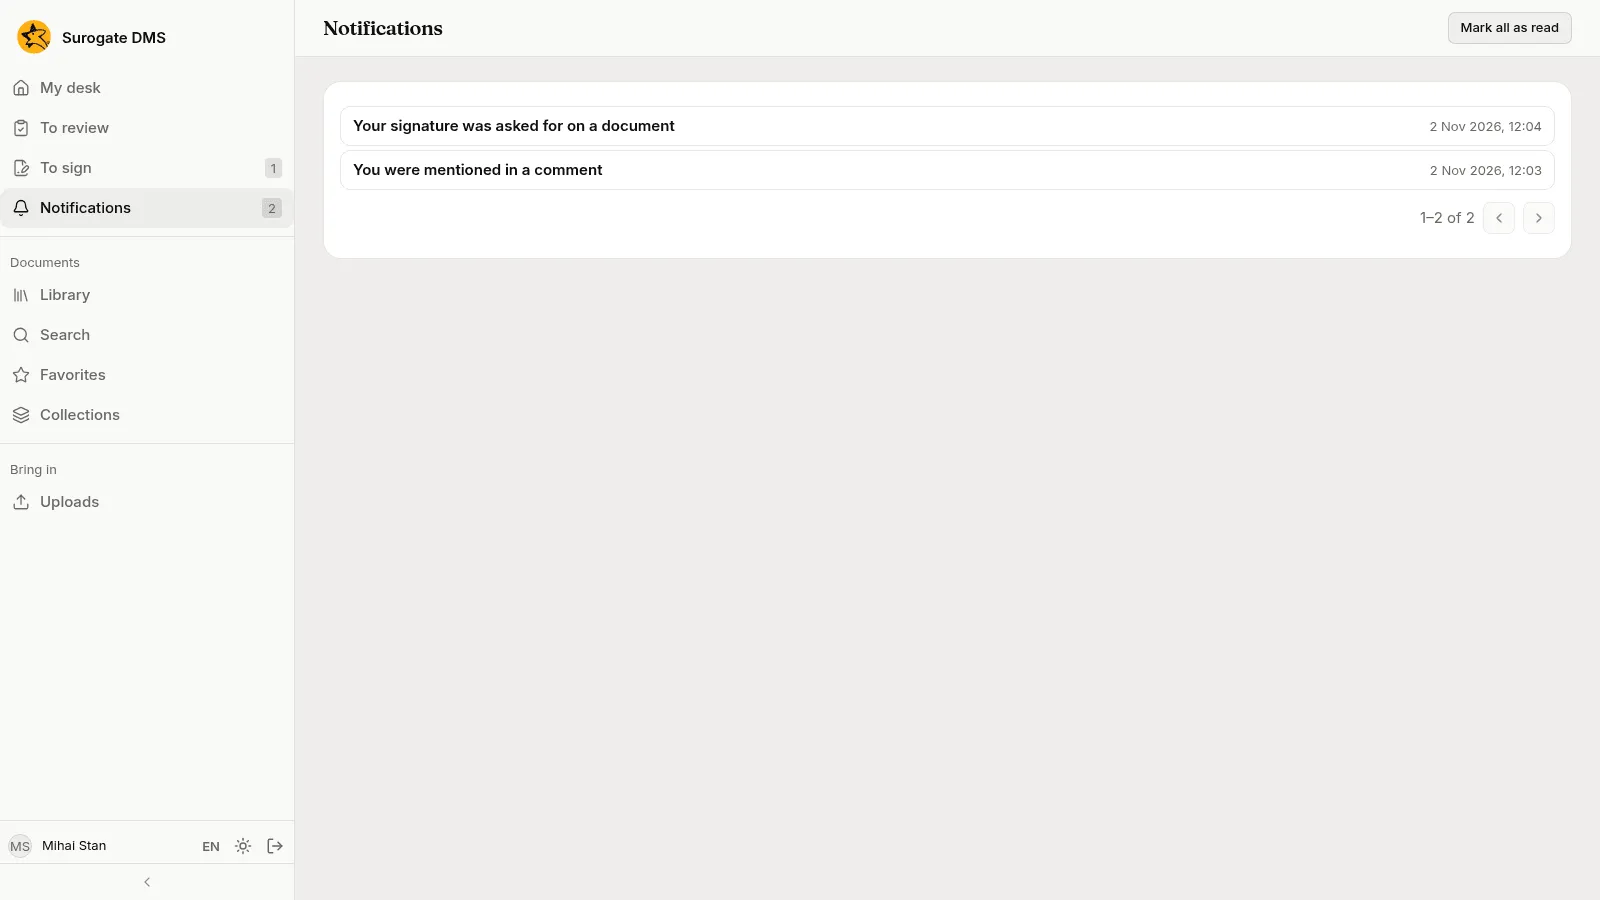
Section titled “What Mihai sees”Mihai has a notification for the request and for your mention, and the request waits on his To sign page.
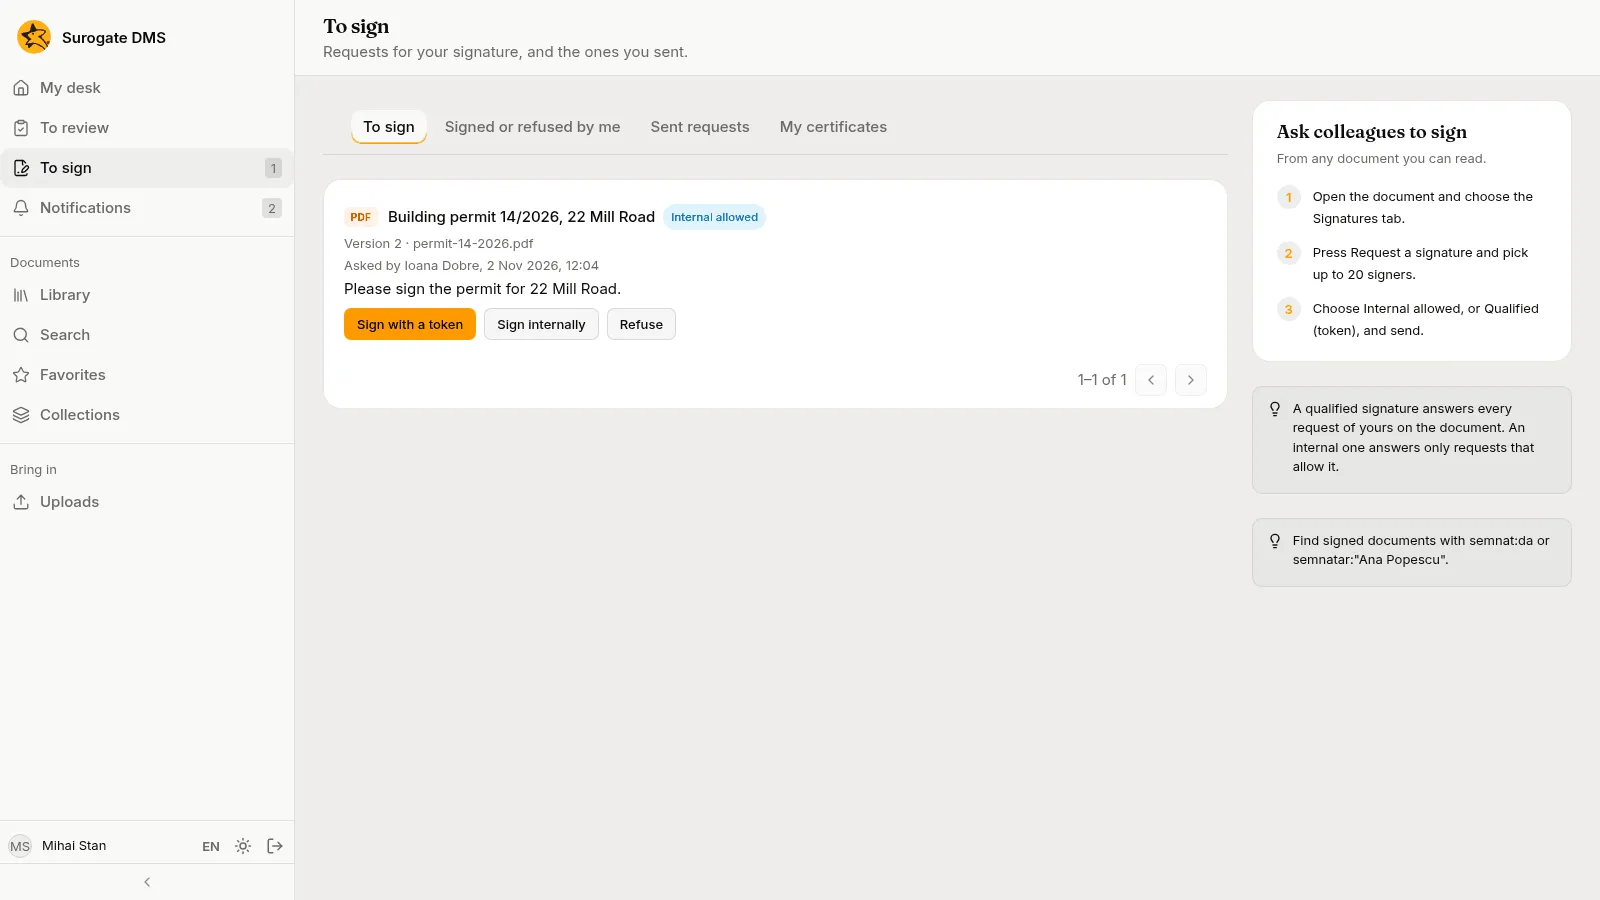
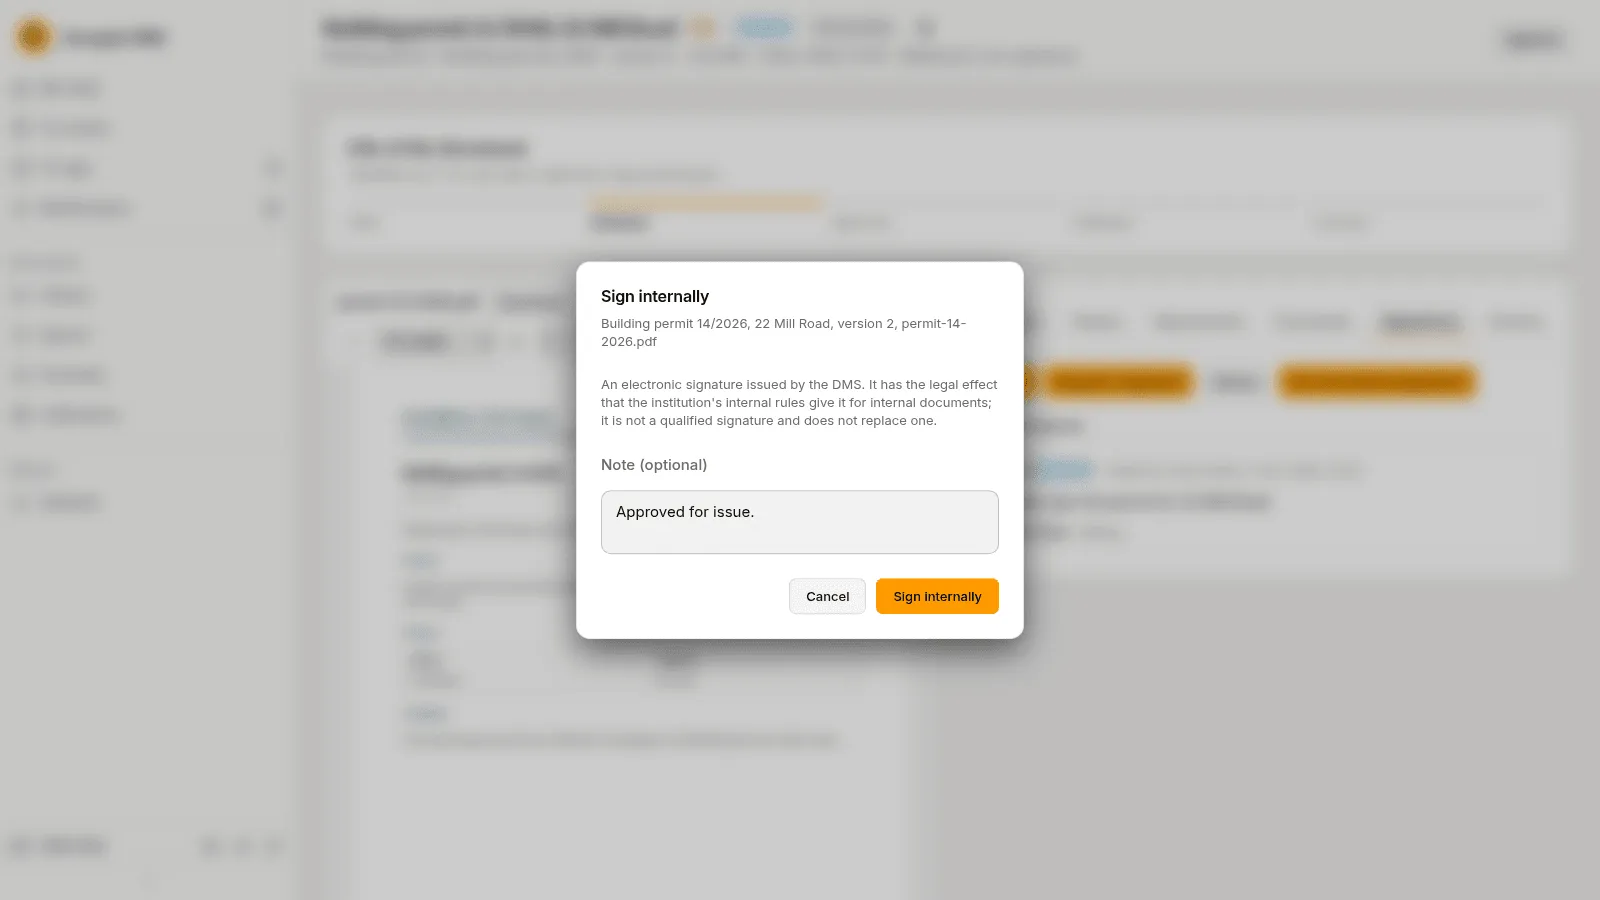
He opens the document, chooses Sign and then Internal, adds a note and presses Sign internally.
What you see
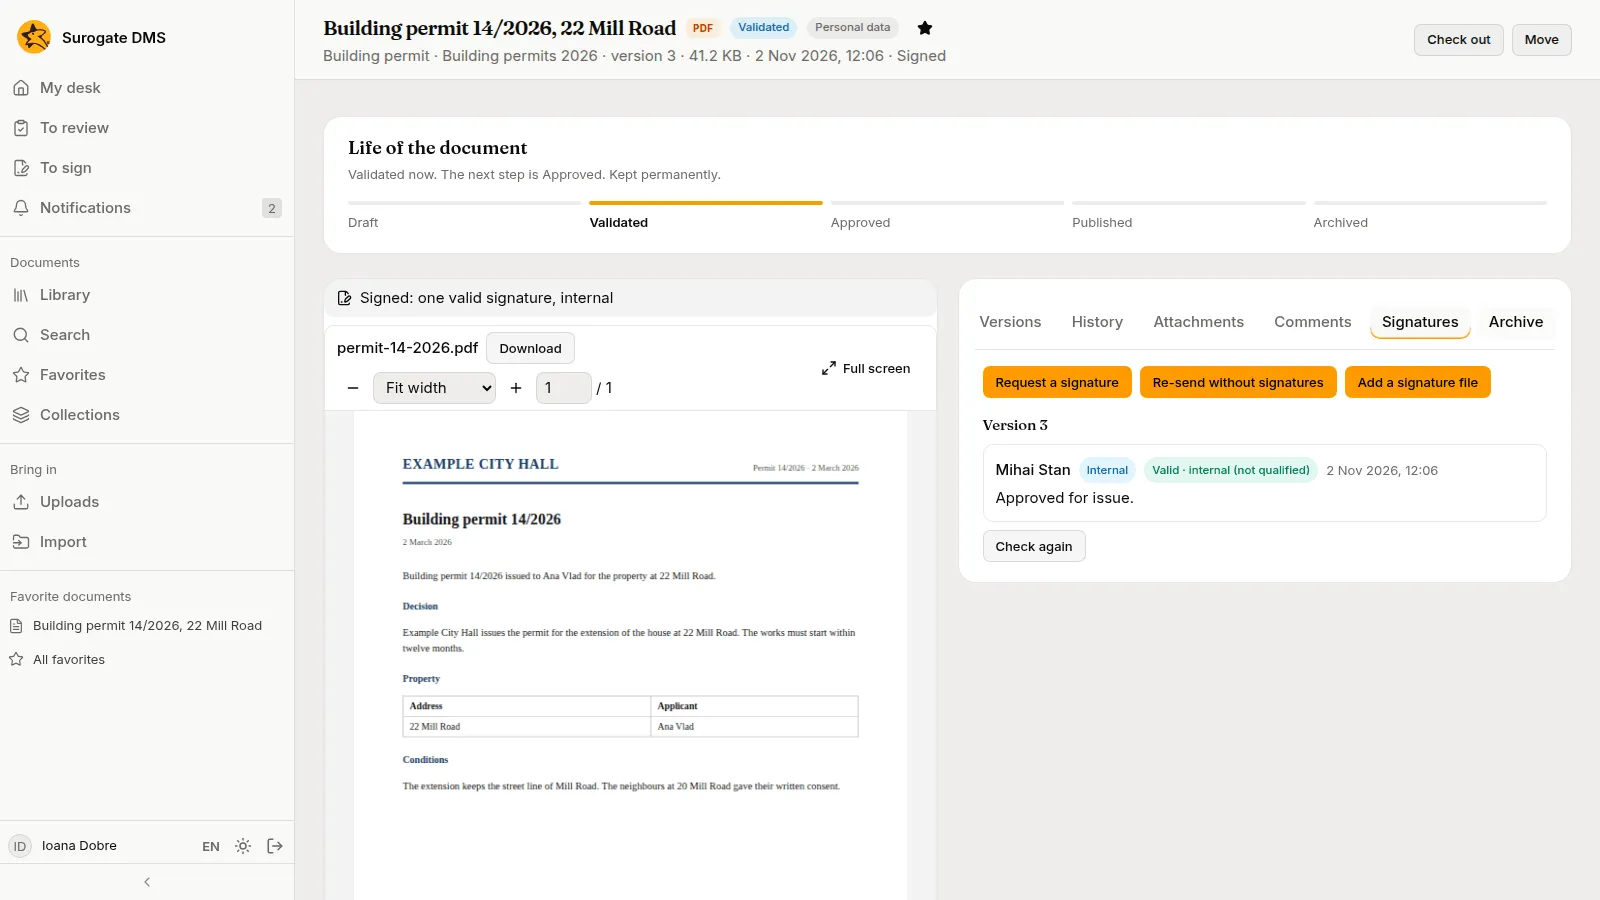
Section titled “What you see”On the Signatures tab the signature appears with the status Valid · internal (not qualified), and the document shows the line “Signed: one valid signature, internal”.
Next steps
Section titled “Next steps”- The document page explains every tab.
- The life of a document shows who may approve and publish.
- Search lists what you can search for.
- File and approve a contract follows a document from upload to Published.
- Capturing documents brings in paper and files from a scanner, a mailbox, a printer or a phone.