Surogate DMS quickstart for administrators
This page takes a new installation to one that staff can use: the org chart, the people, the nomenclator, the folders, the document types and the roles, in the order the DMS needs them. It takes about an hour with your institution’s data at hand.
The pictures were taken in a demo city hall, Example City Hall, with made-up people and documents. You are Elena Marin, the first administrator.
You need:
- the sign-in details of the first administrator; your operator makes you the first administrator, and sets up the accounts of the people in your institution, the institution’s name and the internal certificate authority;
- the list of your units and positions, and the e-mail addresses of your staff;
- the nomenclator your institution’s National Archives approved, as an Excel file, with its approval number and date.
1. Sign in
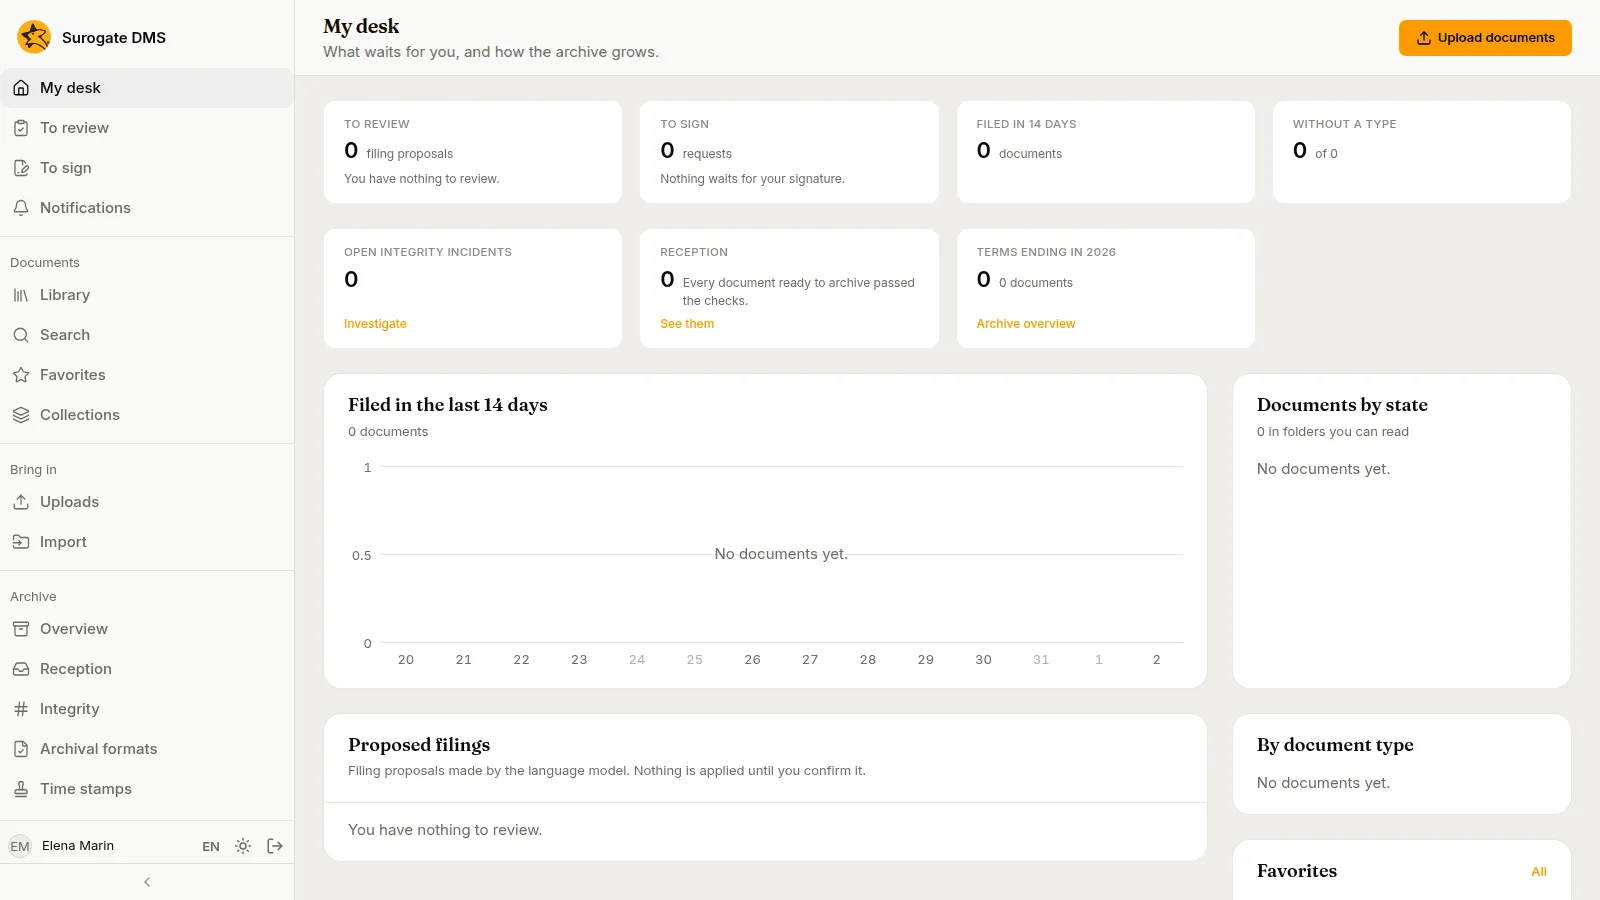
Section titled “1. Sign in”Sign in with your e-mail address and password. A new installation has an empty My desk and, in the sidebar, the Archive and Administration sections.
2. Build the org chart
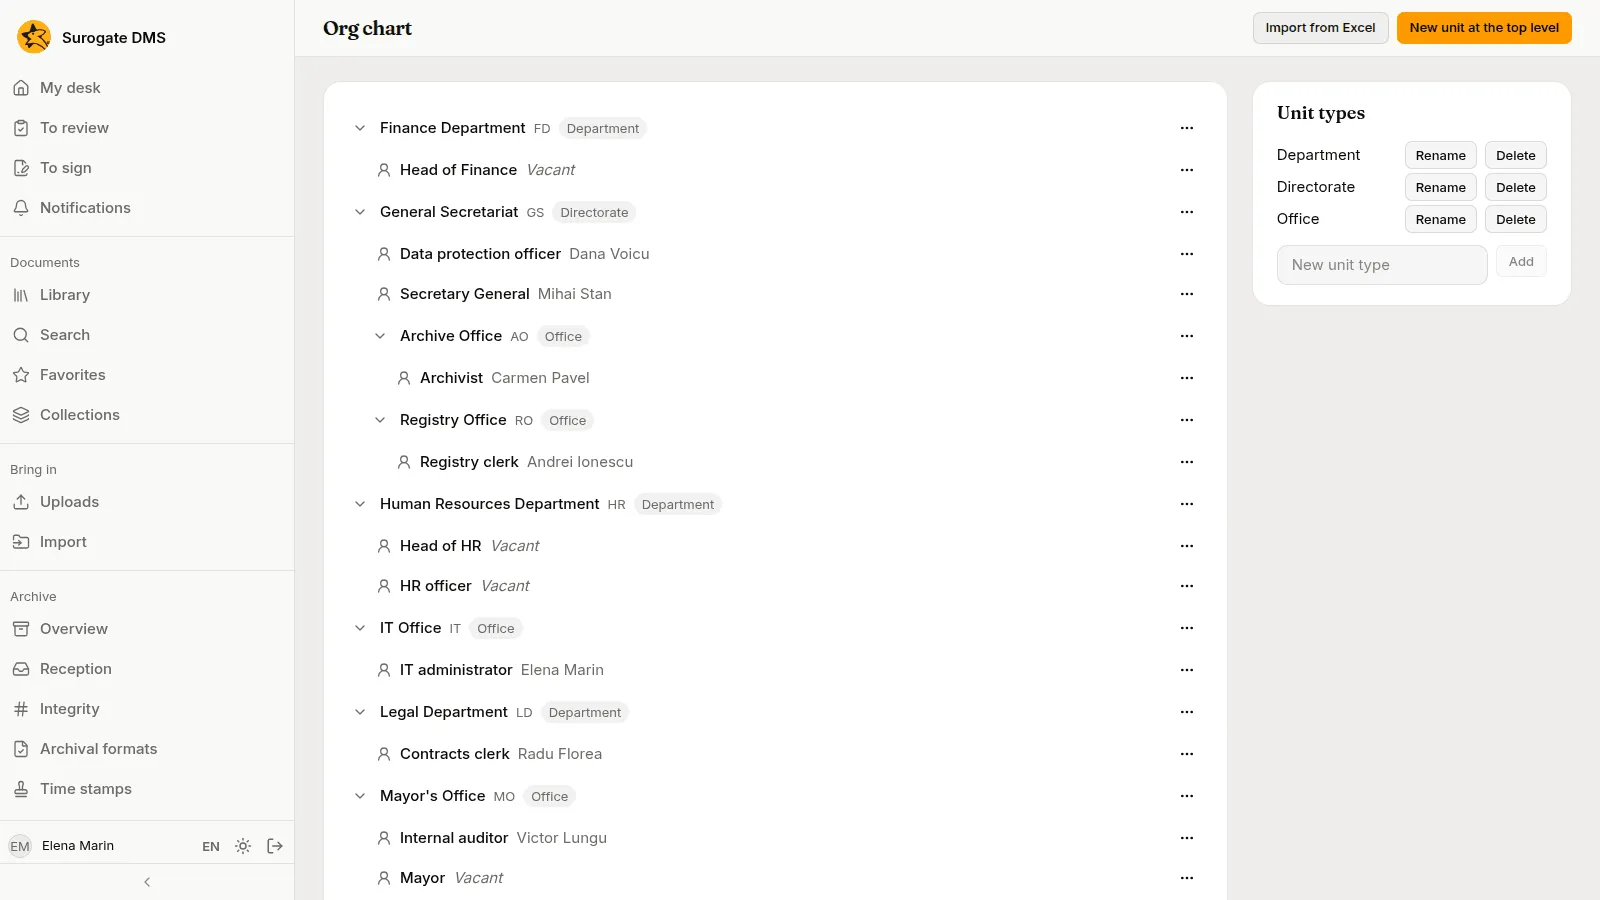
Section titled “2. Build the org chart”Open Administration › Org chart. Add the Unit types your institution uses (for example Directorate, Department and Office) in the panel on the right.
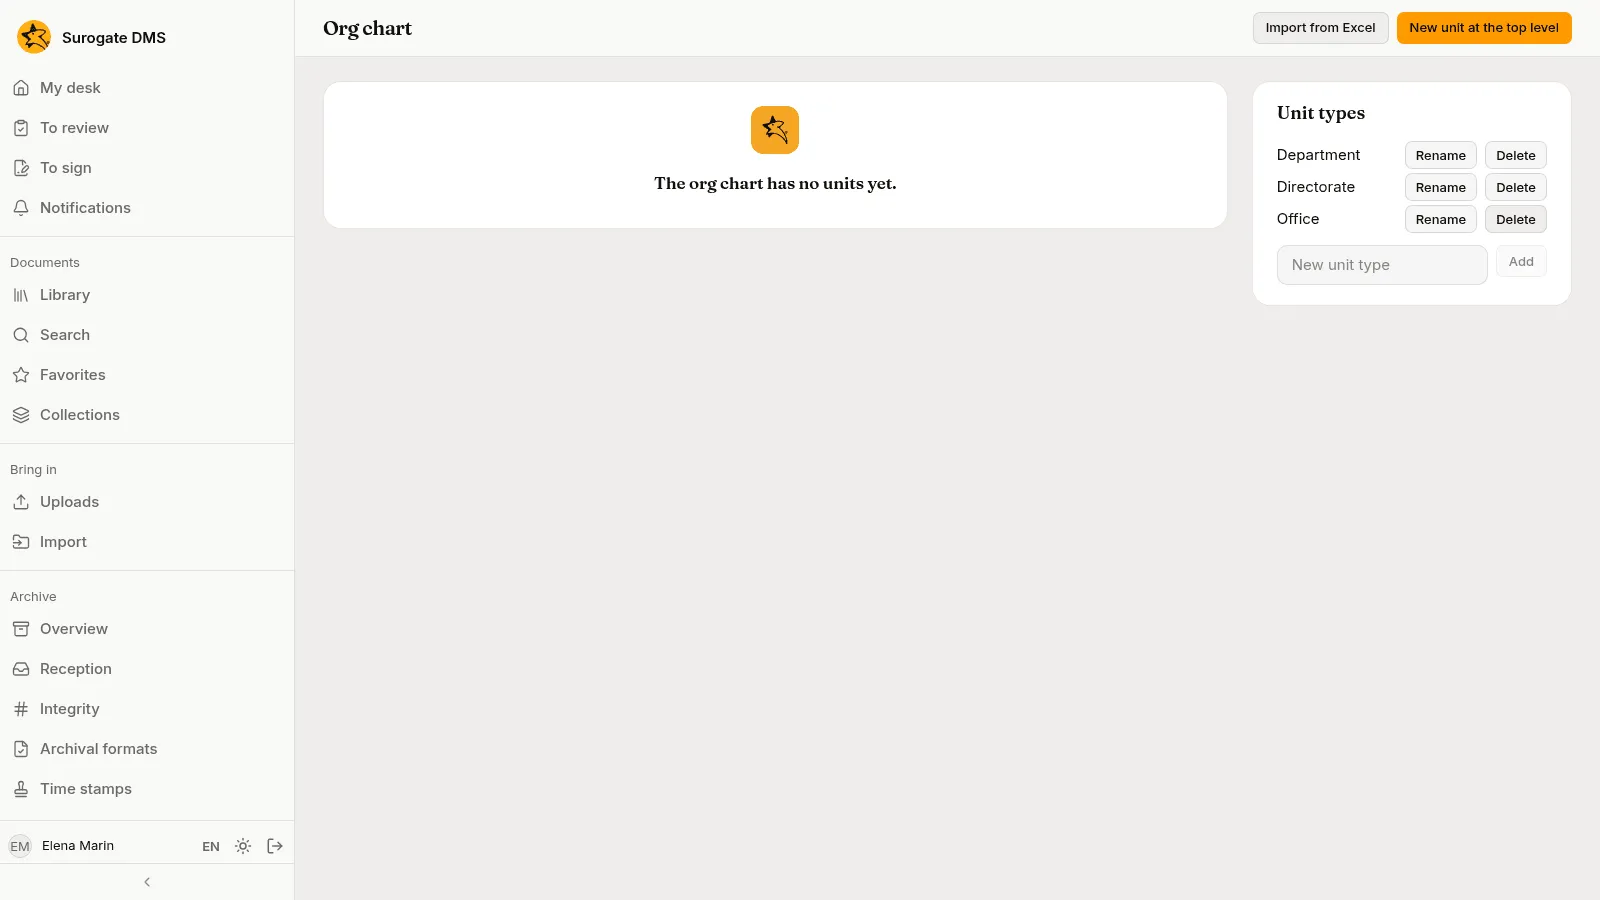
Press New unit at the top level, name the unit, choose its type and, if you like, give it a short code. Add subunits and positions from the menus on each unit. See The org chart.
3. Add the people and name the holders
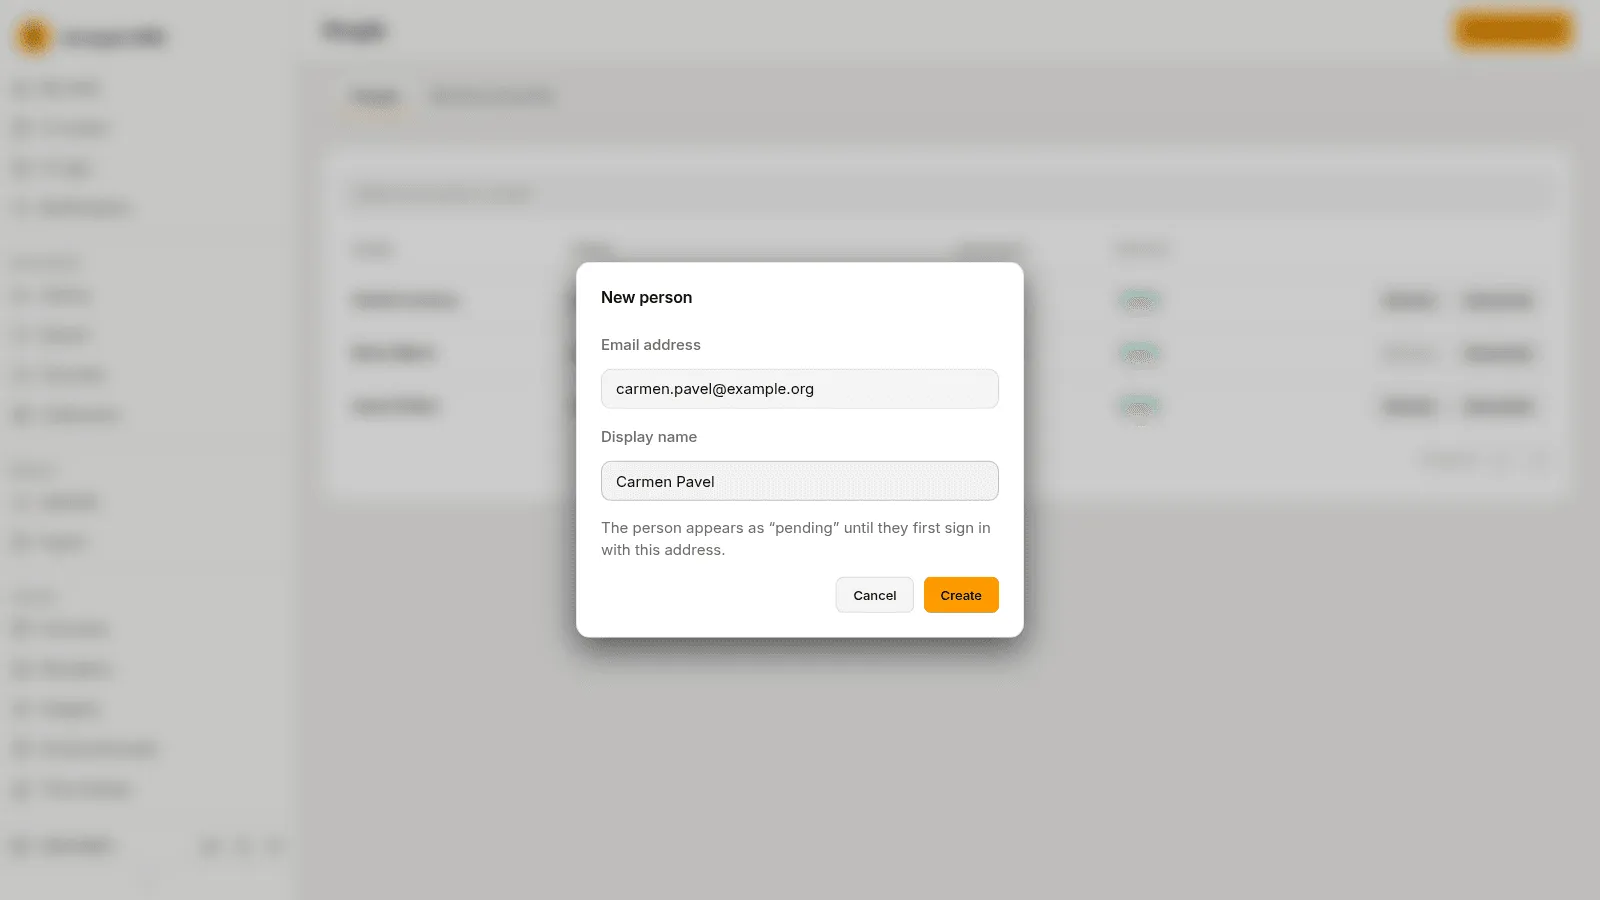
Section titled “3. Add the people and name the holders”Open People and press Add a person: an Email address and a Display name. The person is “Pending” until they first sign in.
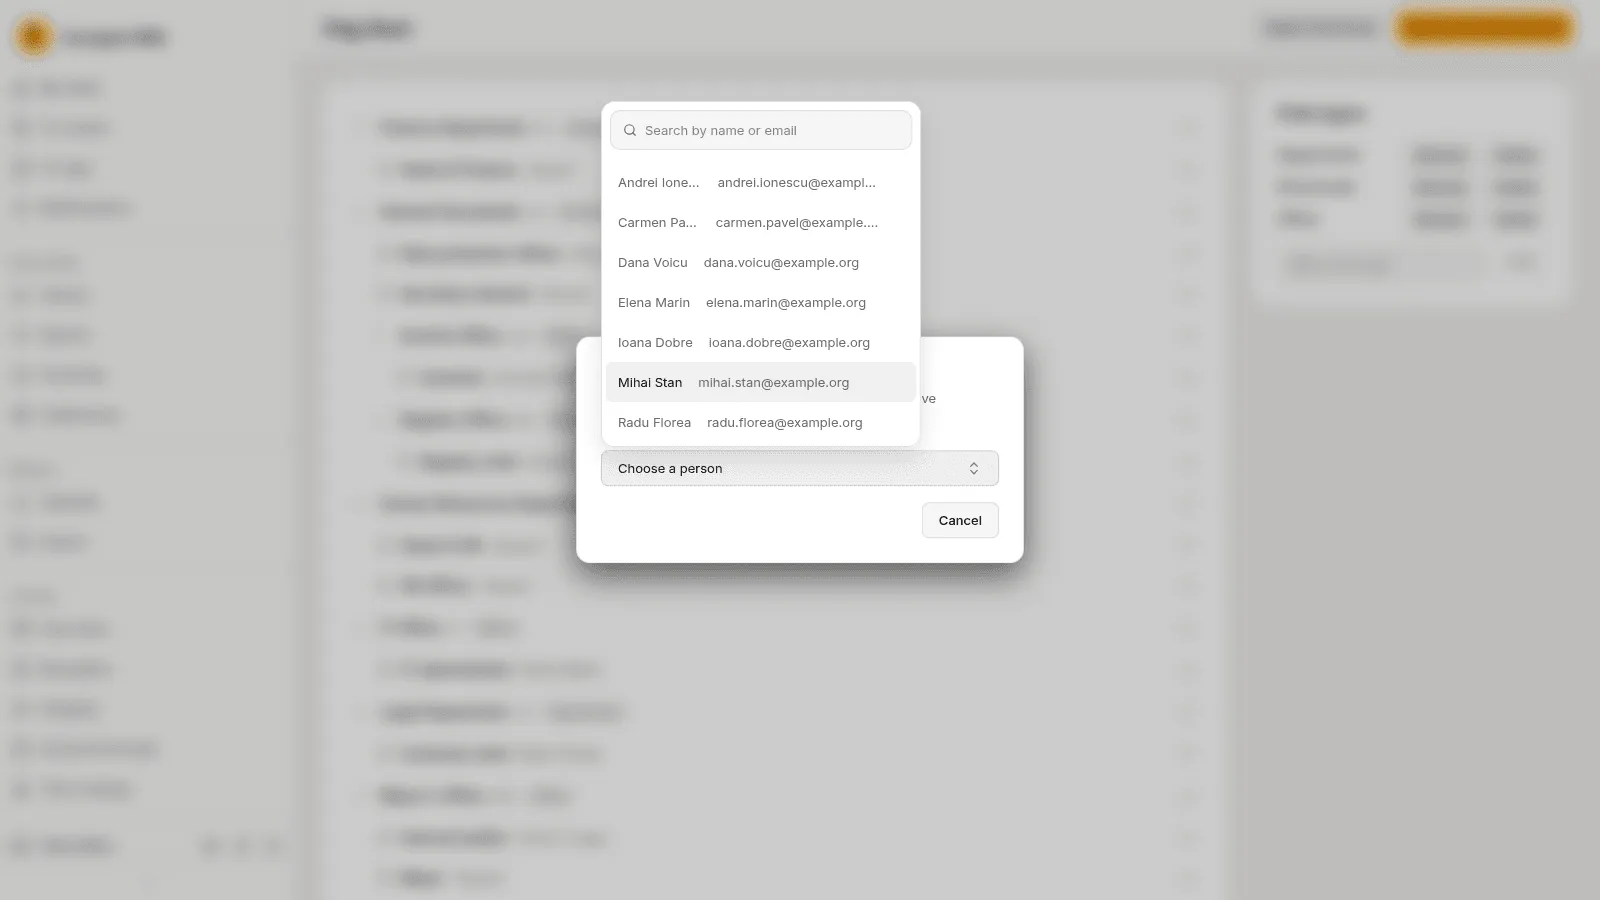
On the org chart, open the menu of a position, choose Holder… and choose the person who holds it.
When you are done, the chart shows every position with its holder, and “Vacant” where nobody holds it.
4. Put the nomenclator in force
Section titled “4. Put the nomenclator in force”Open Nomenclator. A new installation has none.
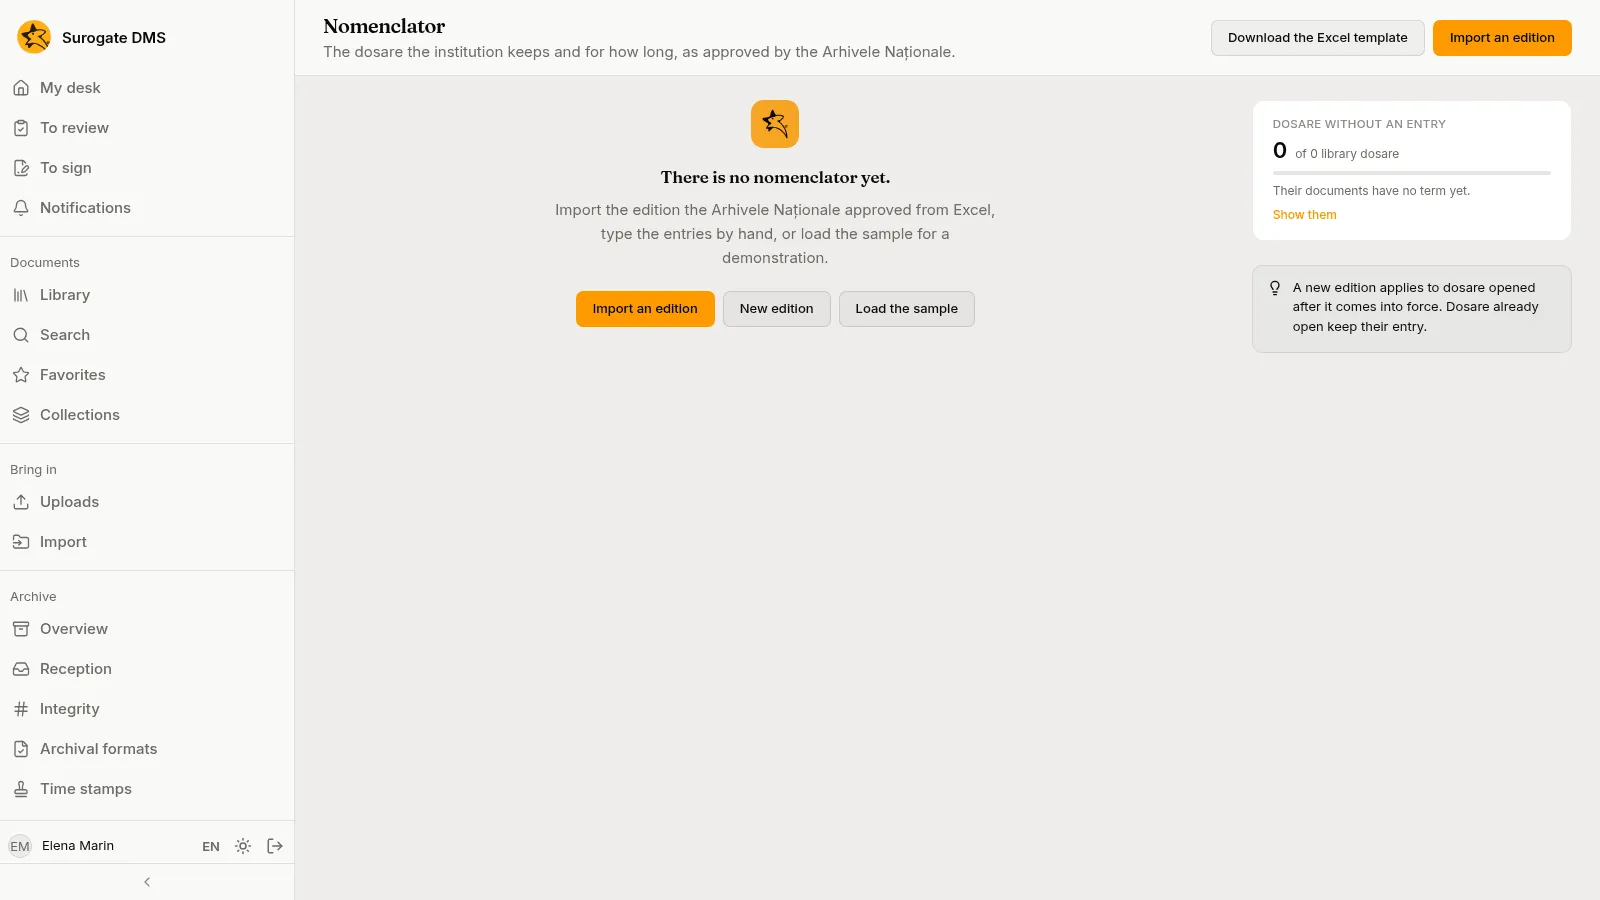
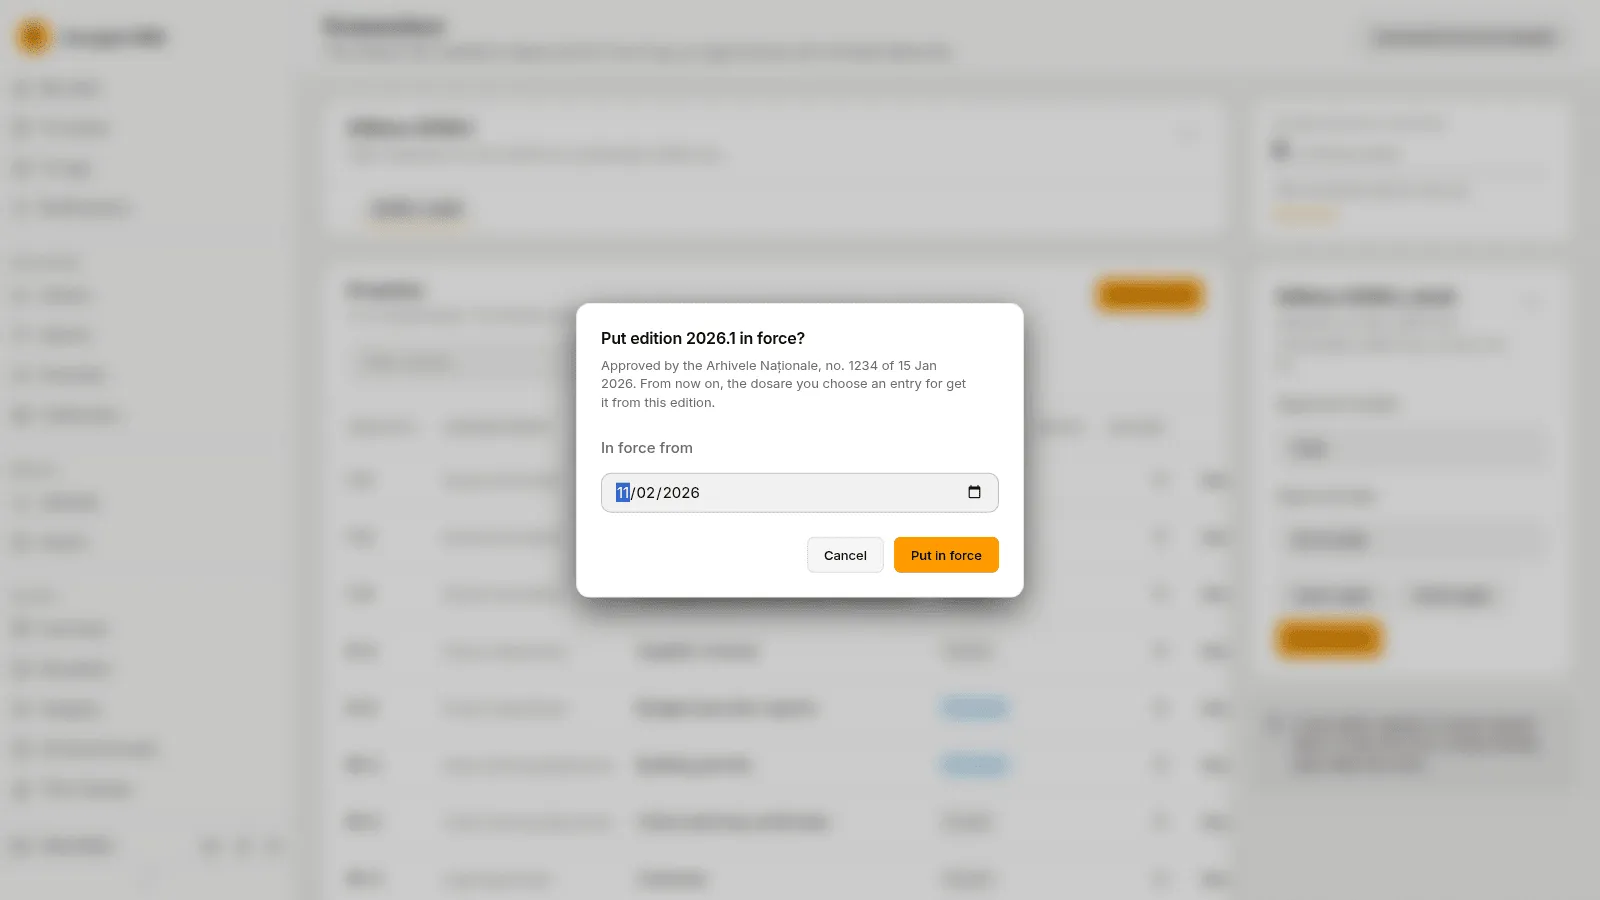
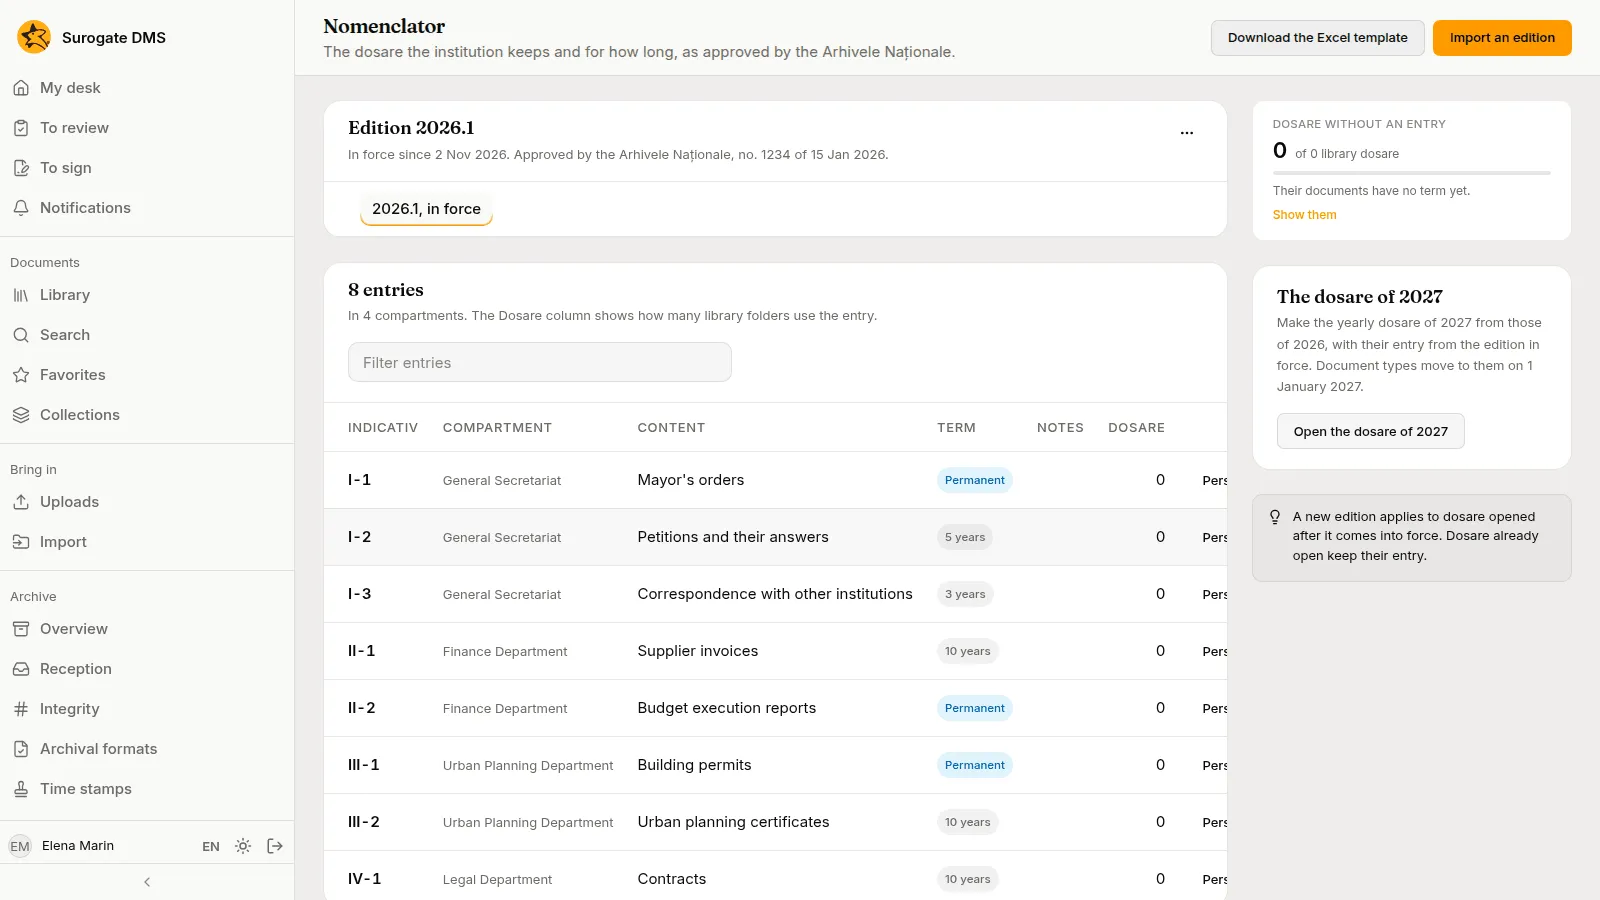
Press Import an edition, choose the Excel file and give the edition a name. Choose the unit of every compartment the DMS could not match, fill in the Approval number and Approval date, and press Put in force.
See The nomenclator.
5. Make the folders and the dosare
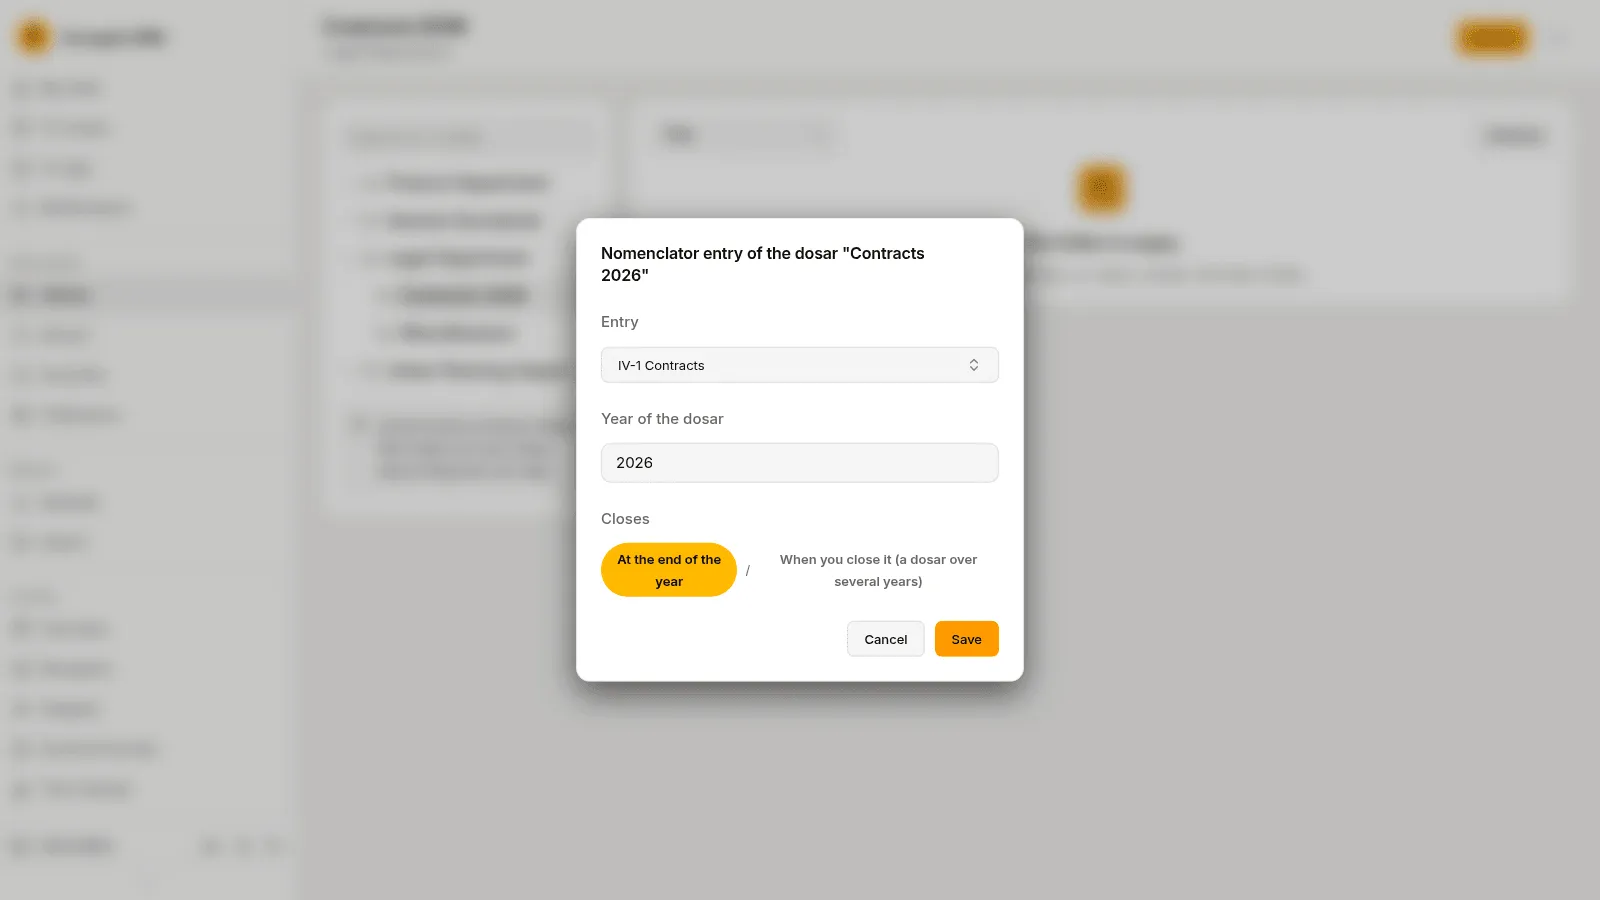
Section titled “5. Make the folders and the dosare”Open Folders and press New folder at the root. A folder at the root belongs to a unit. Inside it, add the dosare: each has an entry of the nomenclator, a year and a closing rule.
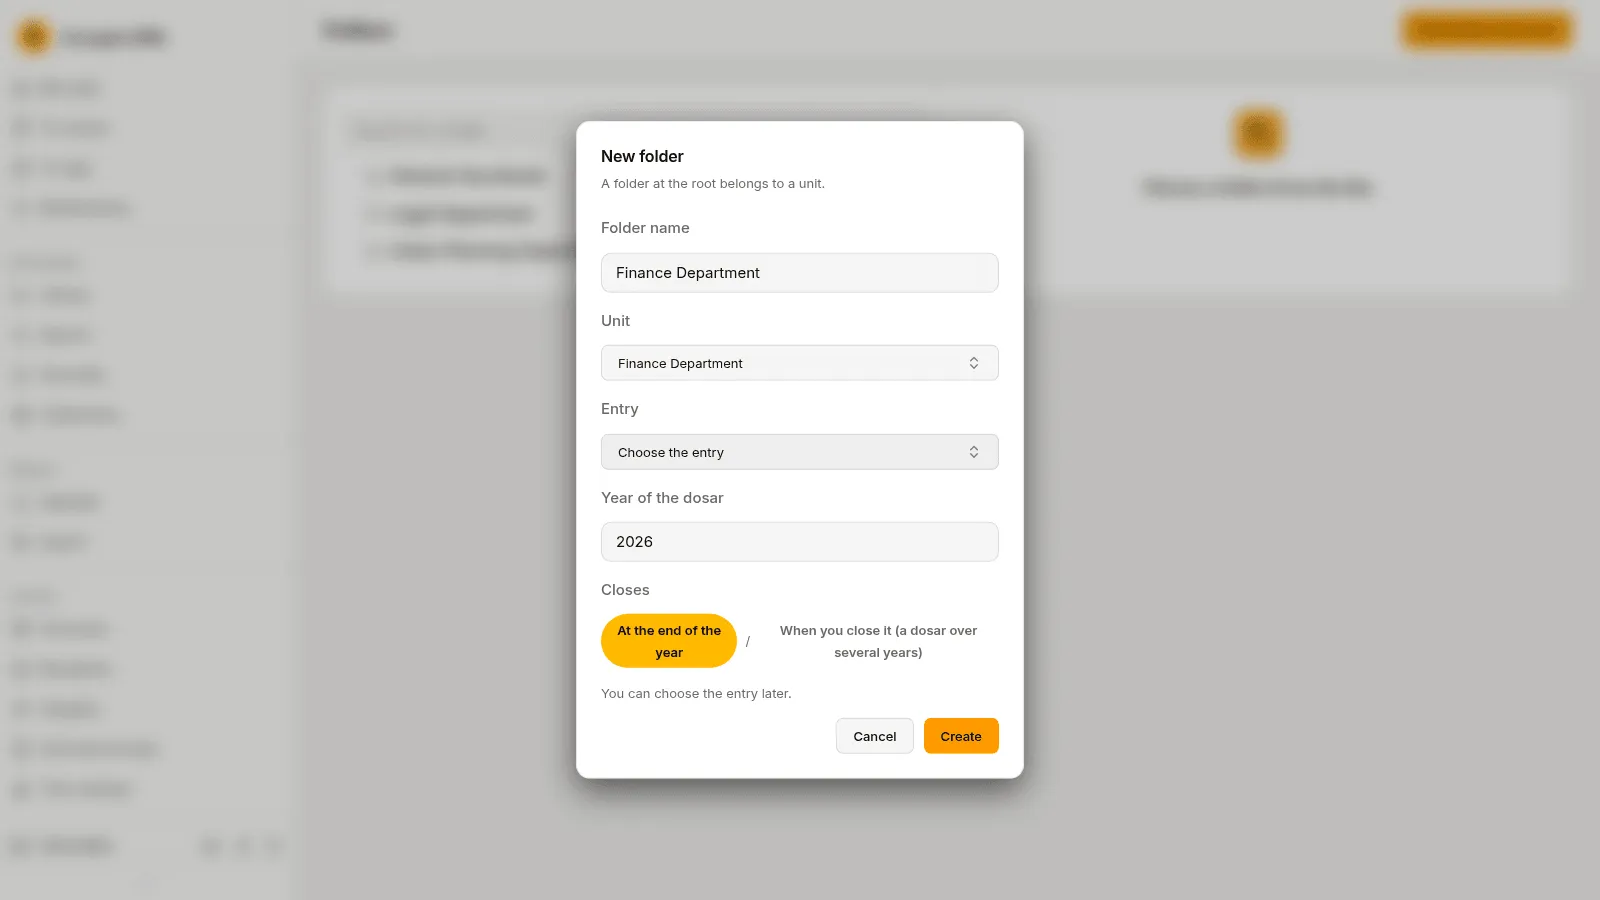
You can also set a dosar’s entry from its page in the library.
6. Define the document types
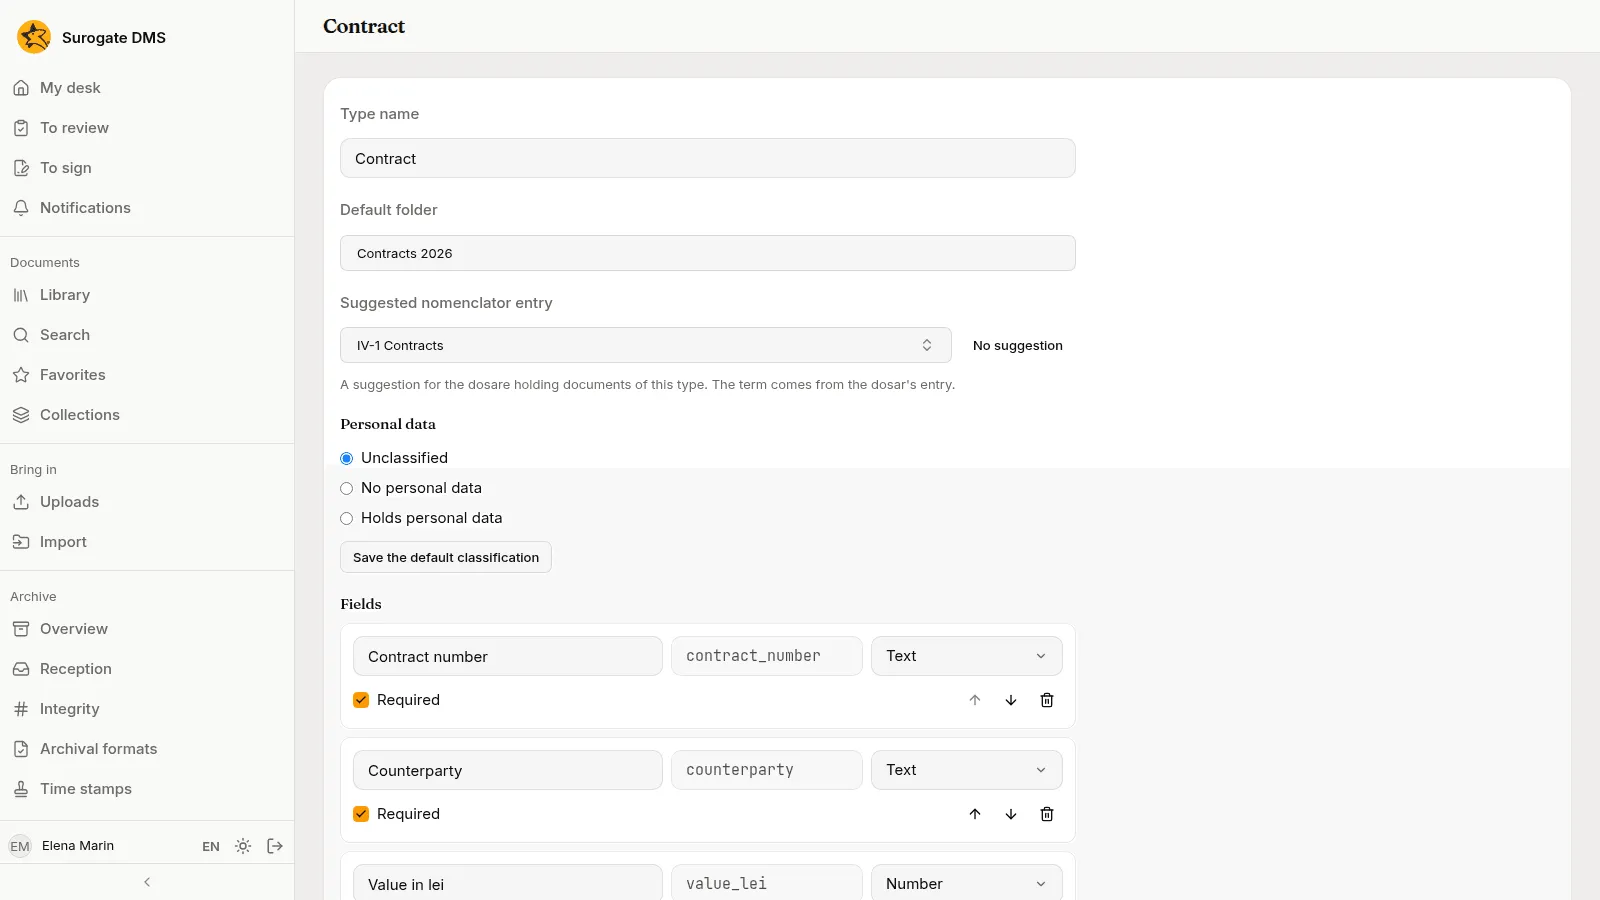
Section titled “6. Define the document types”Open Document types and press New type. Give it a name, a default folder and its fields.
7. Grant roles
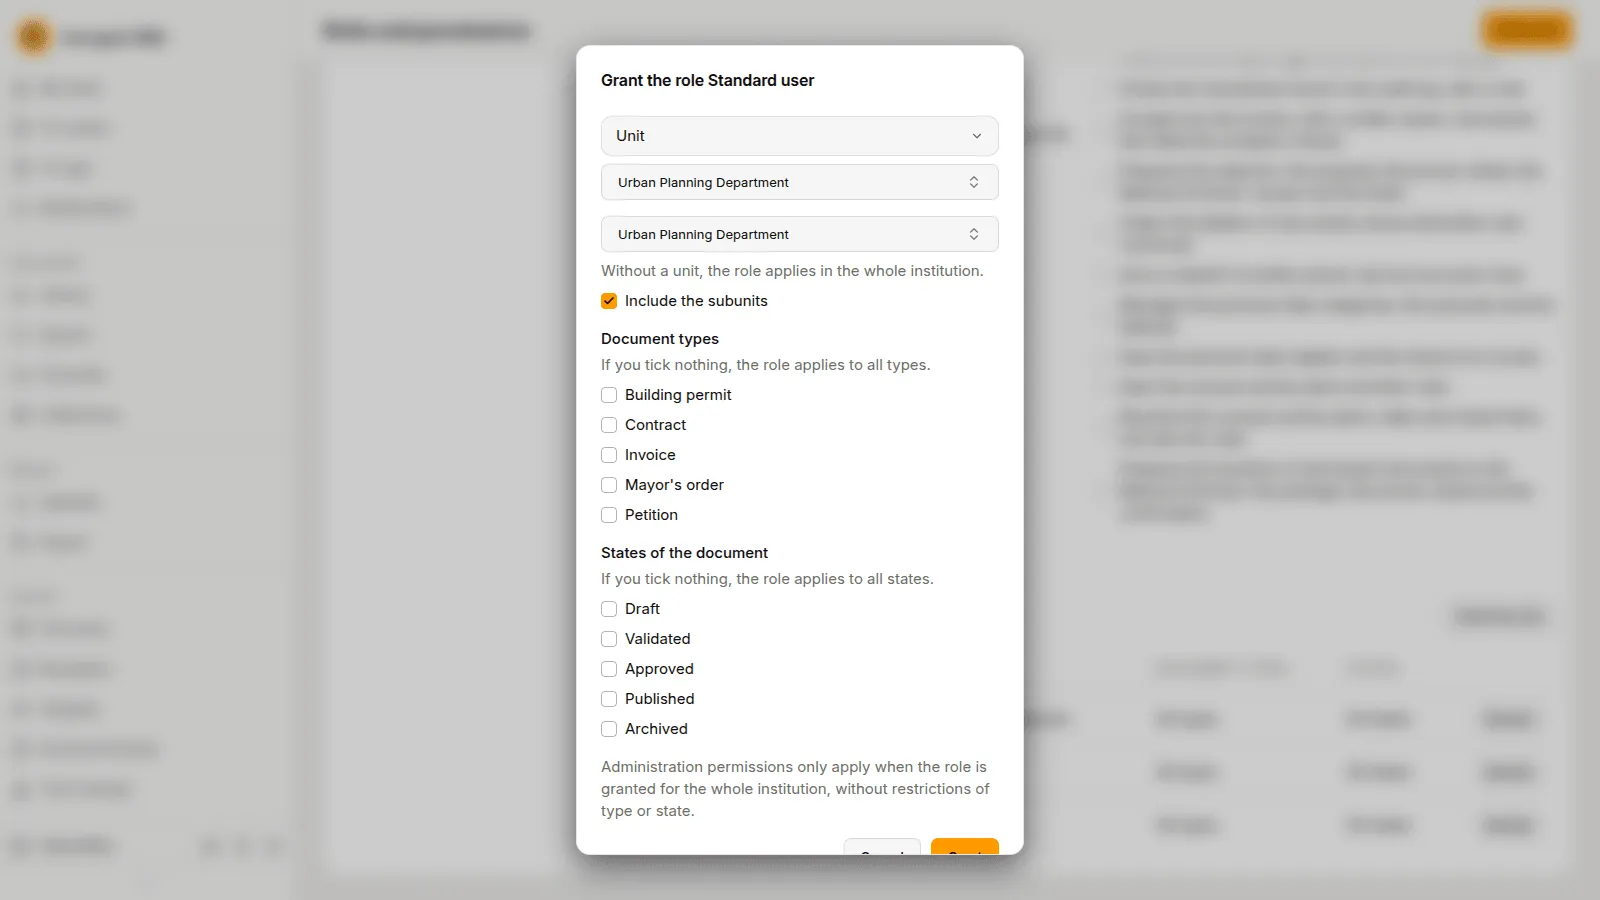
Section titled “7. Grant roles”Open Roles and permissions, choose a role and press Grant the role. Choose who gets it (a Person, a Position or a Unit) and where it applies.
8. Check the alert rules
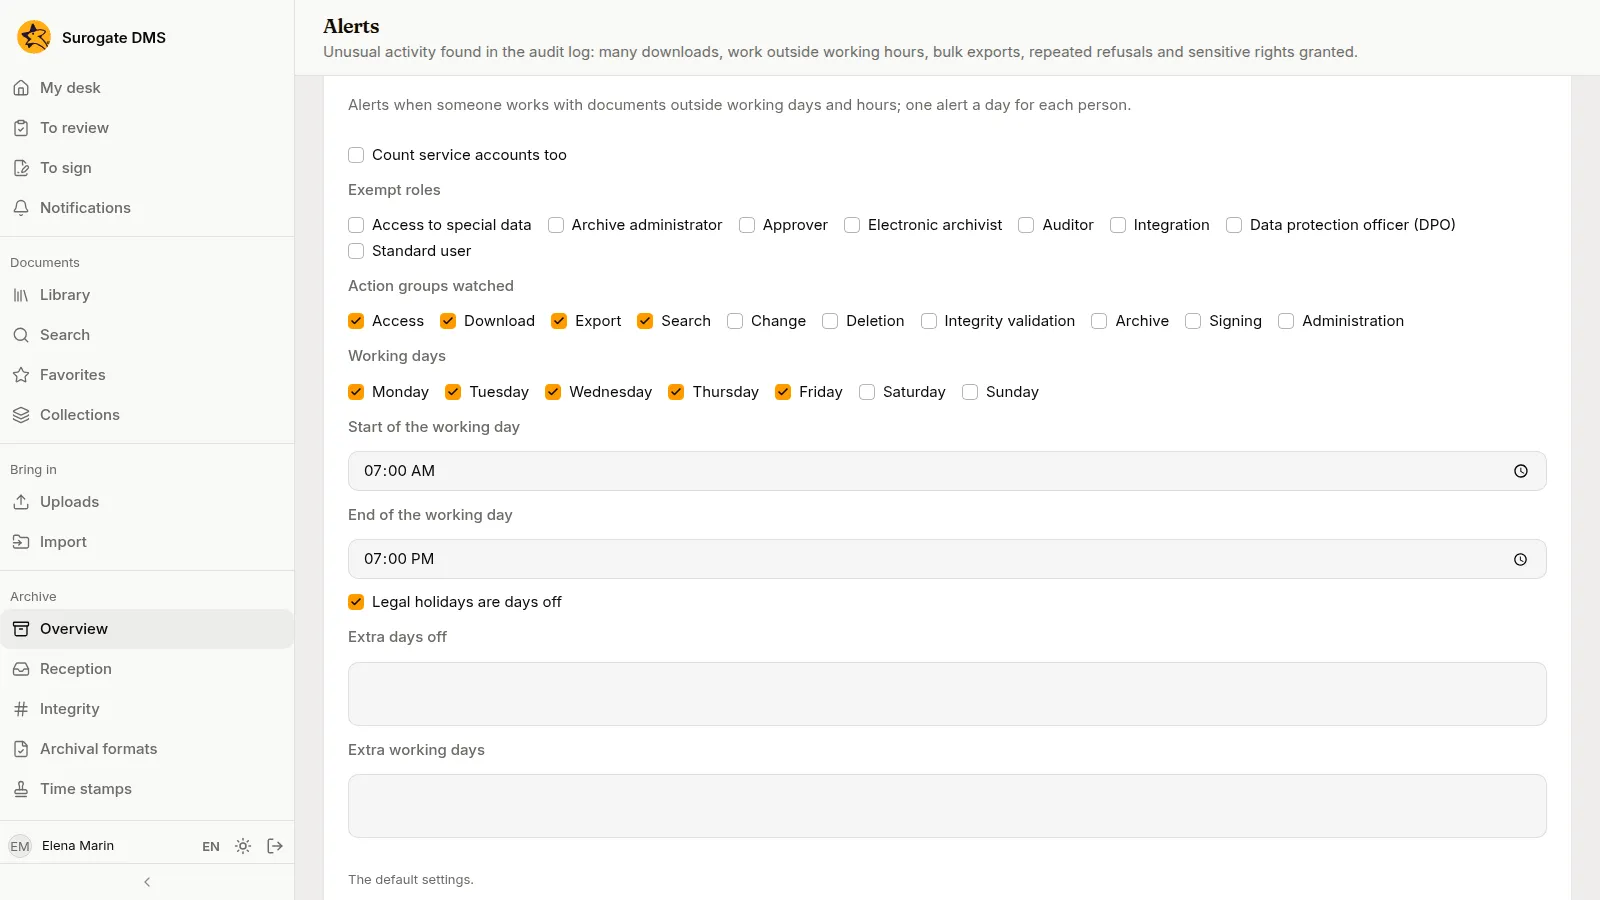
Section titled “8. Check the alert rules”Open Archive › Alerts and look at the Rules tab. The working hours decide when work on documents counts as unusual.
9. Check as a staff member
Section titled “9. Check as a staff member”Ask a colleague who holds only Standard user to sign in and open their folders. If they see no folder, check their grant: Roles and permissions.
10. Read the audit log
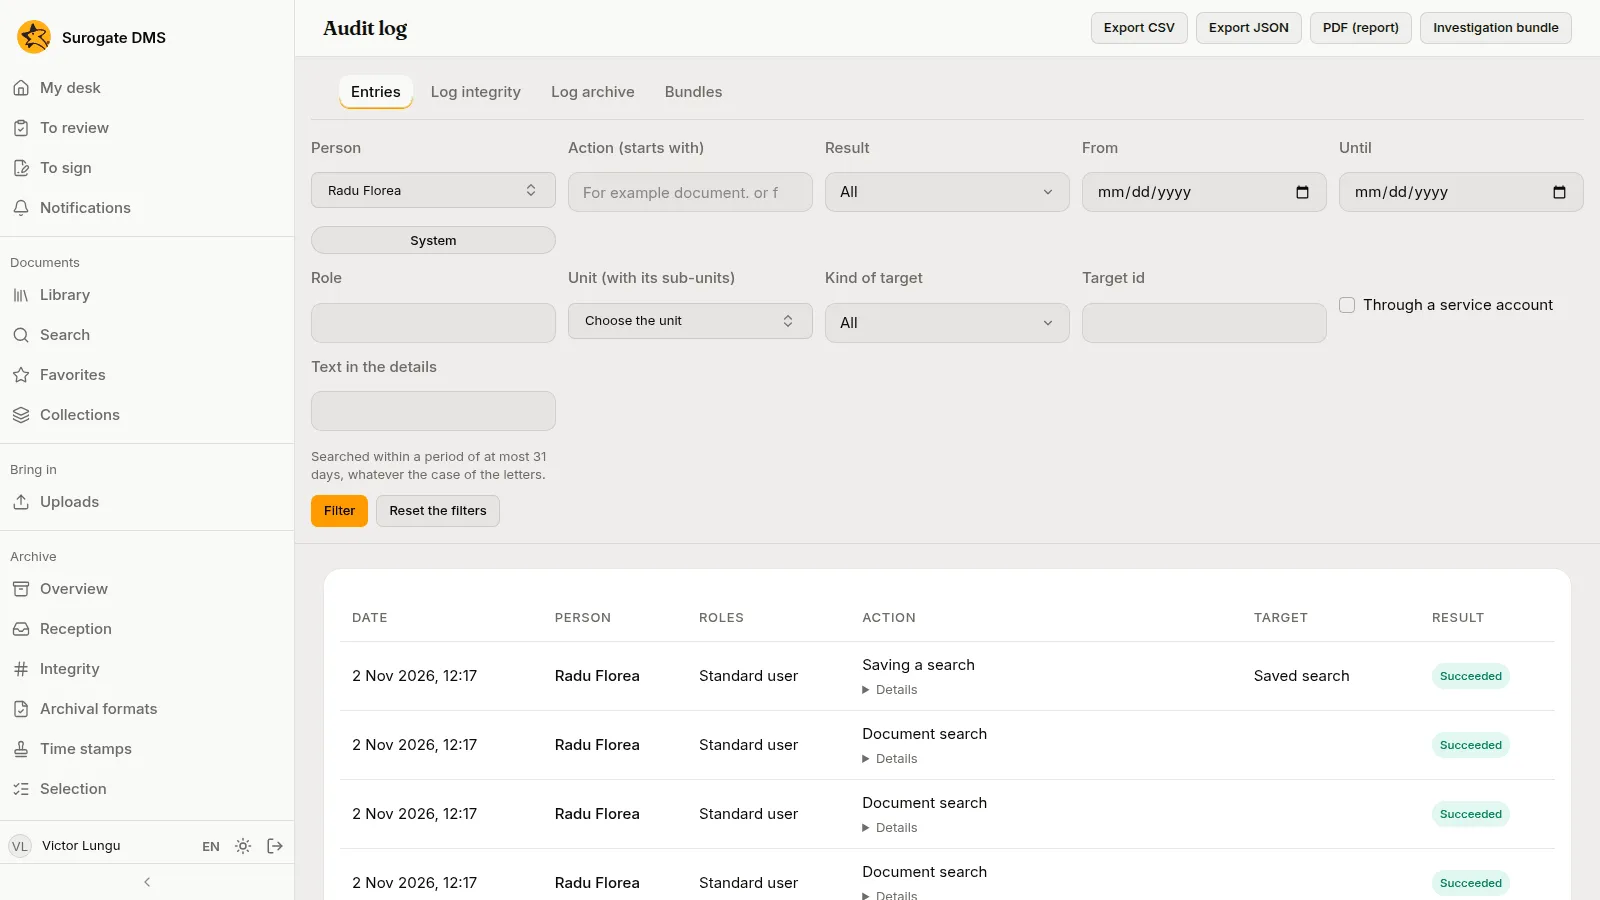
Section titled “10. Read the audit log”Open Audit log and filter the Entries by a person to see what they did.
Next steps
Section titled “Next steps”- Set up a new department repeats these steps for one department.
- Roles and permissions explains grants.
- The Archive overview is where an archivist starts.
- Quickstart for capture sets up a channel and a flow for scanned paper.