

Quickstart
A working agent on your team’s Slack in 10 minutes. No code, no setup.
1. Create the agent
Section titled “1. Create the agent”From the Agents page (left nav) click the + Create agent card and you land on the Templates page.
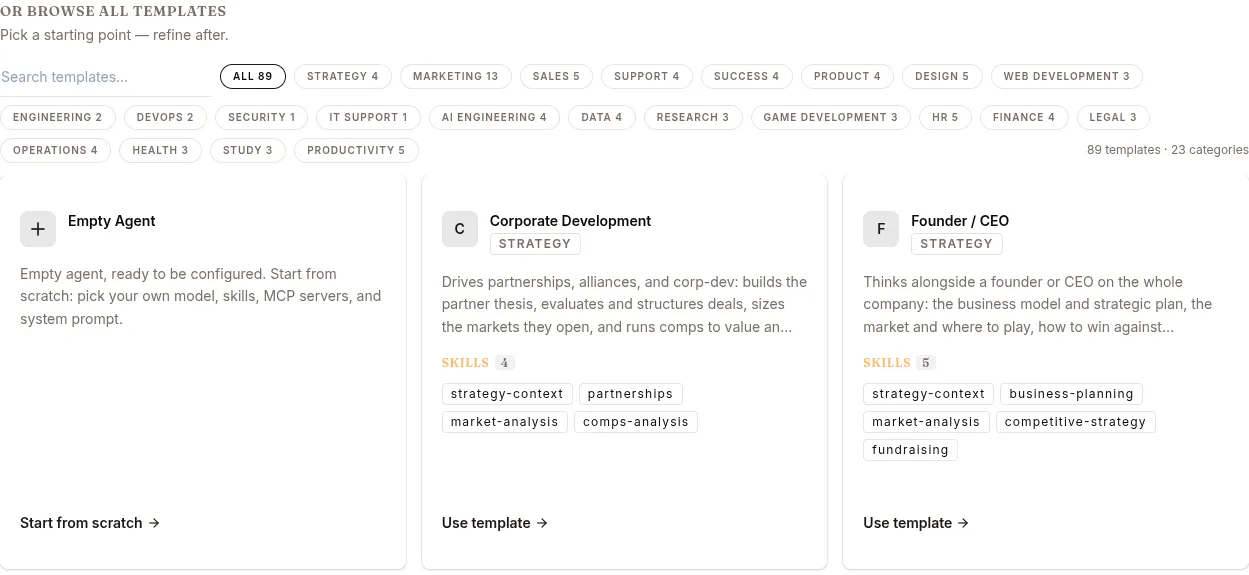
The template catalog carries a few dozen ready-made agents across categories like marketing, sales, support and engineering. Describe what you need at the top and the catalog narrows to what fits, or take one of the quick starts.

Or browse the catalogue yourself, filtered by category. To start with nothing attached, take Start from scratch on the Empty Agent card.
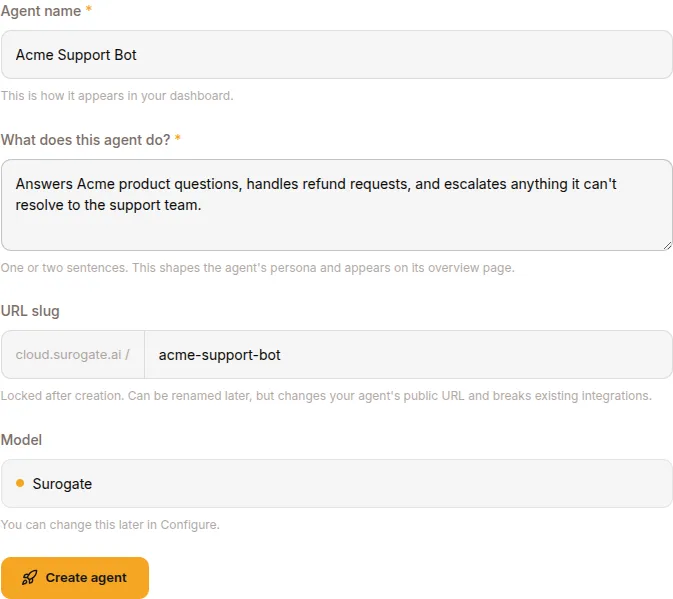
Fill in:
| Field | What to put |
|---|---|
| Agent name | e.g. Acme Support Bot |
| What does this agent do? | one or two sentences — this shapes the persona and shows on the overview page |
| URL slug | auto-generated from the name. Becomes acme-support-bot.cloud.surogate.ai. Locked after creation. |
| Model | leave as Surogate (the platform default) |
Click CREATE AGENT. The agent provisions in ~30 seconds; status flips from deploying to running.
You land on the agent’s Overview page with its public URL, stats, channels, and recent sessions.

2. Have your first conversation
Section titled “2. Have your first conversation”On the agent’s Overview page, click New chat in the left navigation (between Publish and Inbox).
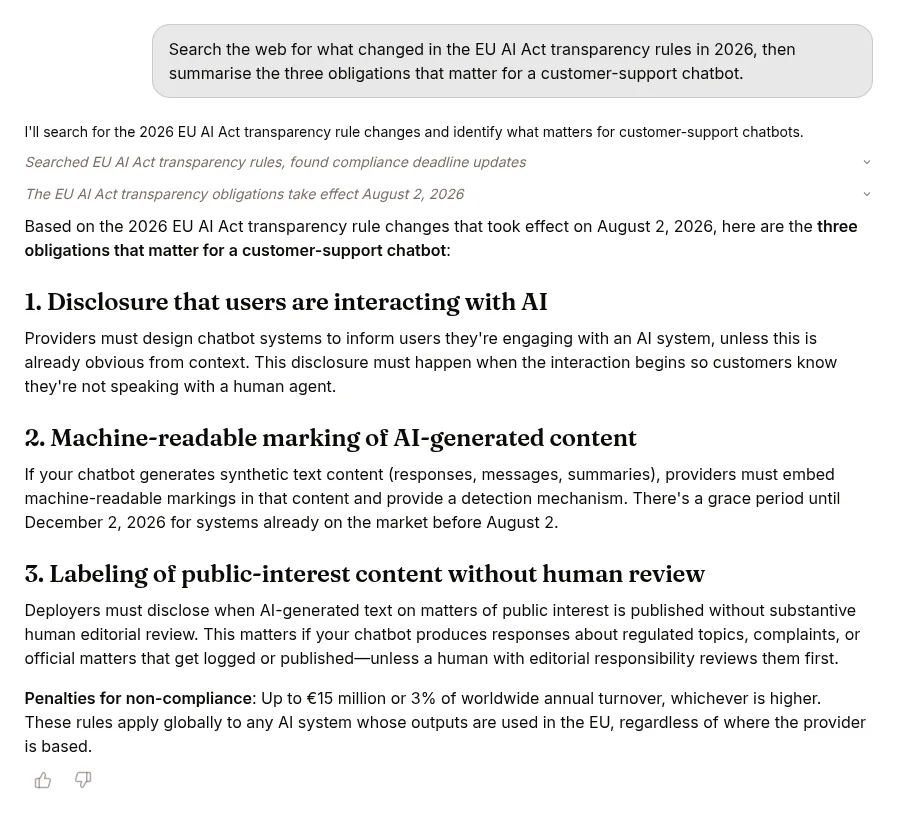
The chat opens. Type a question, press Enter — the agent streams its response. Tool calls (KB searches, web fetches) appear inline so you can see what it did.
Templates ship without your team’s content, so the agent doesn’t know your product yet. Step 4 fixes that.
3. Publish to Slack
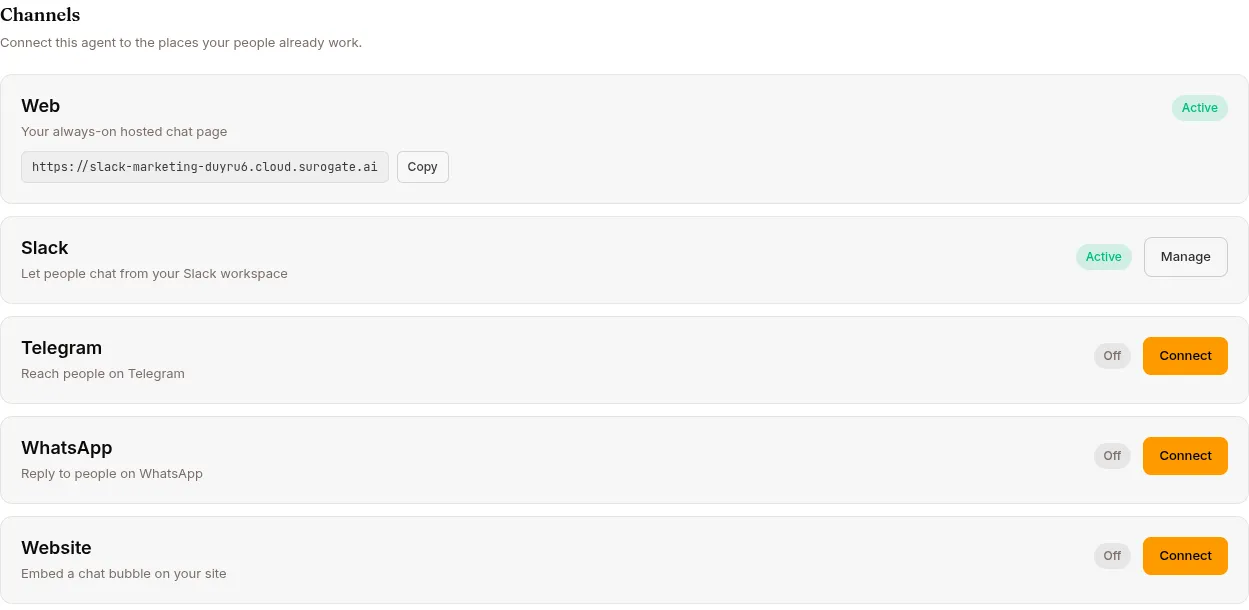
Section titled “3. Publish to Slack”Click Publish in the left nav, then open the Channels tab. Find the Slack card and click Connect — a guided wizard walks you through it.
The wizard asks for your Slack credentials:
- App Token —
xapp-…from your Slack app’s App-Level Tokens (scopeconnections:write) - Bot Token —
xoxb-…from OAuth & Permissions
Don’t have a Slack app yet? Create one at api.slack.com/apps → enable Socket Mode → add bot scopes (chat:write, app_mentions:read, im:read, im:write, channels:history, groups:history, users:read) → install to your workspace.
Finish the wizard and the card flips to Active within a few seconds. DM the bot or @mention it in a channel.
4. Make it smarter (optional but worth it)
Section titled “4. Make it smarter (optional but worth it)”Two quick wins, both on the Configure page:
Add a knowledge base
Section titled “Add a knowledge base”In the left nav under LIBRARY, click Knowledge Bases → NEW KNOWLEDGE BASE. Name it (e.g. acme-product) and pick a curator model. Add a few .md or .pdf sources, click COMPILE, wait for status active.
Back on the agent’s Configure page → Knowledge Bases tab → + ATTACH KNOWLEDGE BASE → pick the new KB.
The agent will now search the KB at runtime when a question matches its content.
Tighten the persona
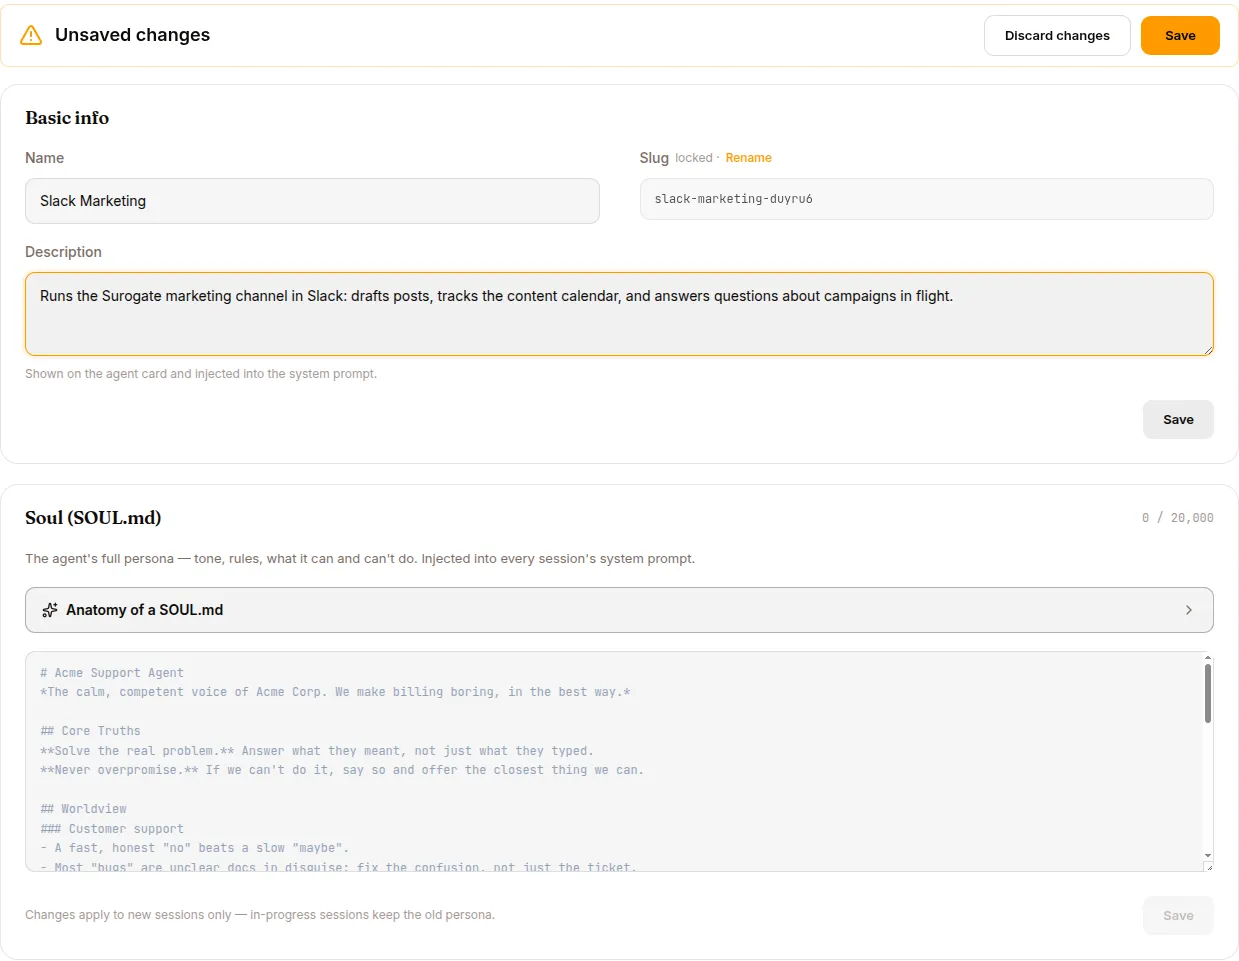
Section titled “Tighten the persona”The agent’s identity, tone, and rules live on Configure → Identity tab — the DESCRIPTION field for short summaries and a SOUL.md textarea (up to 20,000 characters) for the full persona block. Replace the default with something like:
# Acme Support Agent
You are the Acme support assistant. Speak as "we" when referring to Acme.Tone: warm, concise, technically literate. Avoid corporate boilerplate.
When you don't know something, say "I'll get a human on this" ratherthan guessing.
Save. New chats pick up the new persona; in-progress sessions keep the old one (by design).
5. Watch what it does
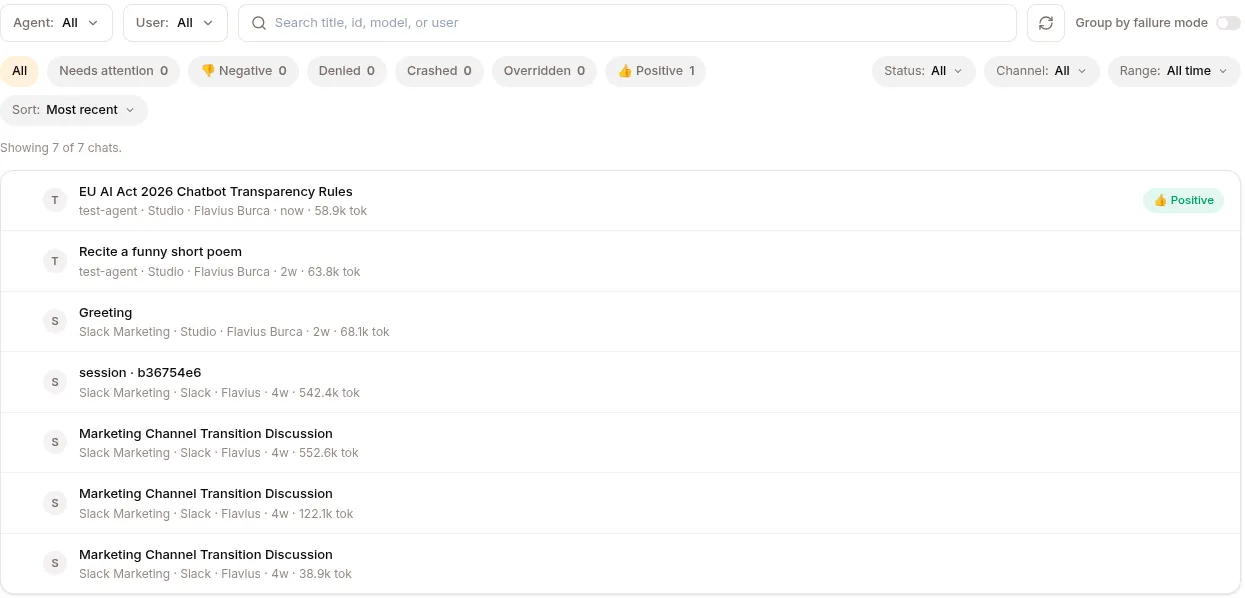
Section titled “5. Watch what it does”Every chat is a session. Open Sessions in the left nav → pick a session.
For each session, hover assistant turns and click 👍 or 👎. This is the signal you use to improve the agent over time — see Improve your agent.
What you’ve done in 10 minutes
Section titled “What you’ve done in 10 minutes”- A live agent on a public URL:
<your-slug>.cloud.surogate.ai - Available in Slack to your team
- Grounded in your product docs (via the KB)
- With your tone (via the persona)
- Recording every conversation for review and improvement
That’s enough to start using it for real work. Come back to Run an agent and Improve your agent when you want to go deeper.