Keel quickstart
This page takes a project with no case types to a first case that a person works and closes. You build a small loan request: a case starts with an applicant and an amount, one person reviews it, and the review approves or declines it. It takes about twenty minutes.
The pictures were taken in a demo project, so some of them show more than your screen will. Your project starts with an empty Case types page.
You need:
- a Surogate account that is an Owner of a project in Studio. An Editor can do every step but step 2; ask an owner to do that one.
- a work email for the person who will work the case. It can be your own: staff accounts are separate from Surogate accounts.
The quickstart for the business app is for the people who work cases: it shows the business app’s pages in more detail.
1. Sign in to Keel Builder
Section titled “1. Sign in to Keel Builder”-
Open Keel Builder at https://keel-builder.surogate.ai and sign in with your Surogate username or email and password, or with Continue with Google or Continue with GitHub where they show.
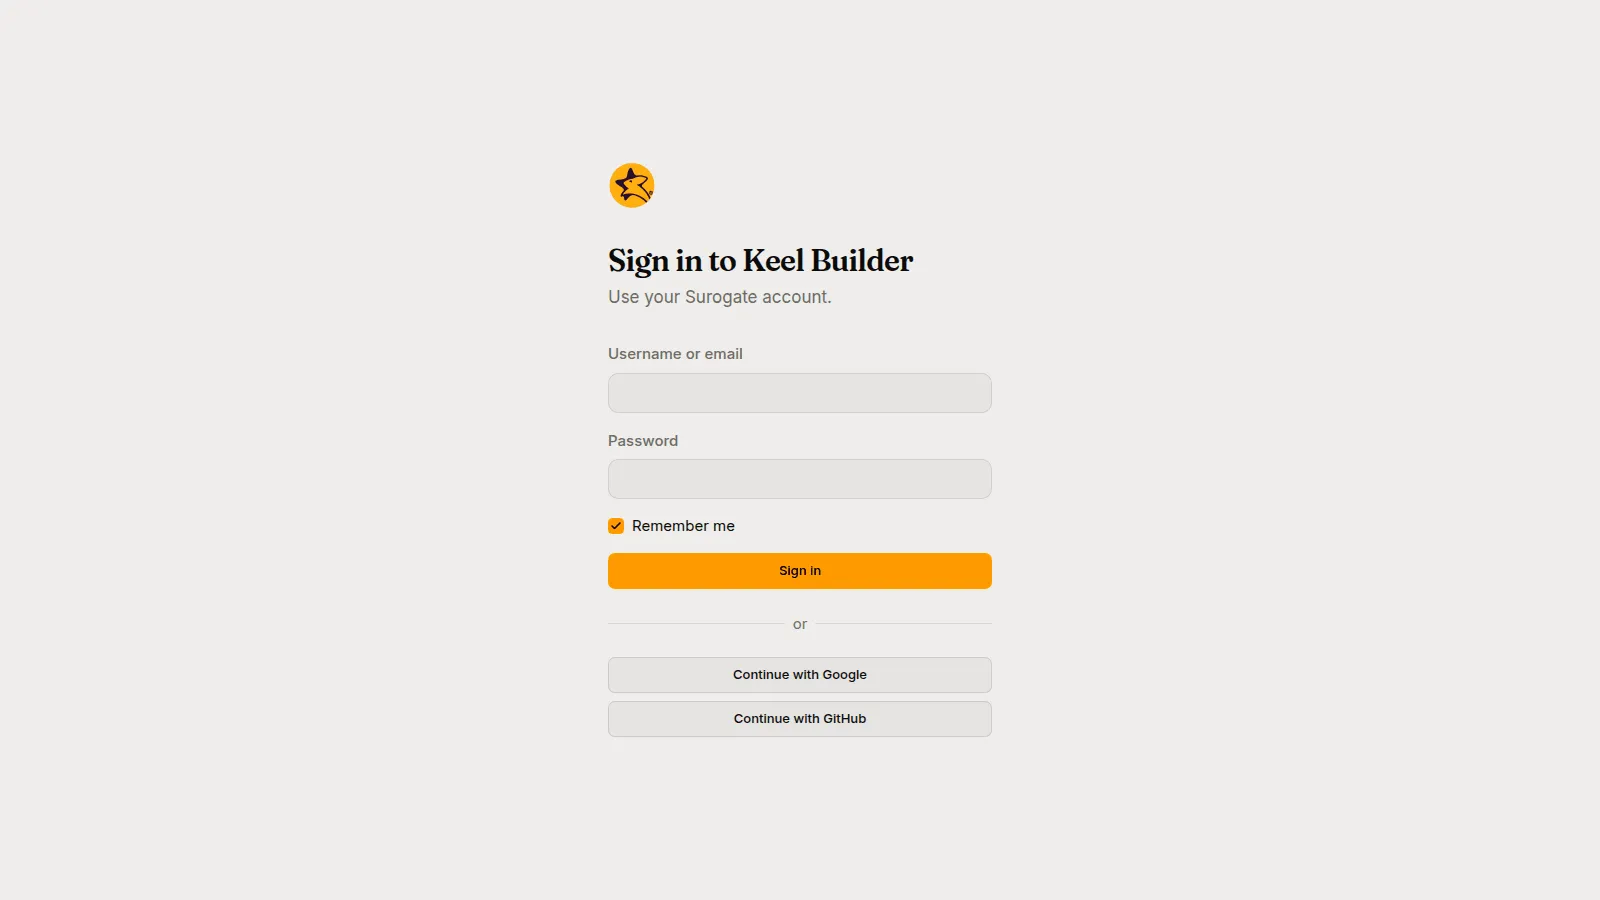
The Keel Builder sign-in page: username or email, password, Remember me, Sign in, and the Google and GitHub buttons -
If the project shown is not the one you want, pick it in the switcher at the top of the left rail. The app shows its Case types page, which says No case types yet when the project has none.
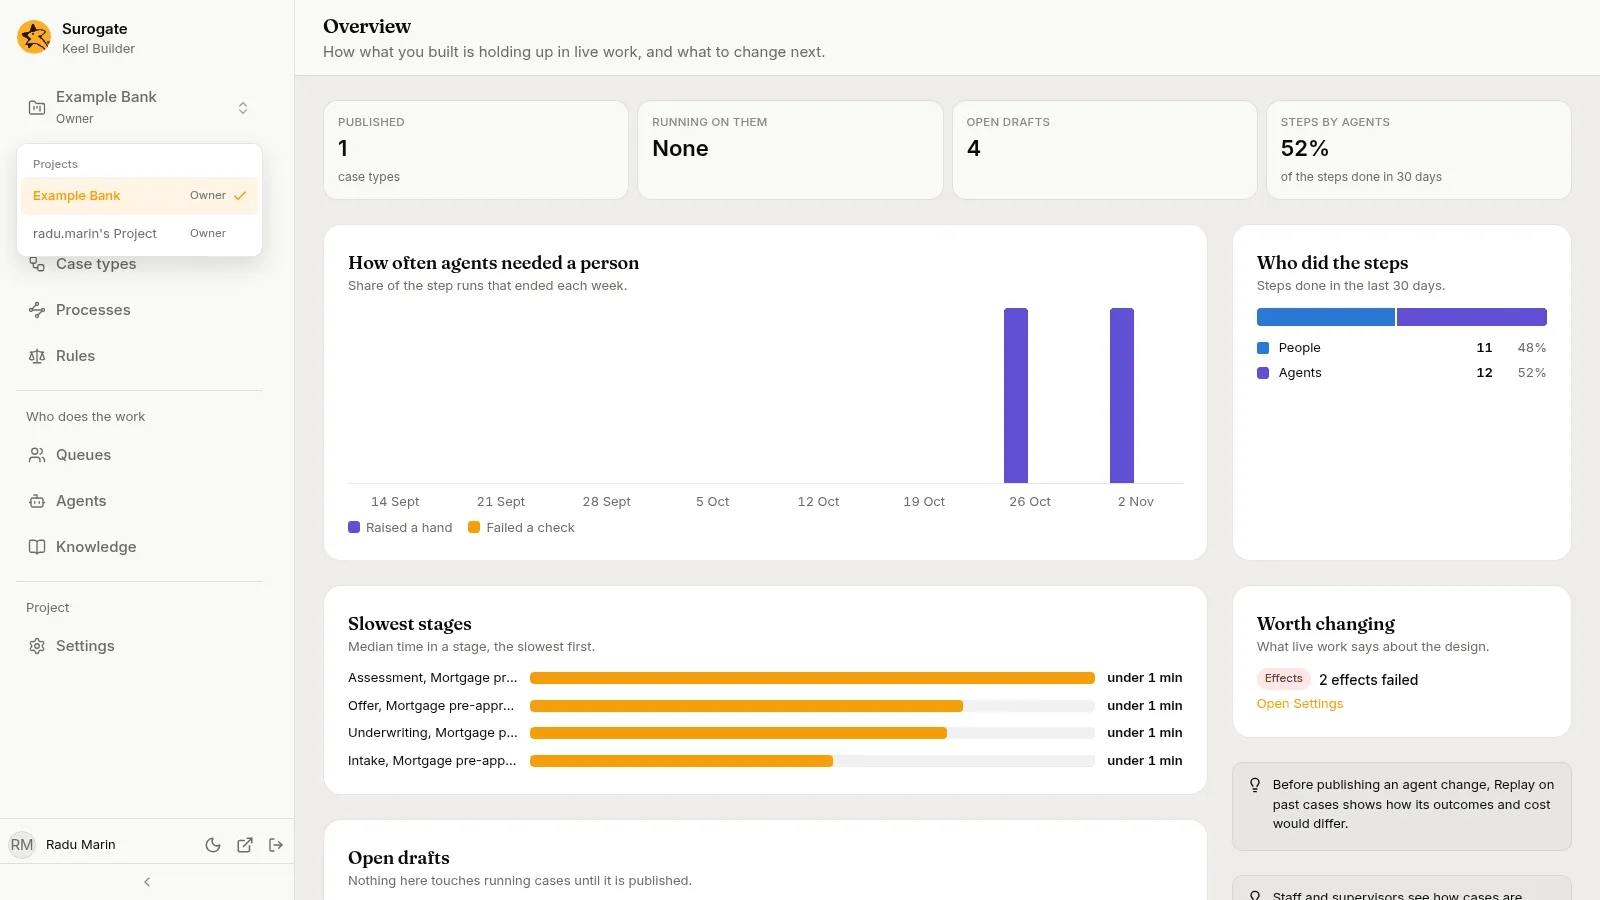
The project switcher open at the top of the left rail, with the project name and your role
See Sign in to Keel Builder if the app says you are not a member of any project.
2. Invite someone to work the case
Section titled “2. Invite someone to work the case”Cases are worked in the business app, by the project’s staff. Make the first staff member a supervisor.
-
Open Queues in the left rail.
-
Under Supervisors, press Invite a supervisor.
-
Enter the person’s Email and Name, then press Invite.
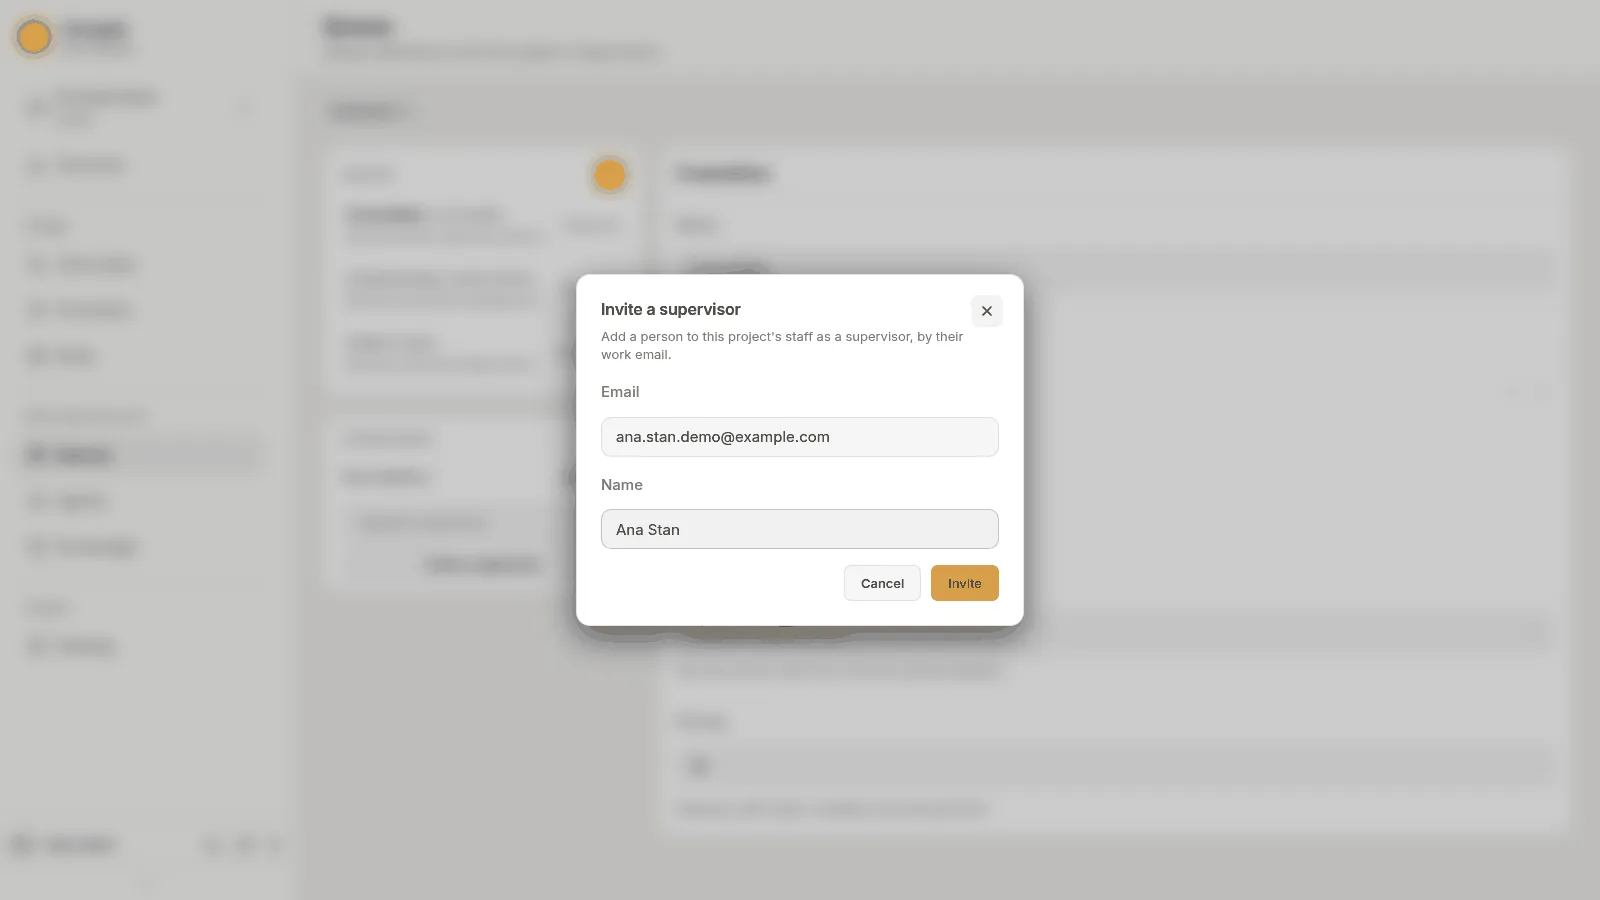
The Invite a supervisor dialog with an email and a name filled in -
The dialog answers with how the person signs in. For a new password account it says Send name this link to set their password and shows a Set-password link. Copy the link, then press Done. The link works once.
If the project signs in with Google or GitHub, the dialog shows a Sign-in link instead. The person signs in there with the email you entered.
If the email already has an account the project can use, the dialog says so, for example that the person was on the staff already and is now a supervisor, or that they can sign in with the account they have. They sign in with that account.
Inviting needs the project’s business sign-in. If the dialog says This project has no organisation to invite people into. Ask an administrator. or Invitations cannot reach the runtime now; try again shortly., you cannot go on with this quickstart until that is fixed. See why someone cannot be invited.
3. Create the case type
Section titled “3. Create the case type”- Open Case types and press New case type.
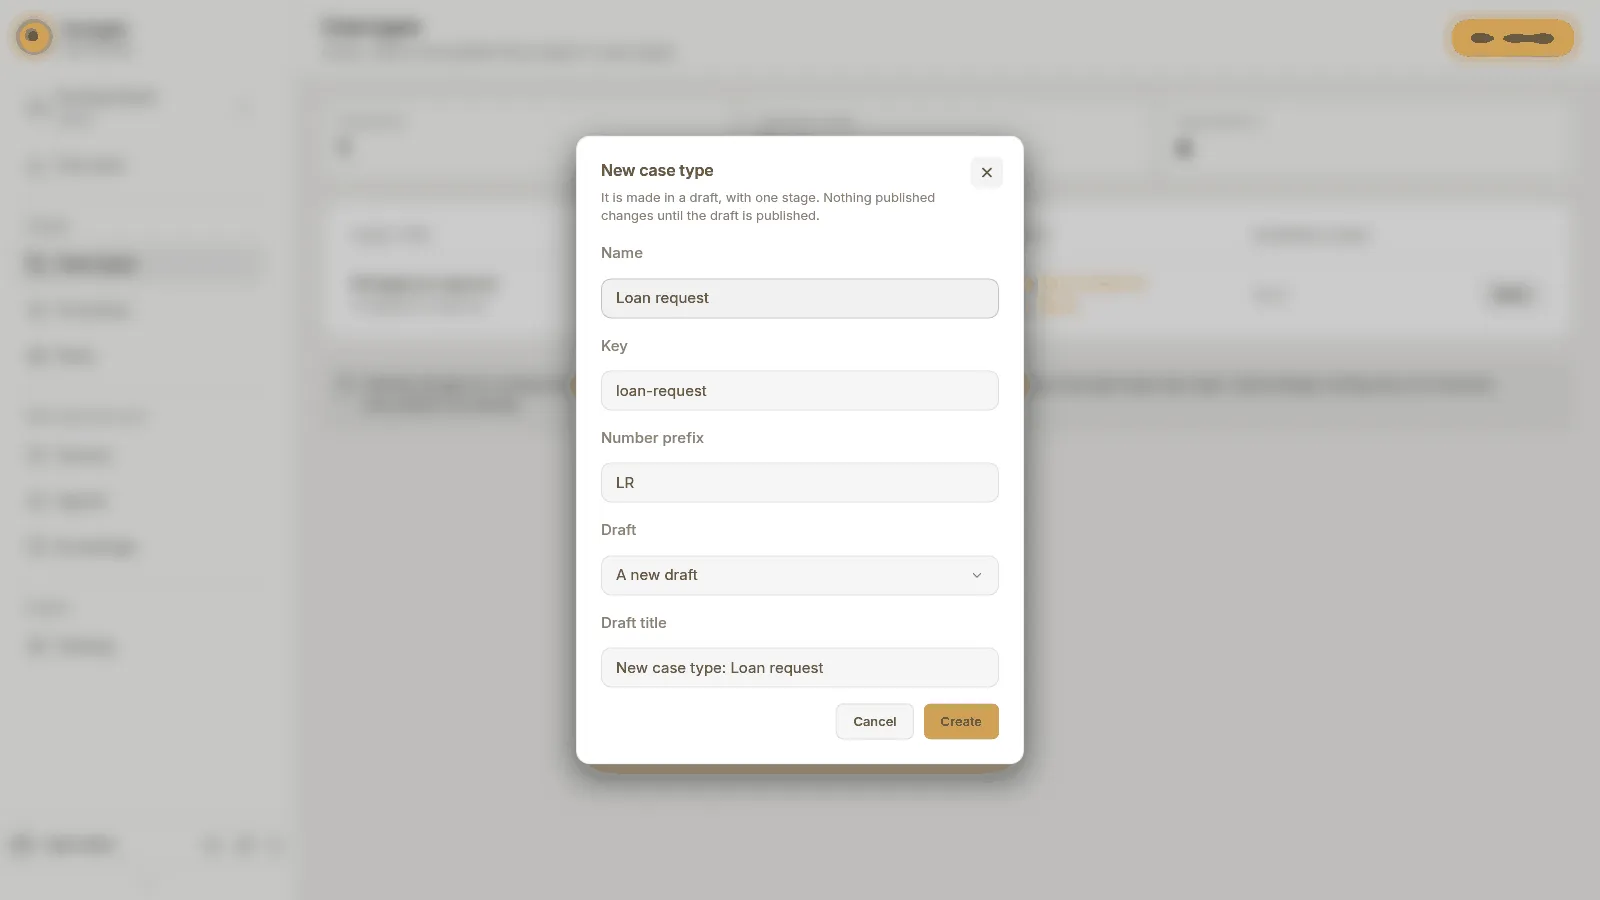
- Type the Name:
Loan request. The Key (loan-request) and the Number prefix (LR) fill in from the name. - Leave Draft on A new draft, with the Draft title it offers.
- Press Create.
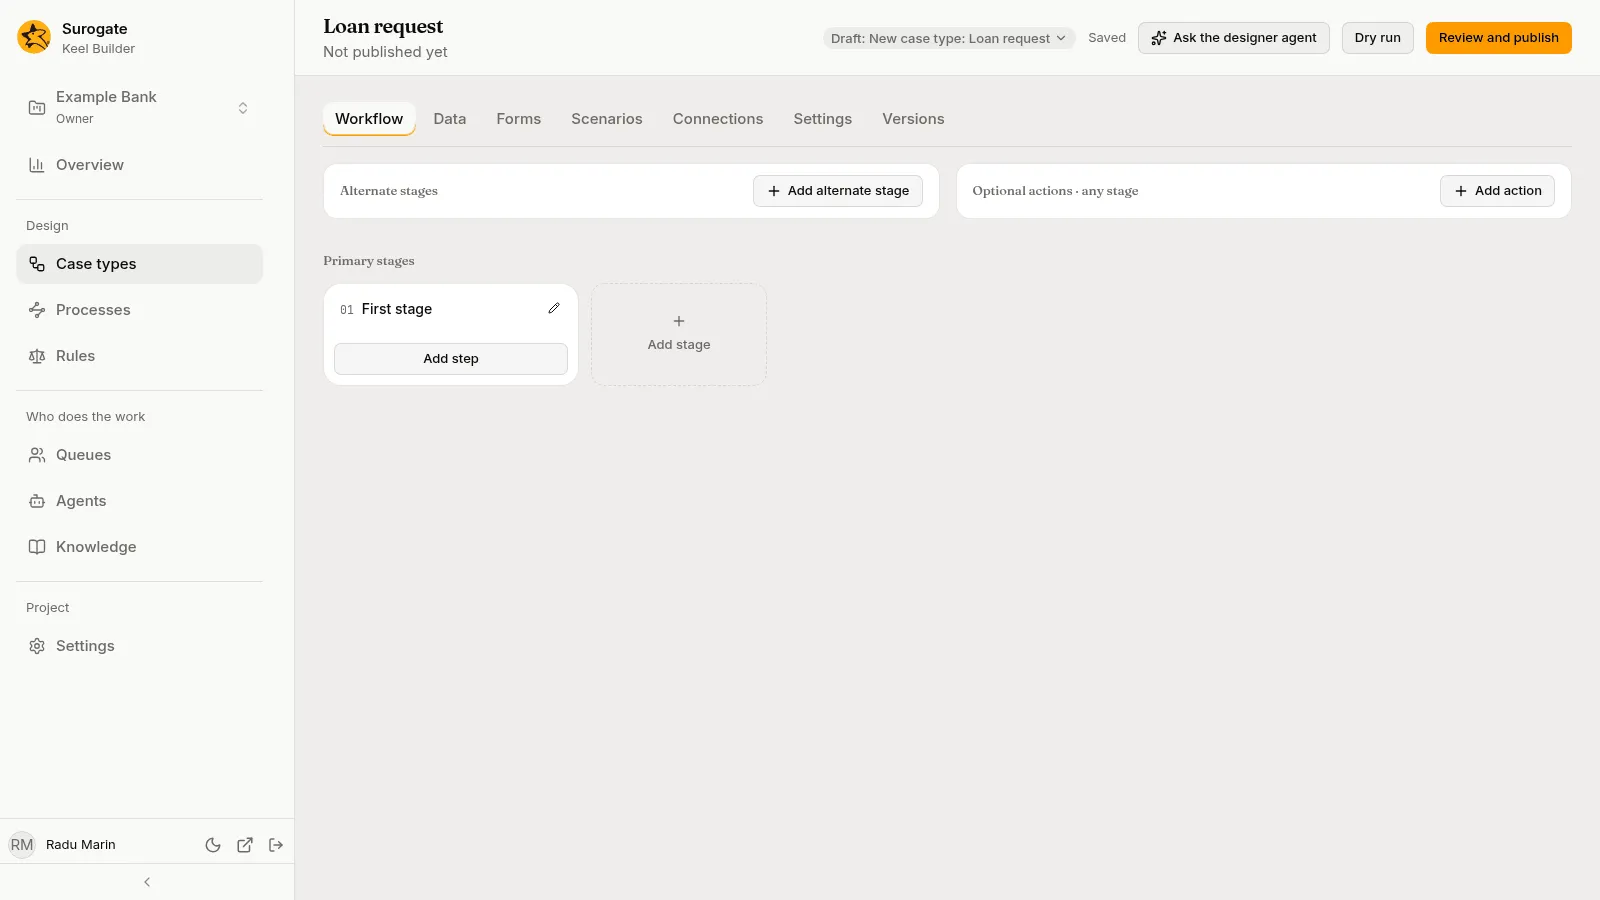
The designer opens on the new case type, in the new draft. The page header says Not published yet, and a chip beside the Ask the designer agent, Dry run and Review and publish buttons names the draft. The case type has one stage, First stage. Every change you make from now on is saved to the draft a moment after you make it: the line beside the chip says Saving…, then Saved.
4. Add the fields
Section titled “4. Add the fields”-
Open the Data tab. It says No fields yet. Press Add field.
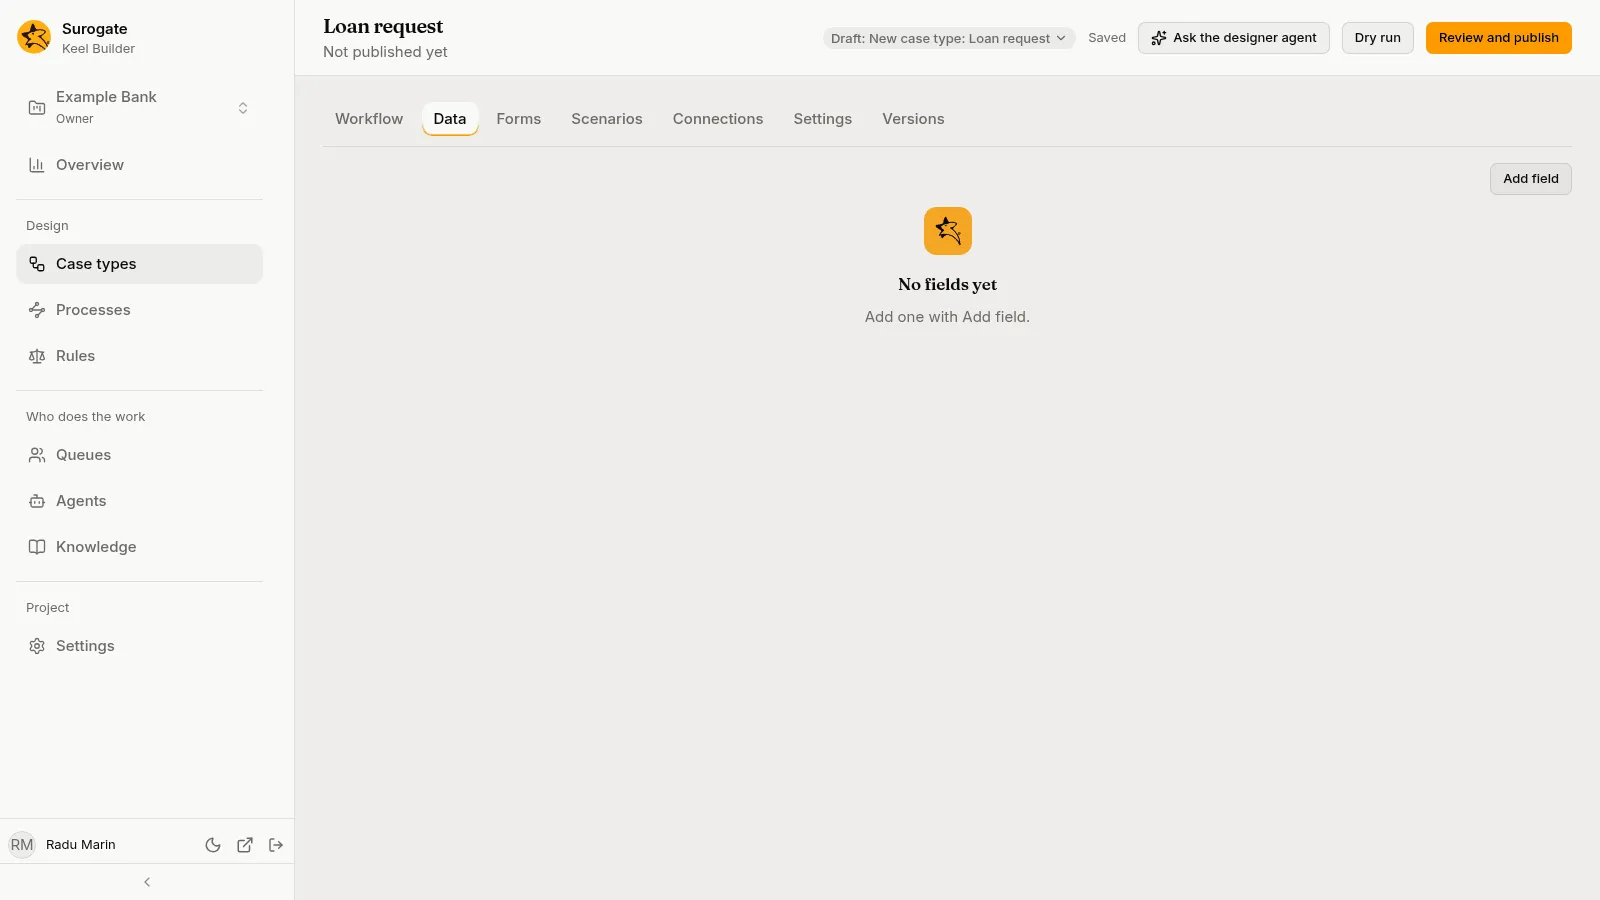
The Data tab of a new case type: No fields yet, and an Add field button -
Fill in Name
applicant, LabelApplicant, Type Text, and turn Required on. Press Save.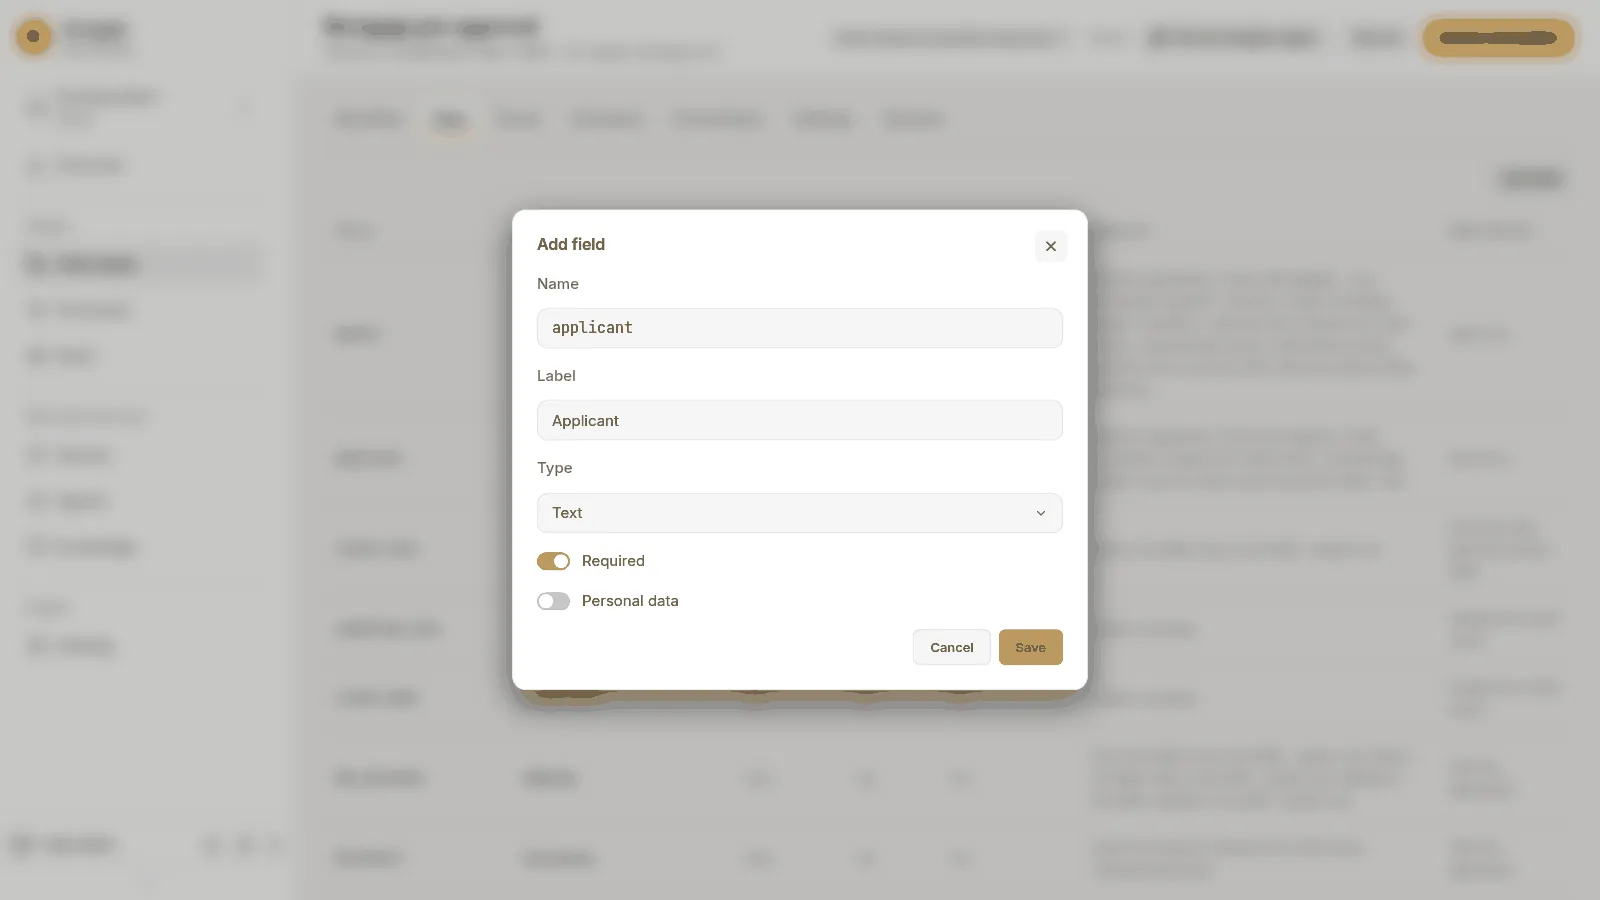
The Add field dialog filled in for the applicant: name, label, type Text, Required on -
Add a second field: Name
amount, LabelAmount, Type Decimal, UnitEUR, Required on. A currency code such asEURshows the value as money.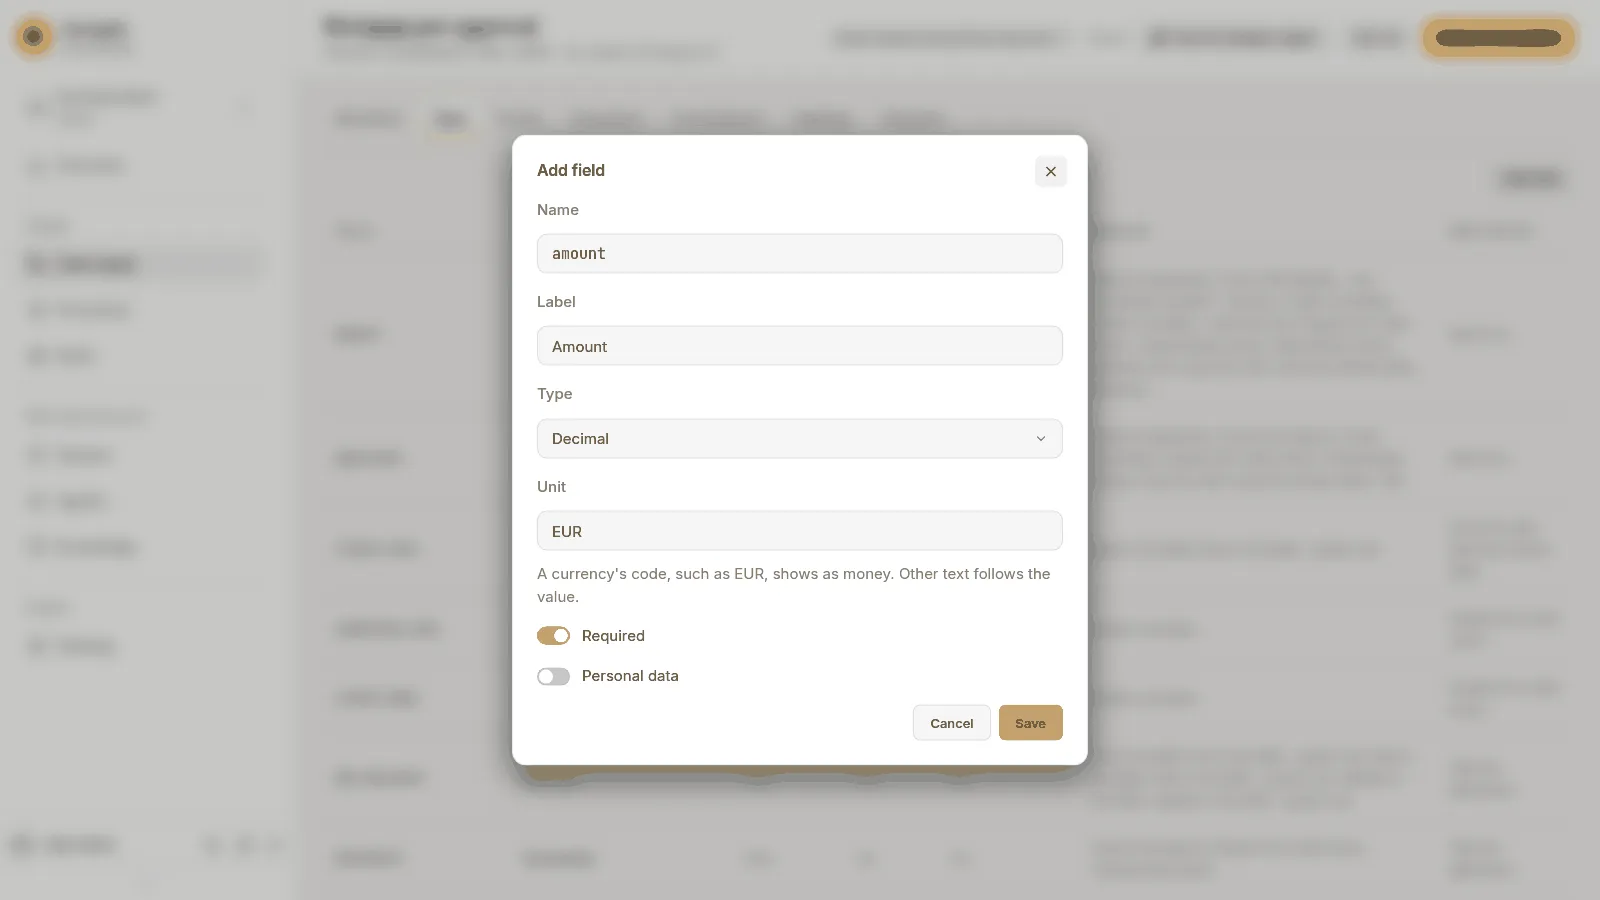
The Add field dialog for the amount: type Decimal, unit EUR, Required on -
Add a third field: Name
review_note, LabelReview note, Type Text. Leave Required off.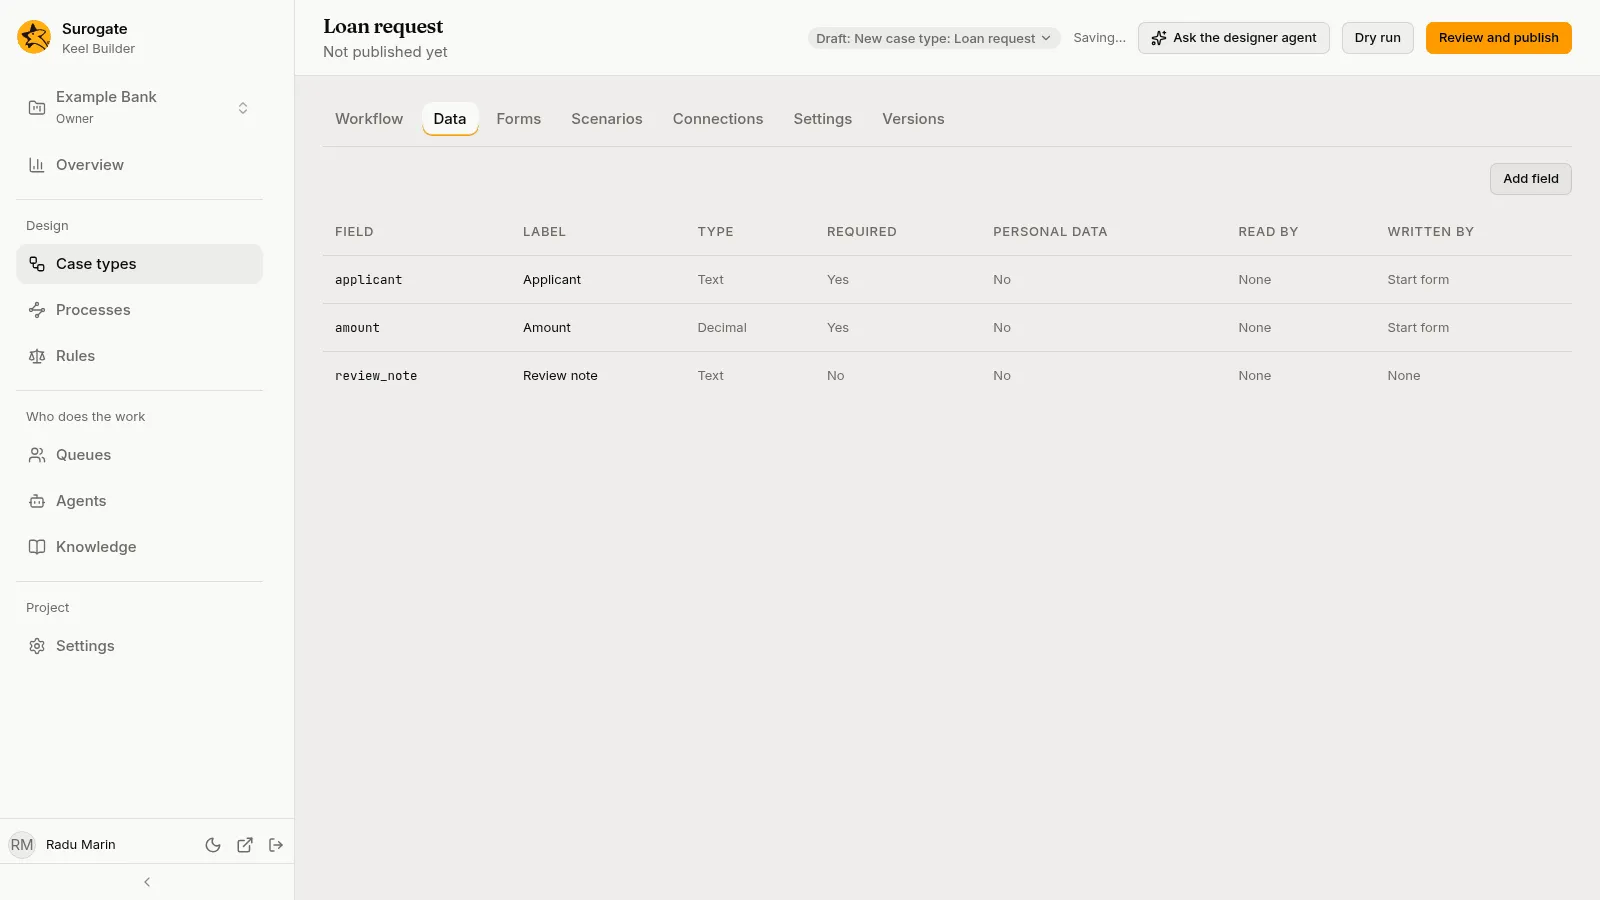
The Data tab with the three fields, and which start form asks for each
Required fields are what a case must start with: the business app’s start form asks for them.
5. Add the review step
Section titled “5. Add the review step”-
Open the Workflow tab. The board shows one column, 01 First stage.
-
Press the pencil beside the stage’s name, change Name to
Review, and press Save.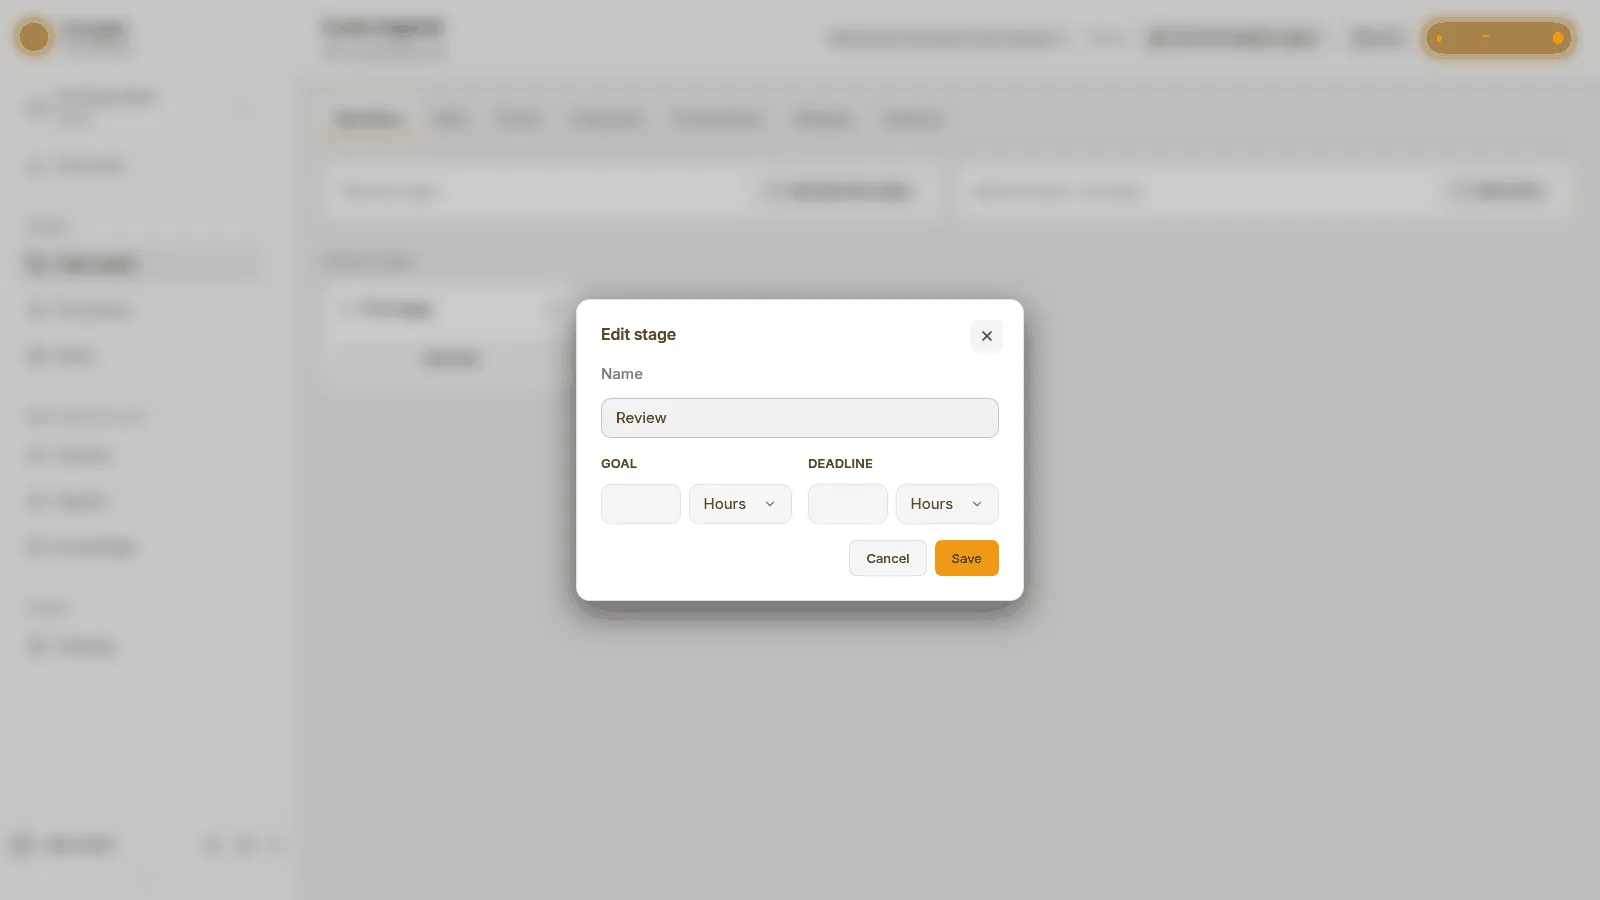
The Edit stage dialog with the name changed to Review, and the goal and deadline fields -
Press Add step under the column. In Add to Review, keep Kind on Step, type the Name
Review the request, set Done by to A person or a queue, and press Add. -
Press the new card. The step’s panel opens on the right, with the tabs Who, Fields, Outcomes and Rules.
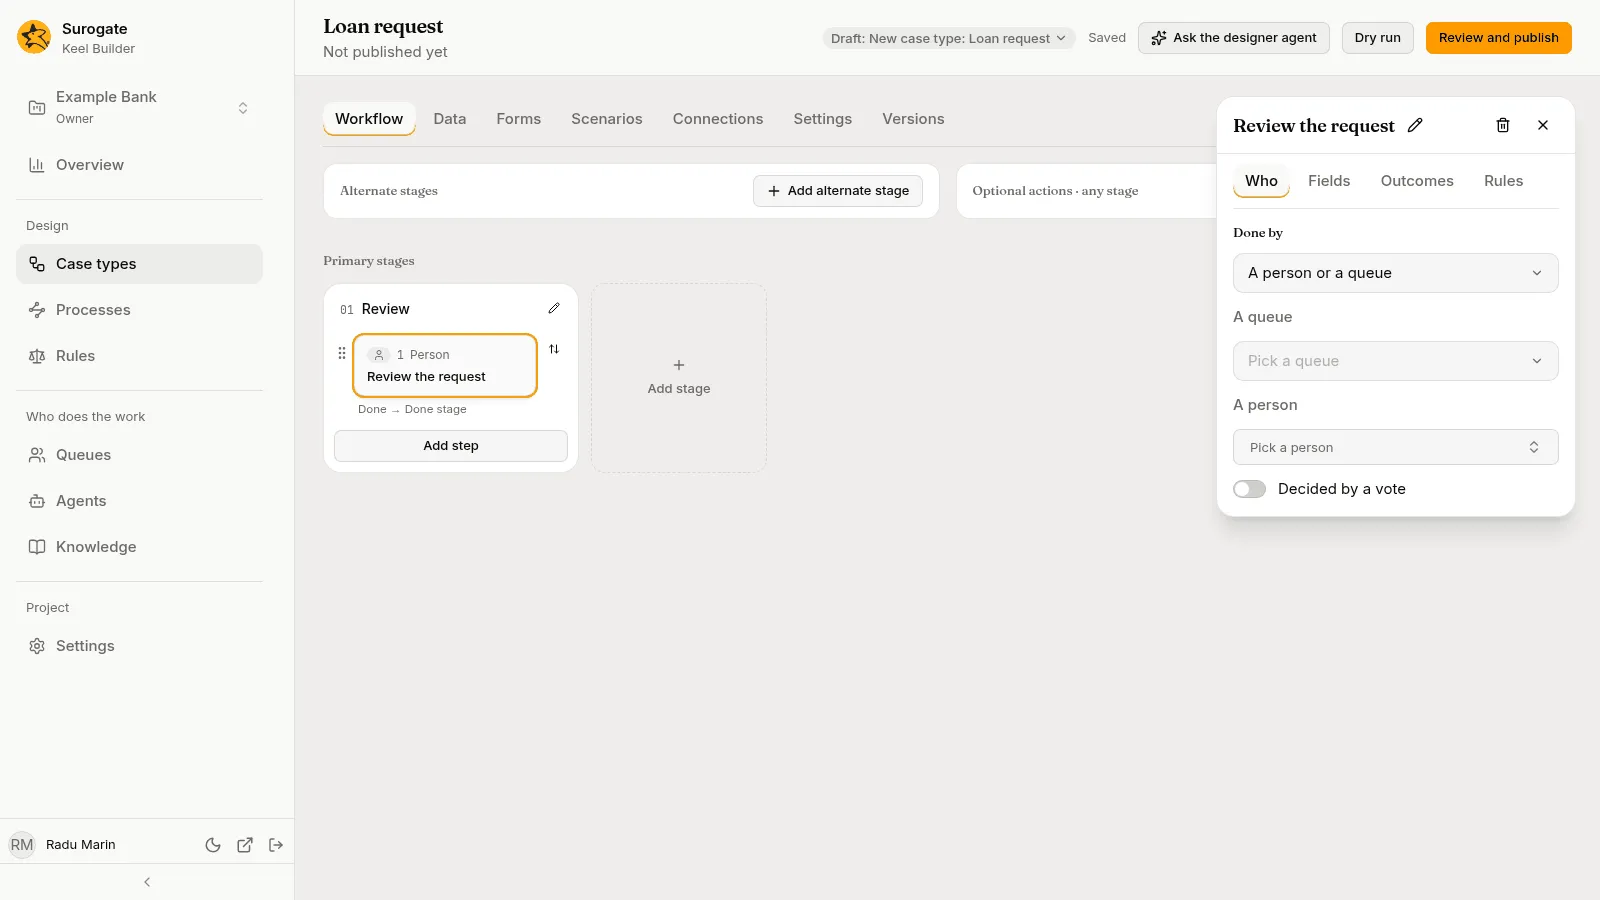
The step panel open on the new step, on the Who tab: Done by, a queue, a person, and Decided by a vote
Fill in the panel:
-
On Who, under A person, press Pick a person and type two letters of the name of the person you invited. Pick them.
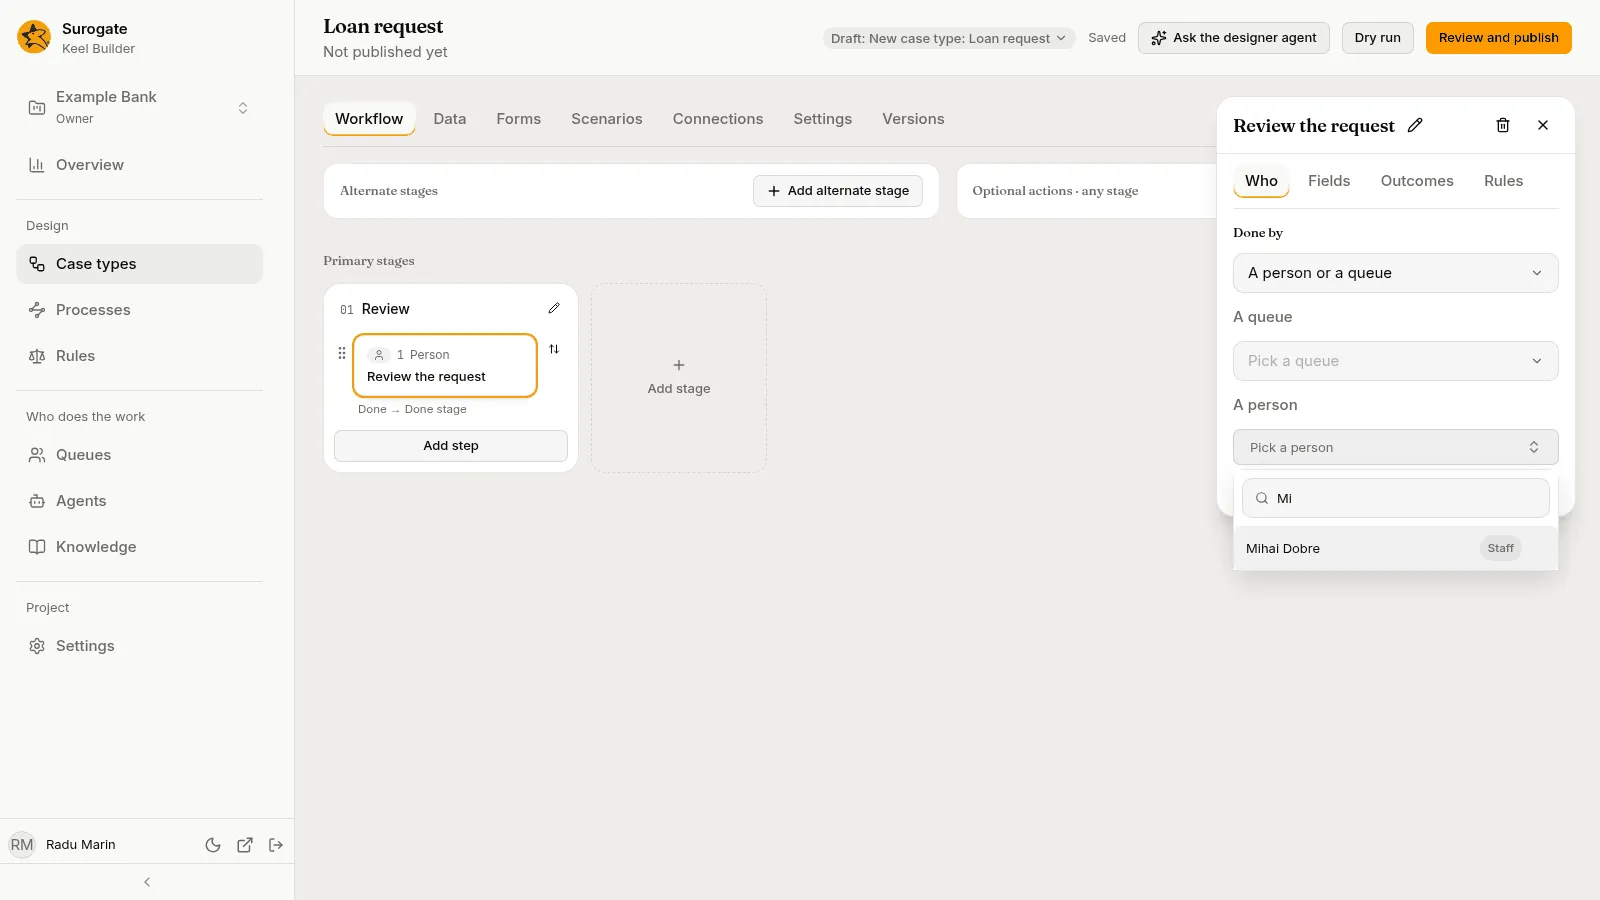
The person picker open, showing the staff member whose name matches the letters typed The card now says Assigned to their name.
-
Open Fields. Under Receives, pick Applicant from the Add menu, then Amount. Under Must return, pick Review note from its Add menu.
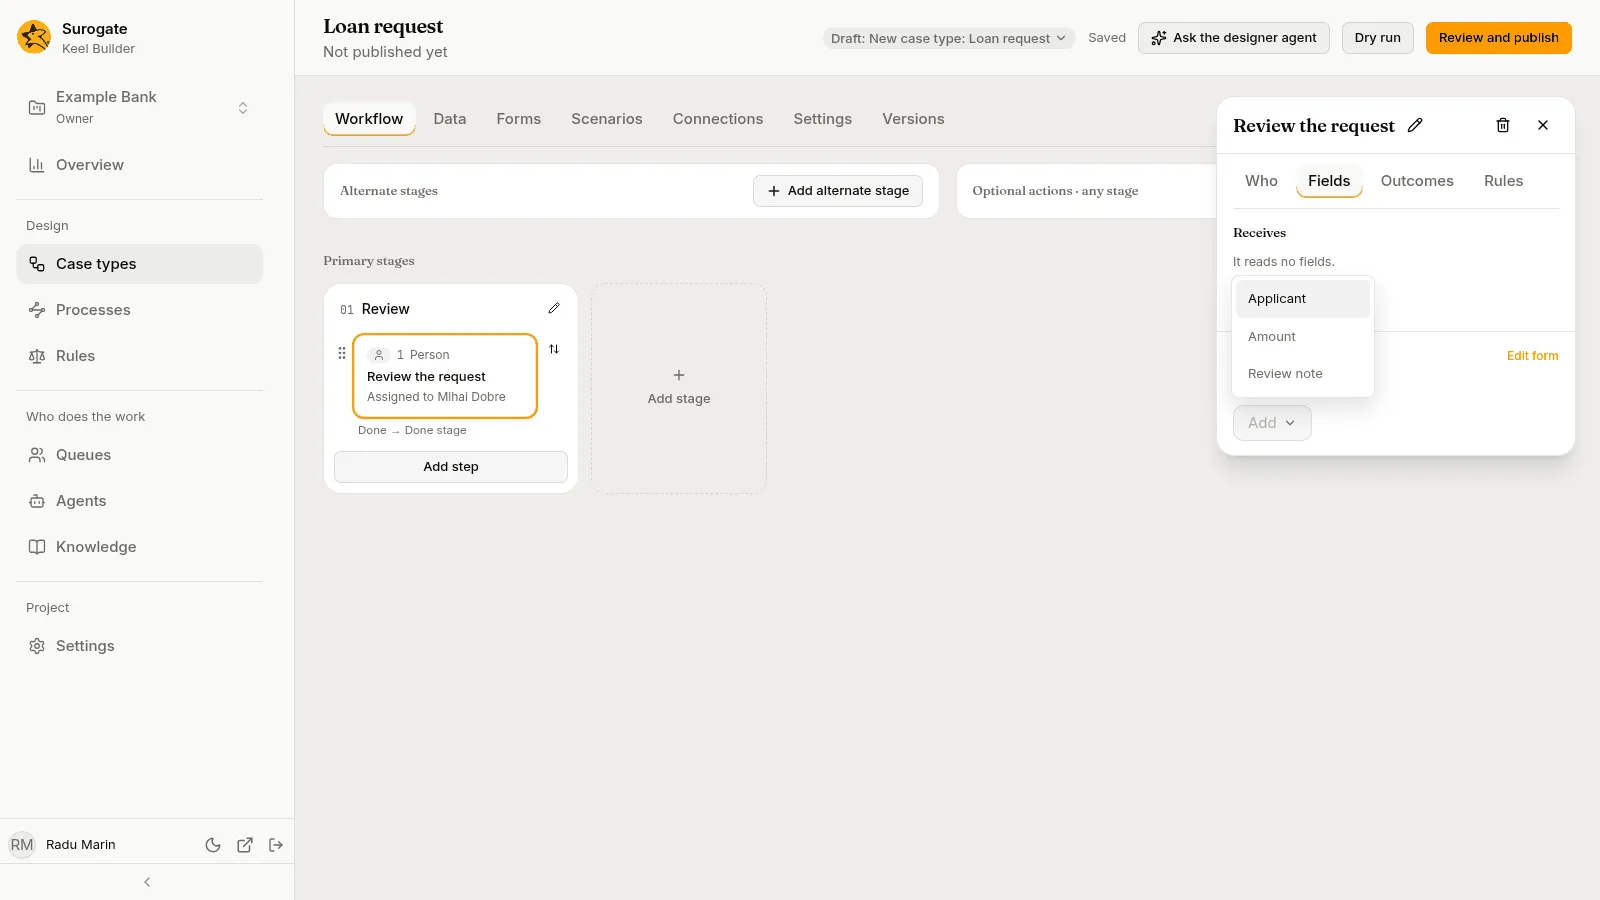
The Add menu under Receives, listing the case type's fields 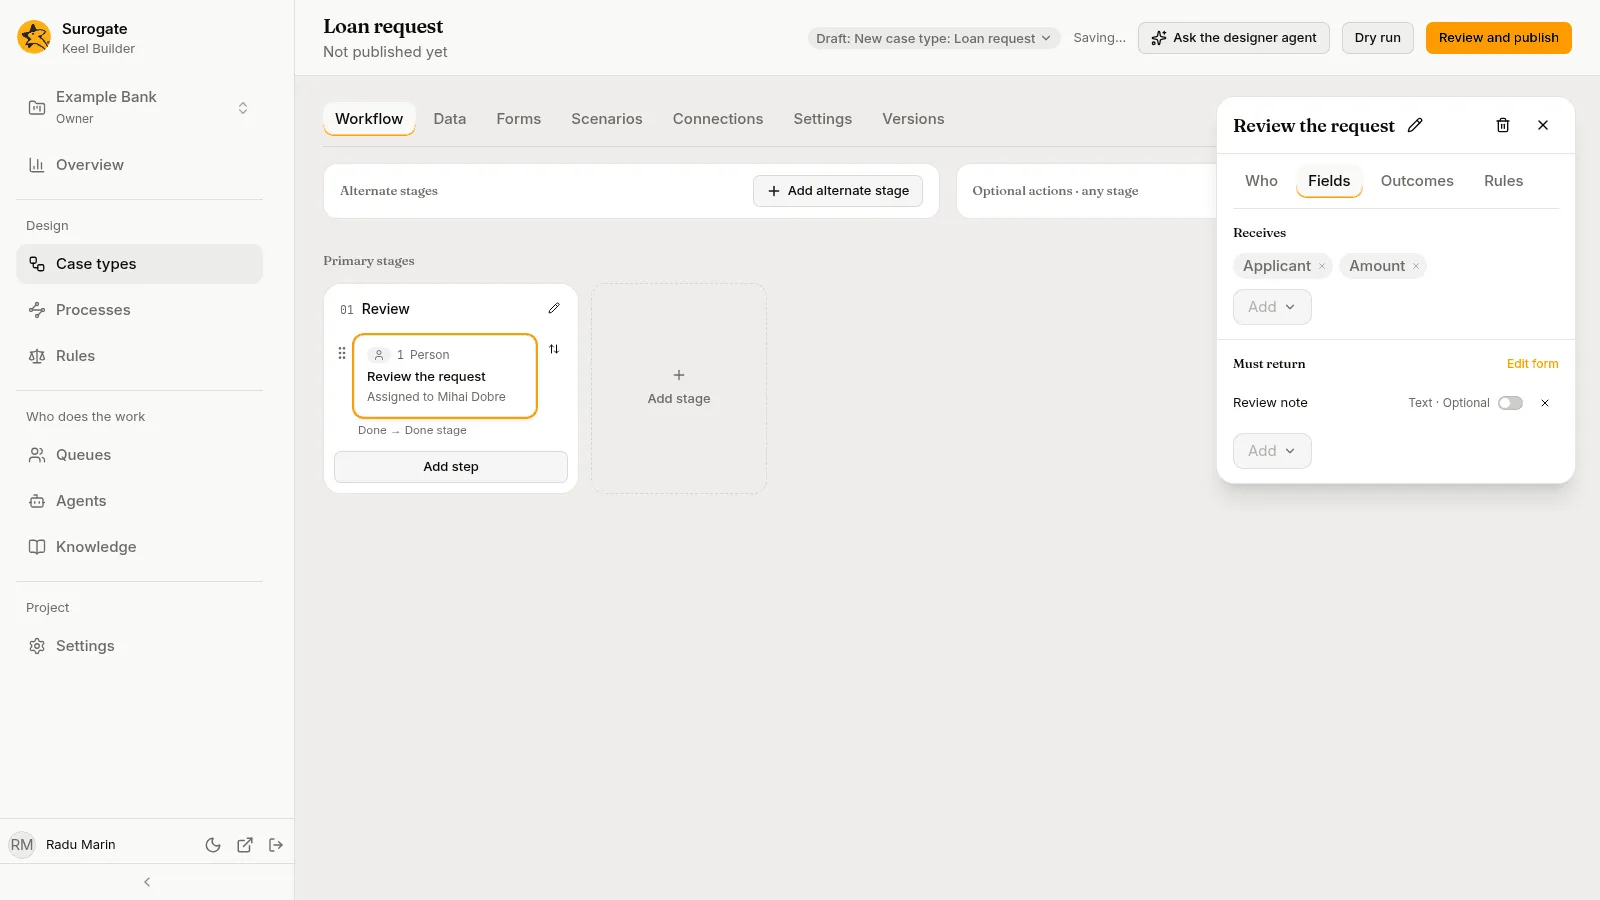
The Fields tab: the step receives Applicant and Amount and must return Review note -
Open Outcomes. The step has one outcome, marked Main path. Type
Approvein its Label. Open its Leads to menu.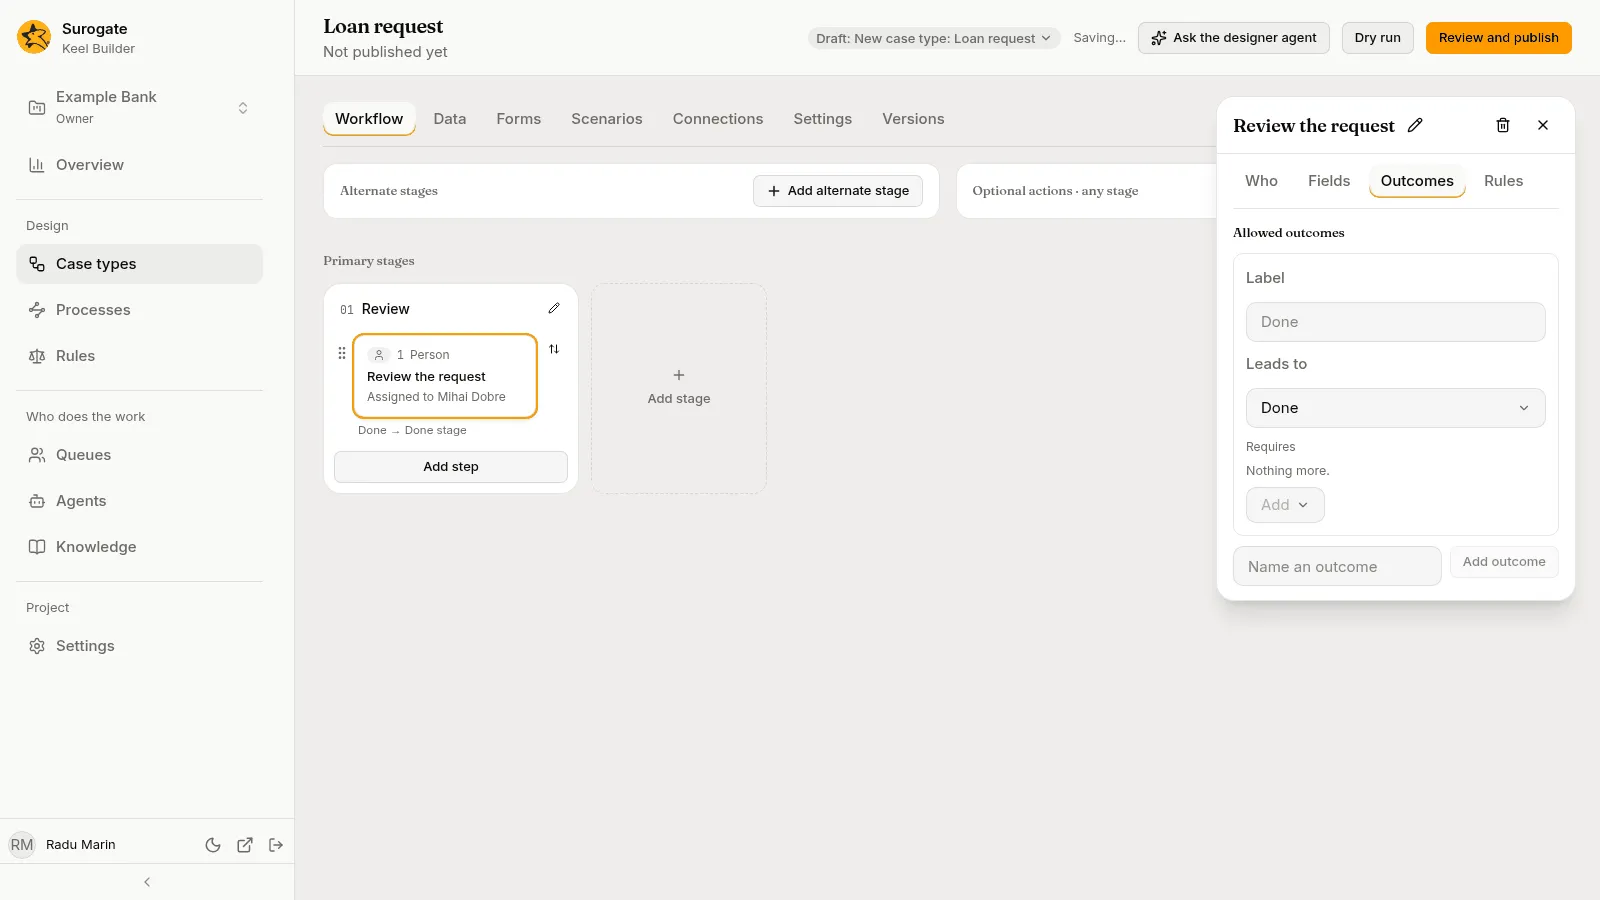
The Outcomes tab of a new step: one outcome, with a Label and a Leads to menu The menu offers the steps of the stage, the next stage (Done after the last stage), any other stage, End of this path and Close as…. Pick Close as…, type
Approvedin Resolution and press Close as.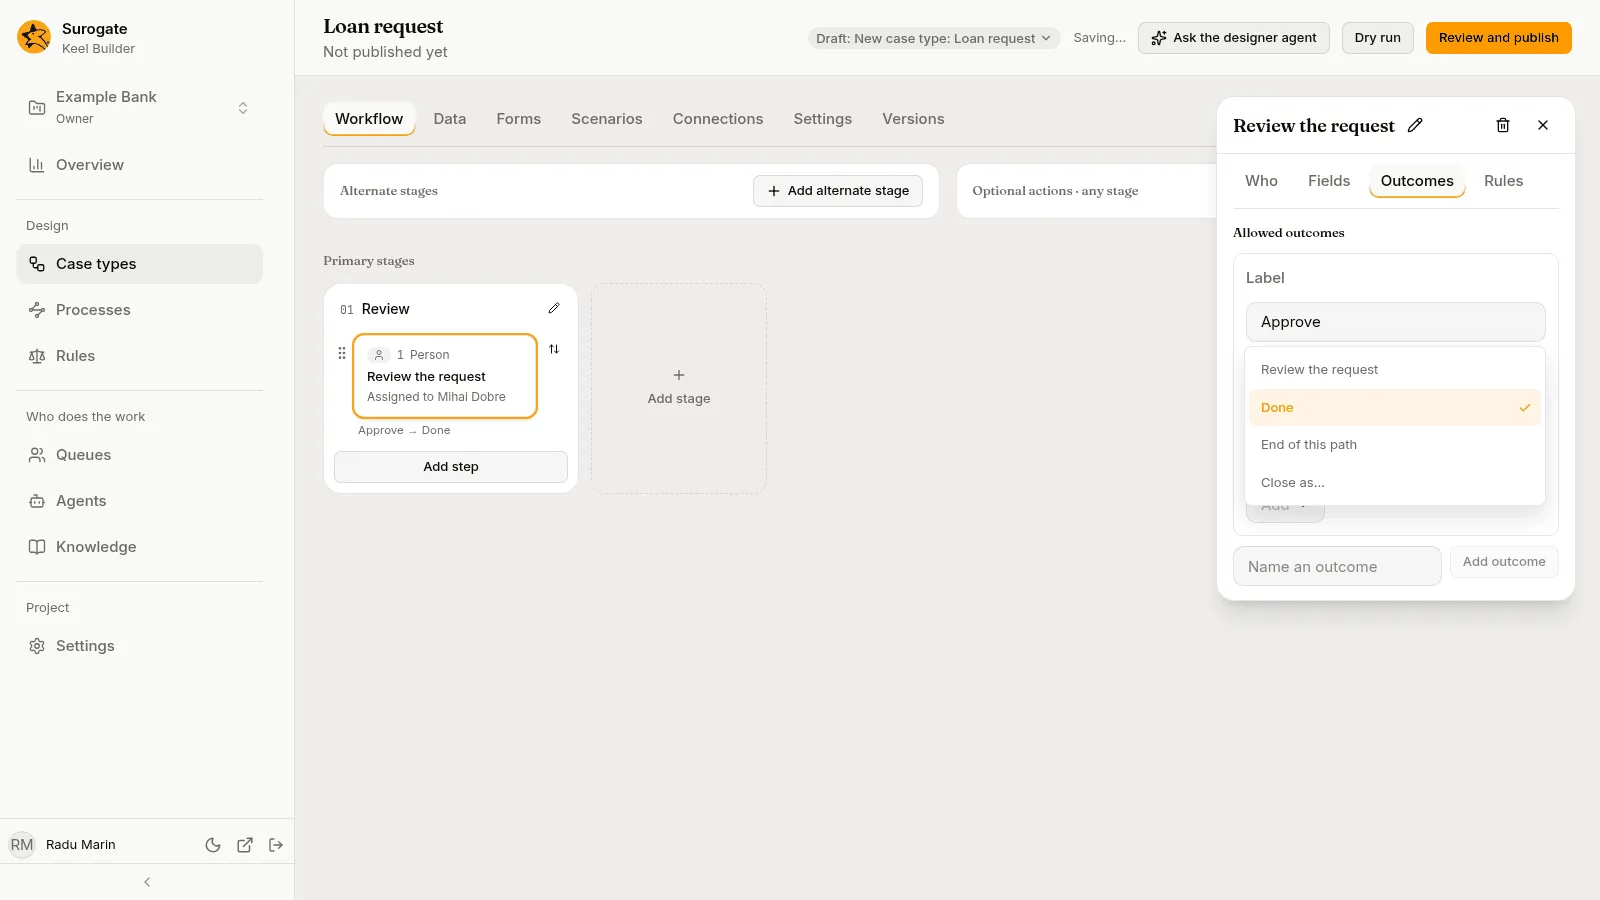
The Leads to menu open, with the choices Review the request, Done, End of this path and Close as… 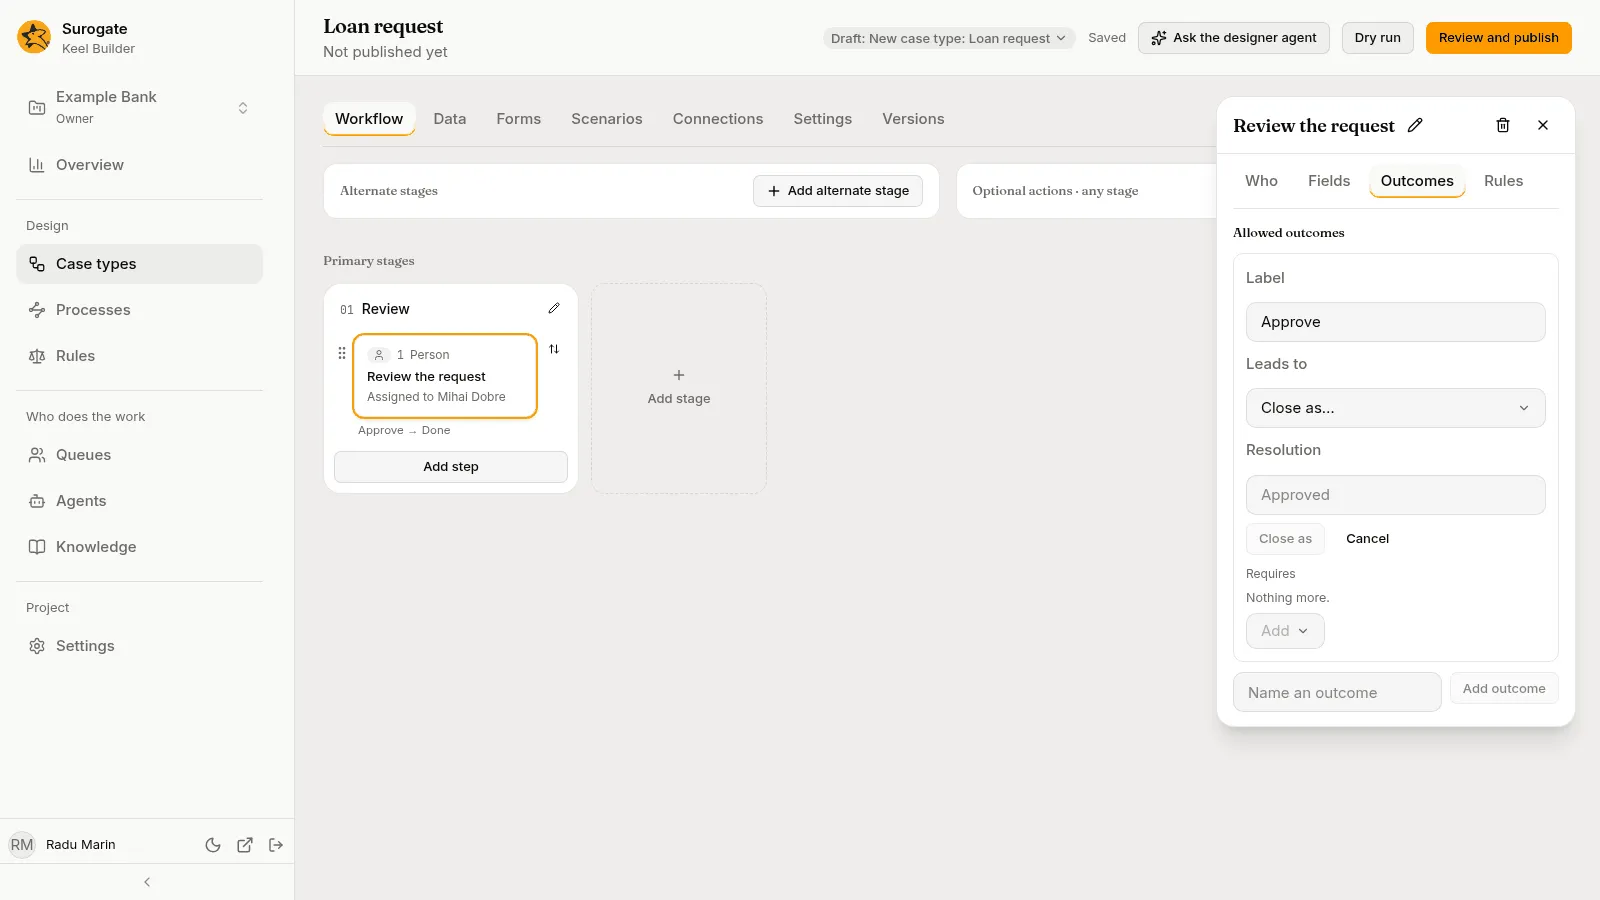
The Close as form: a Resolution field and a Close as button -
In Name an outcome, type
Declineand press Add outcome. In the new outcome’s Leads to, pick Close as…, typeDeclinedand press Close as.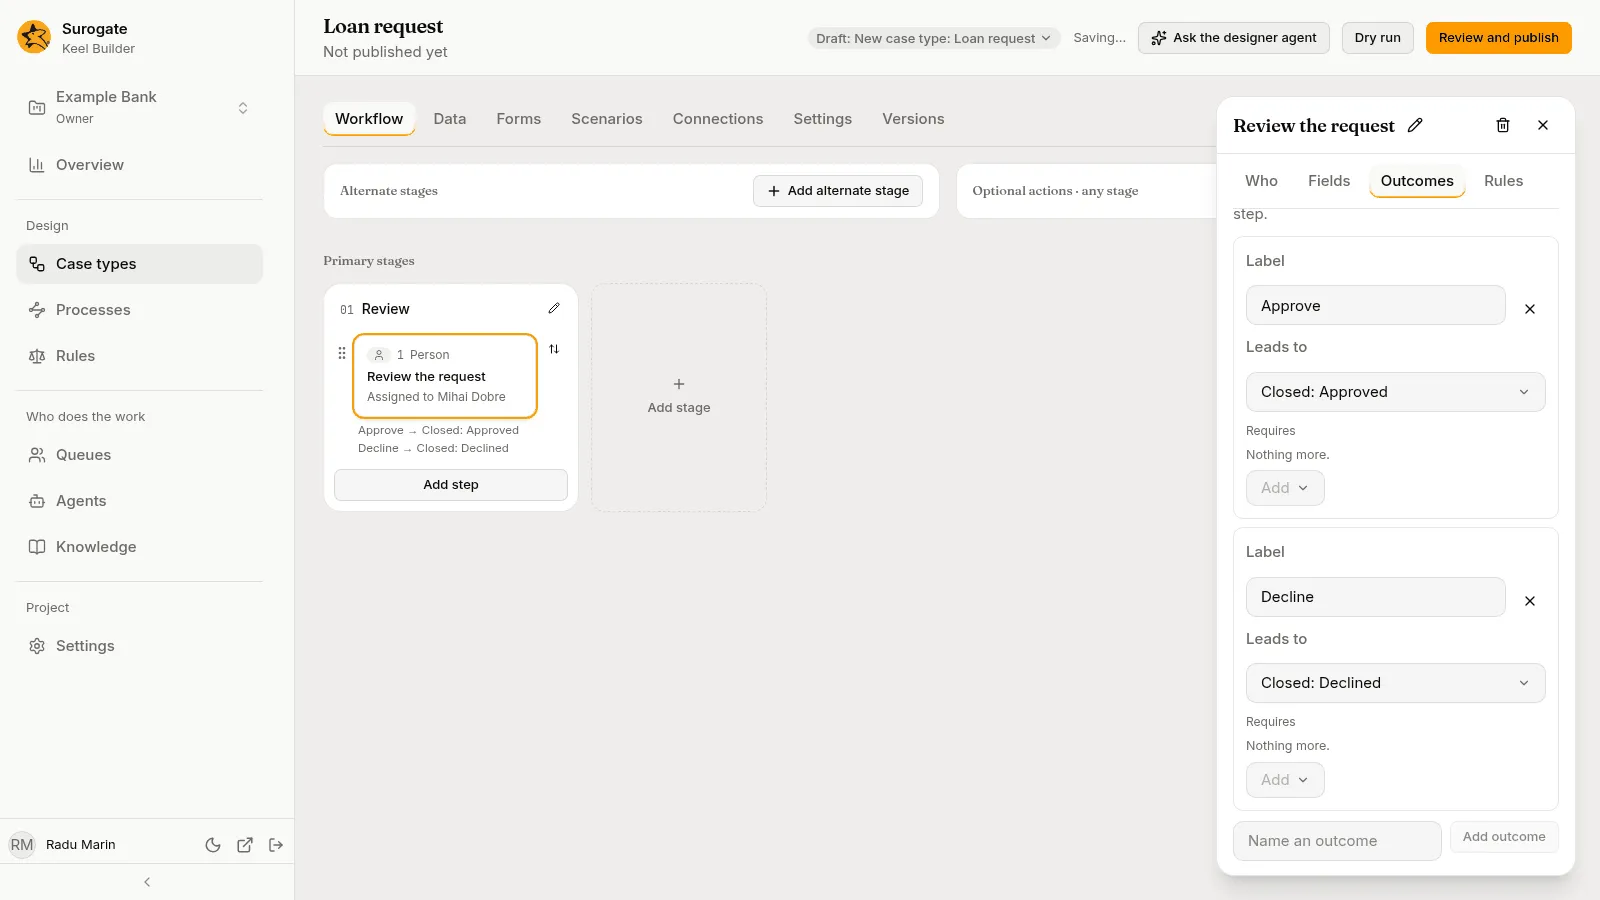
The Outcomes tab with Approve closing the case as Approved and Decline closing it as Declined
Close the panel. The card shows who it is assigned to and where each outcome leads.
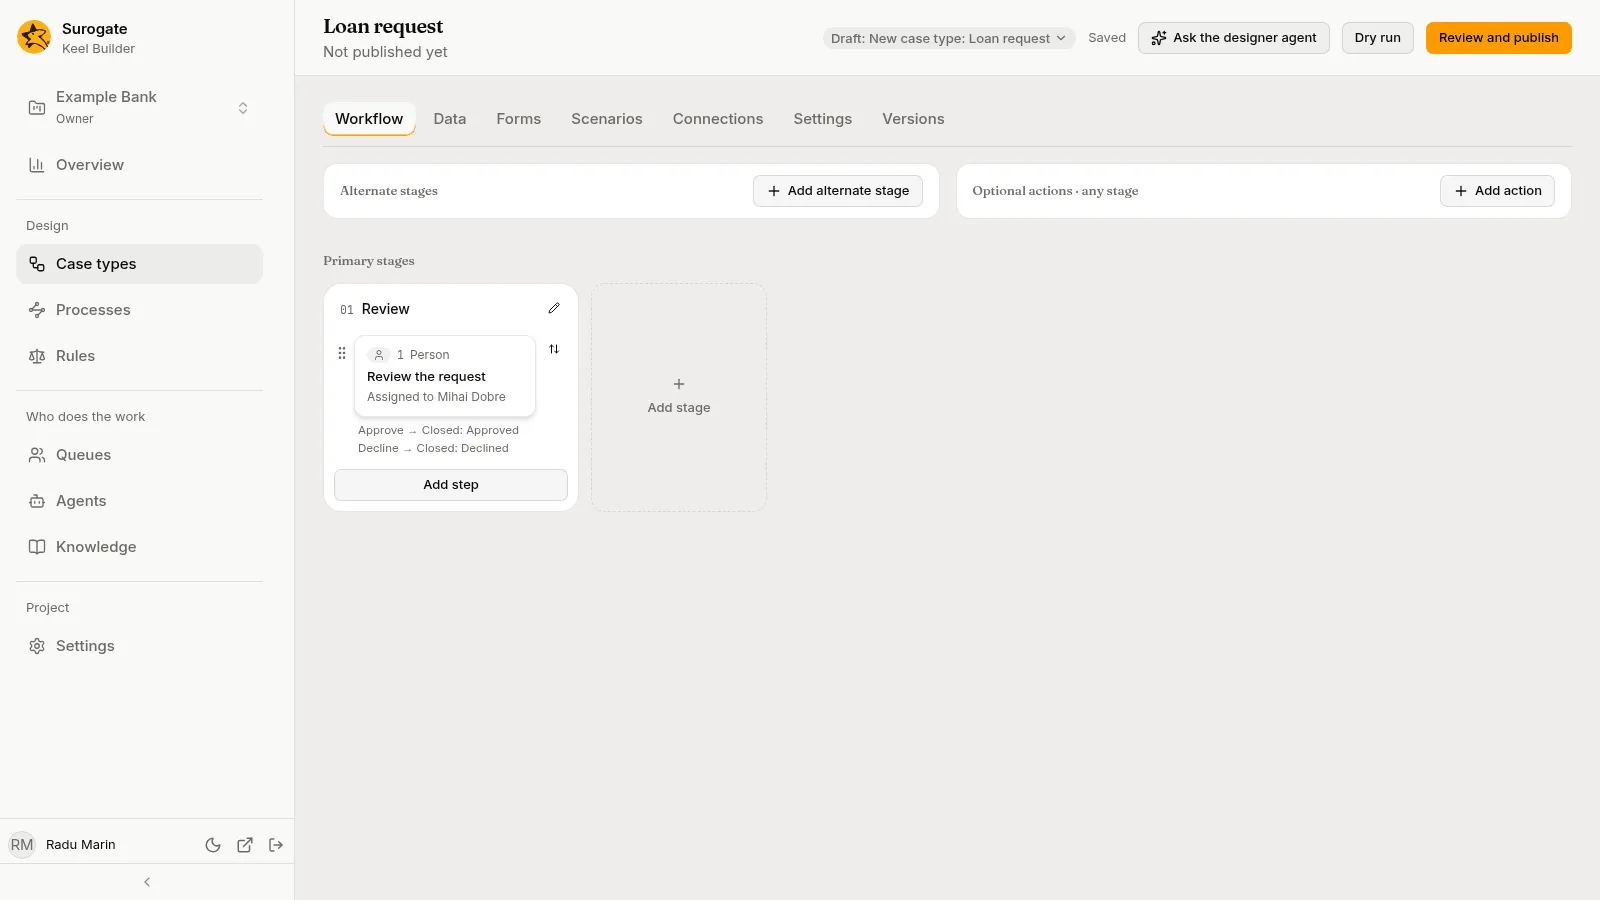
6. Dry run
Section titled “6. Dry run”Press Dry run in the page header. The panel says Checking the draft…, then No problems. Every scenario passed. This draft has no scenarios yet, so it says 0 scenarios played.
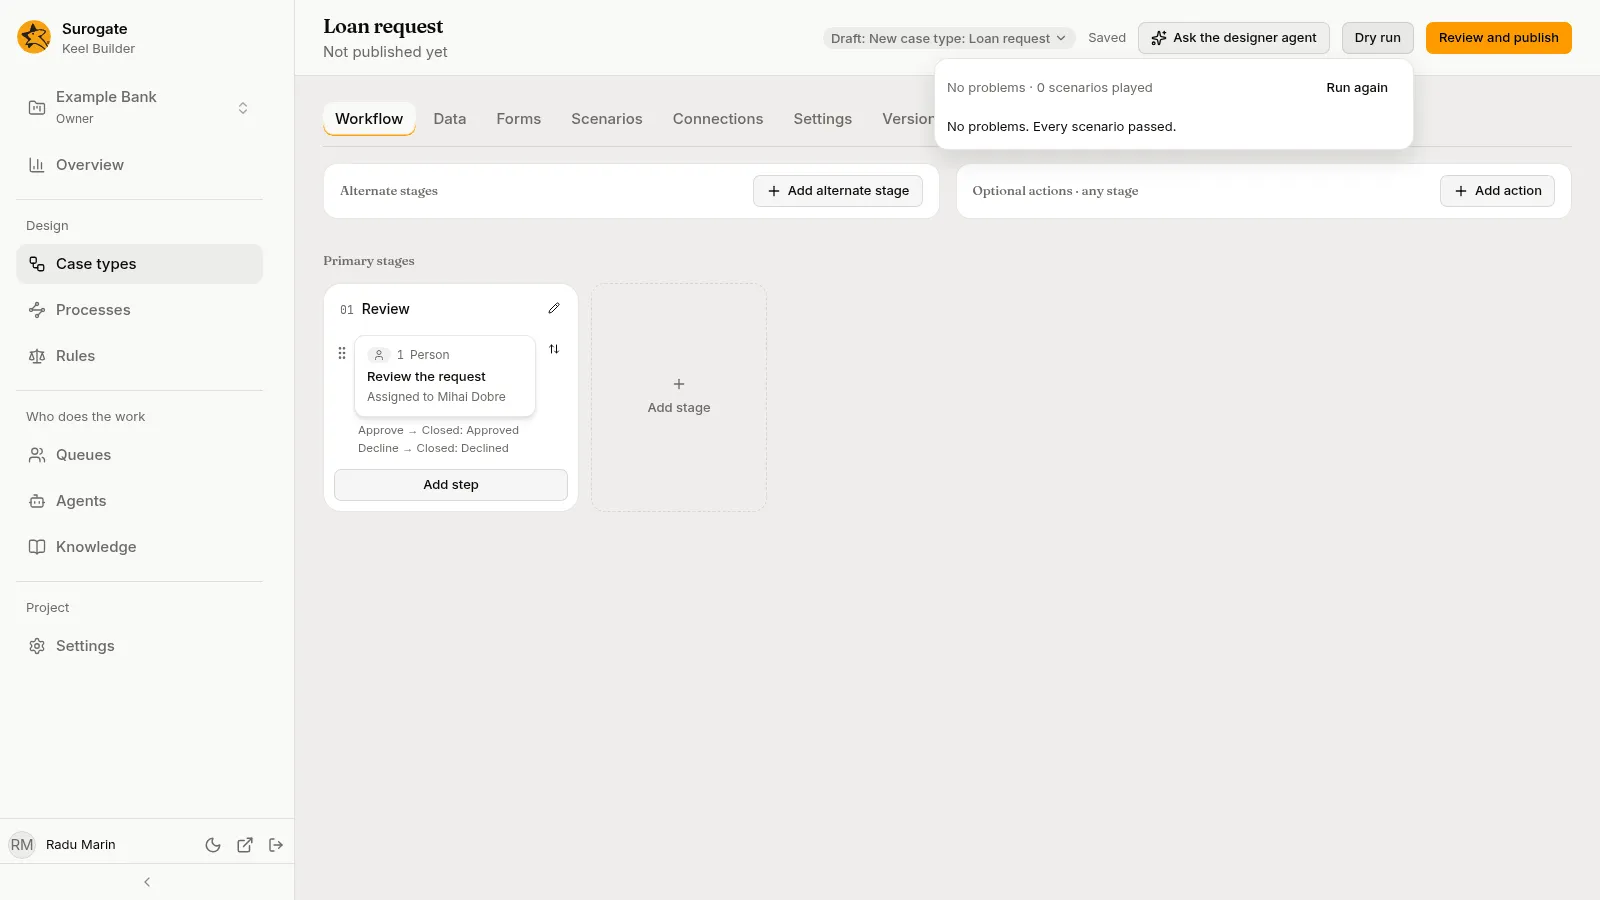
If it lists problems instead, each one links to its place in the designer. Fix them and press Run again. See Dry run and publish.
7. Publish
Section titled “7. Publish”-
Press Review and publish. The page lists What changes and runs the Checks again.
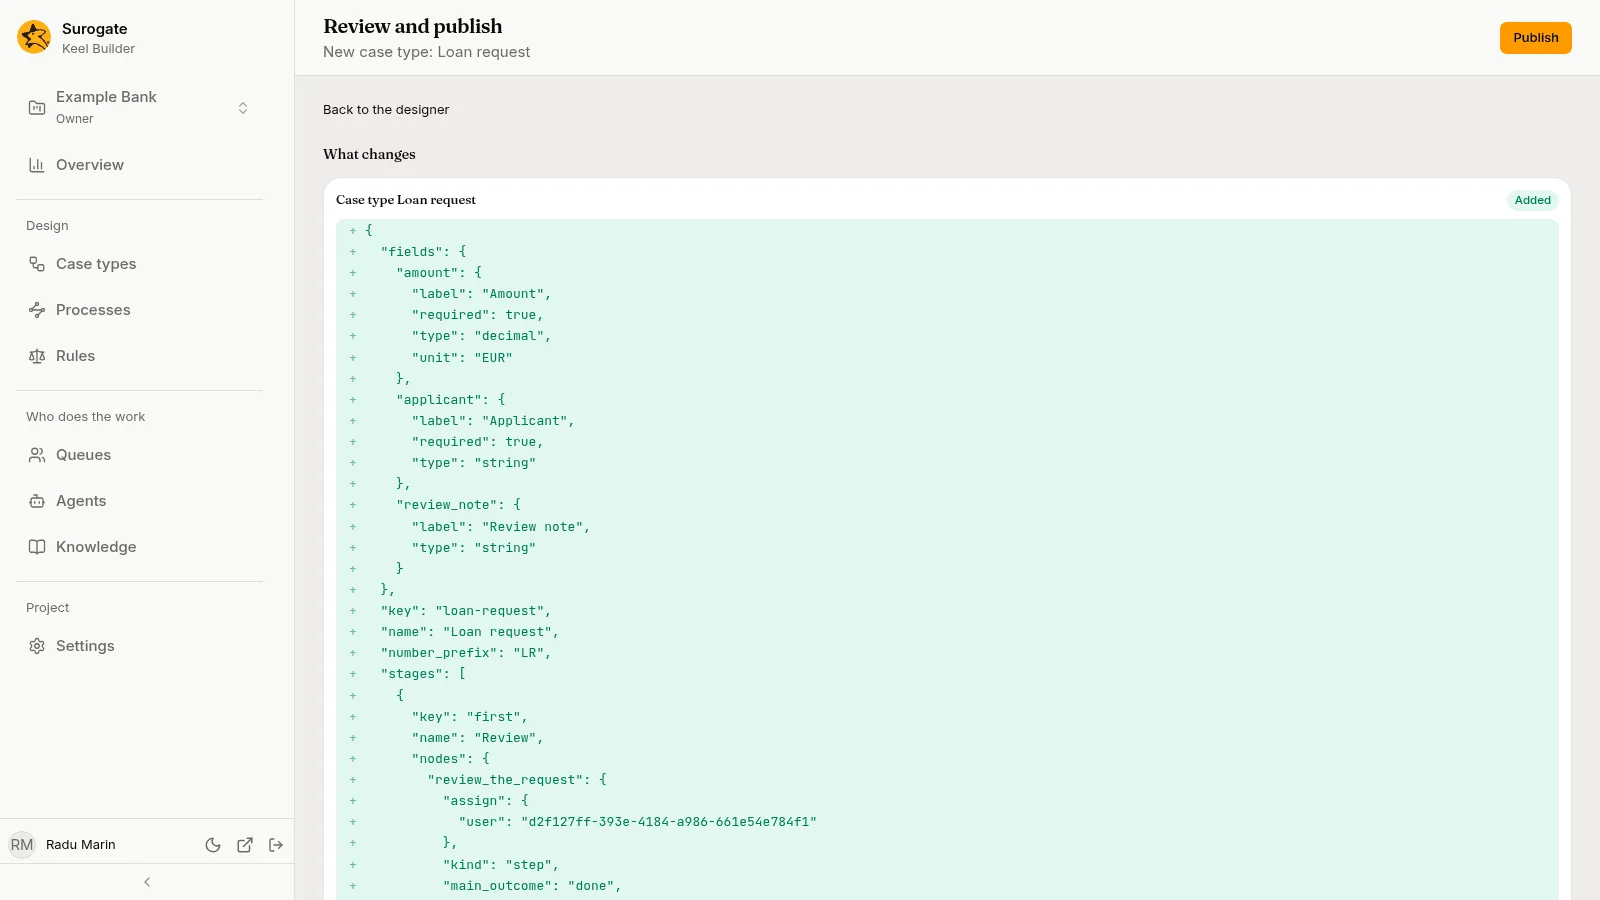
The Review and publish page: the Publish button in the header and the list of what changes -
When the checks pass, press Publish.
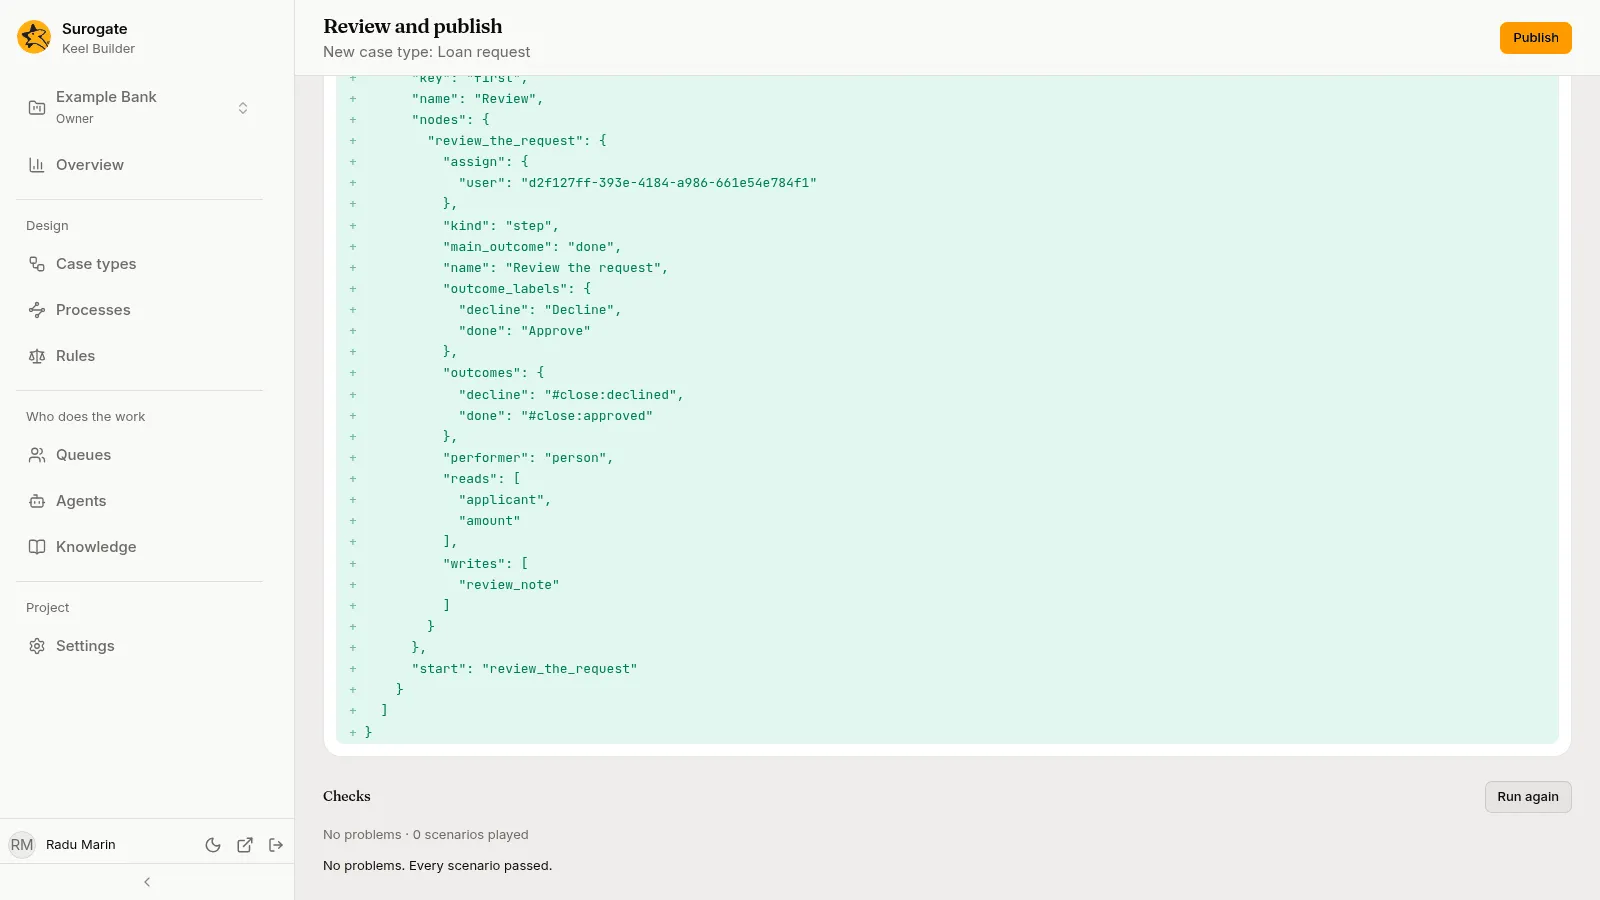
The Checks at the bottom of the Review and publish page: No problems
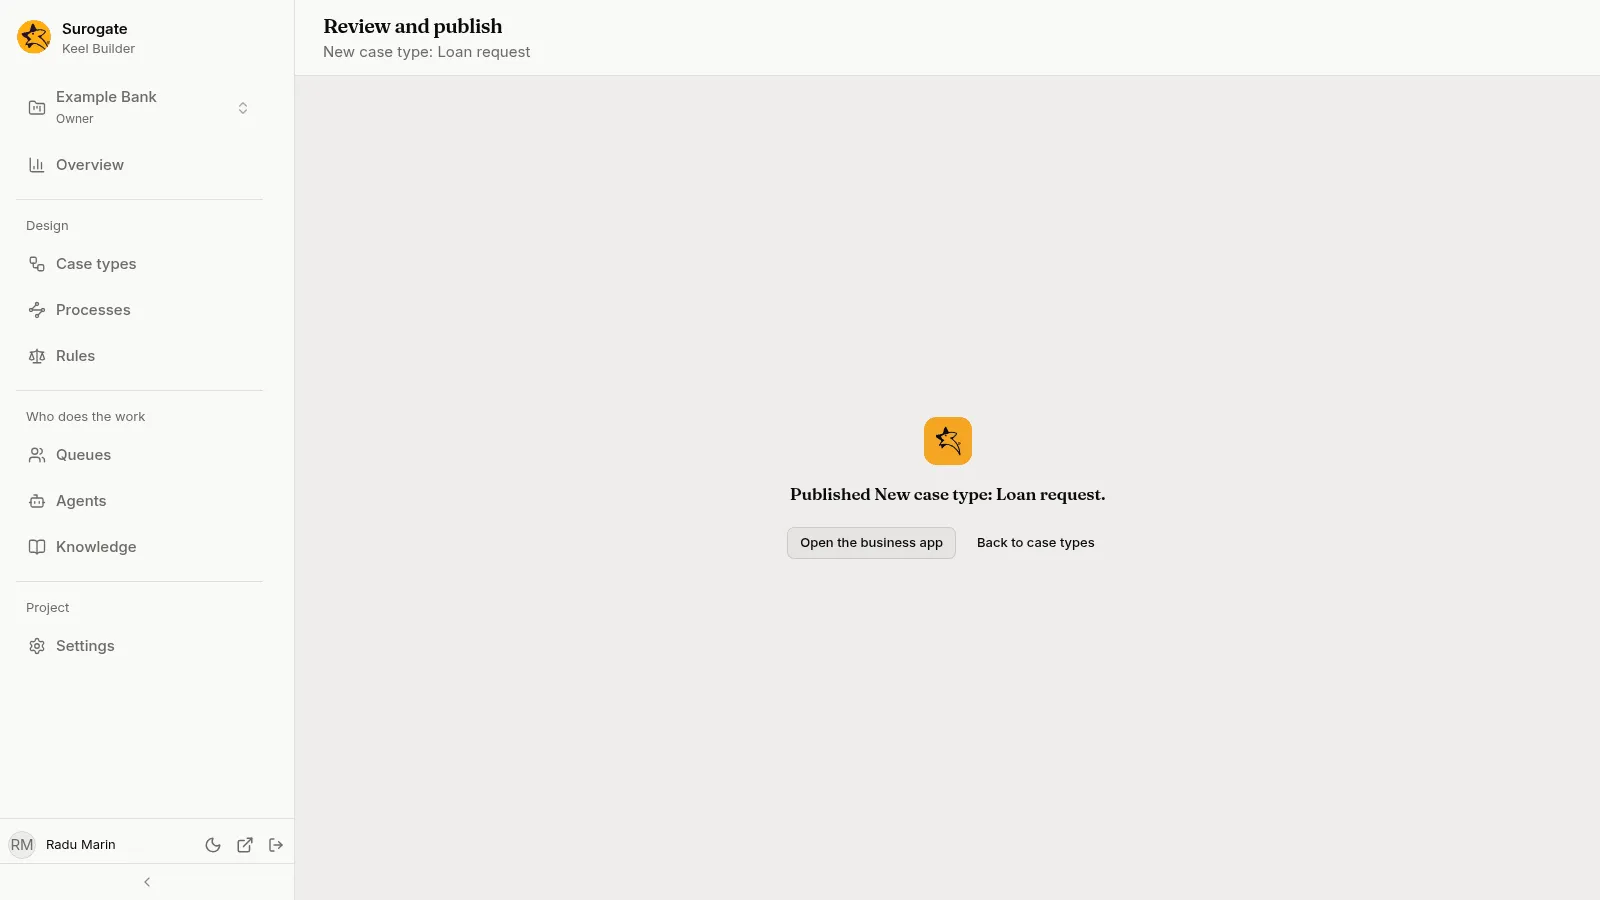
The page says Published with the draft’s title. Press Open the business app to go to the project’s Work page there, or copy the address from Keel Builder’s Settings page.
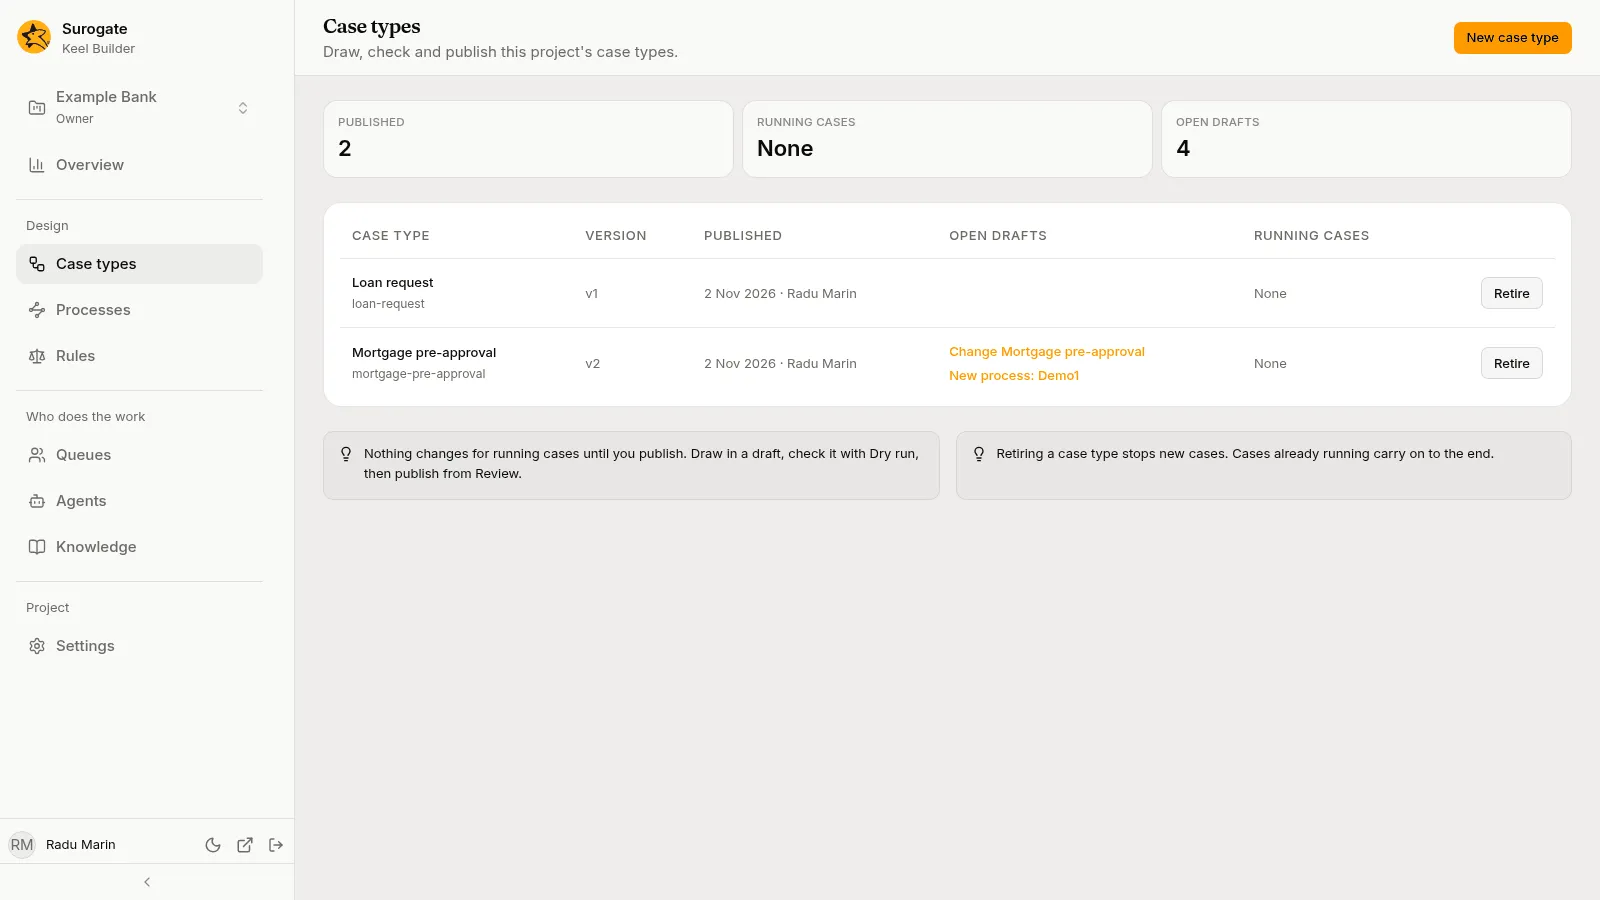
The case type now has version 1. It shows on the Case types page, and people can start cases of it.
8. Start a case
Section titled “8. Start a case”The person you invited does this part, in the business app. If they have not signed in yet, they open the set-password link, enter a Password, repeat it in Repeat the password, and press Set password. The app signs them in and opens Work.
-
Open Cases and press New case.
-
Pick Loan request. Fill in Applicant and Amount, then press Start.
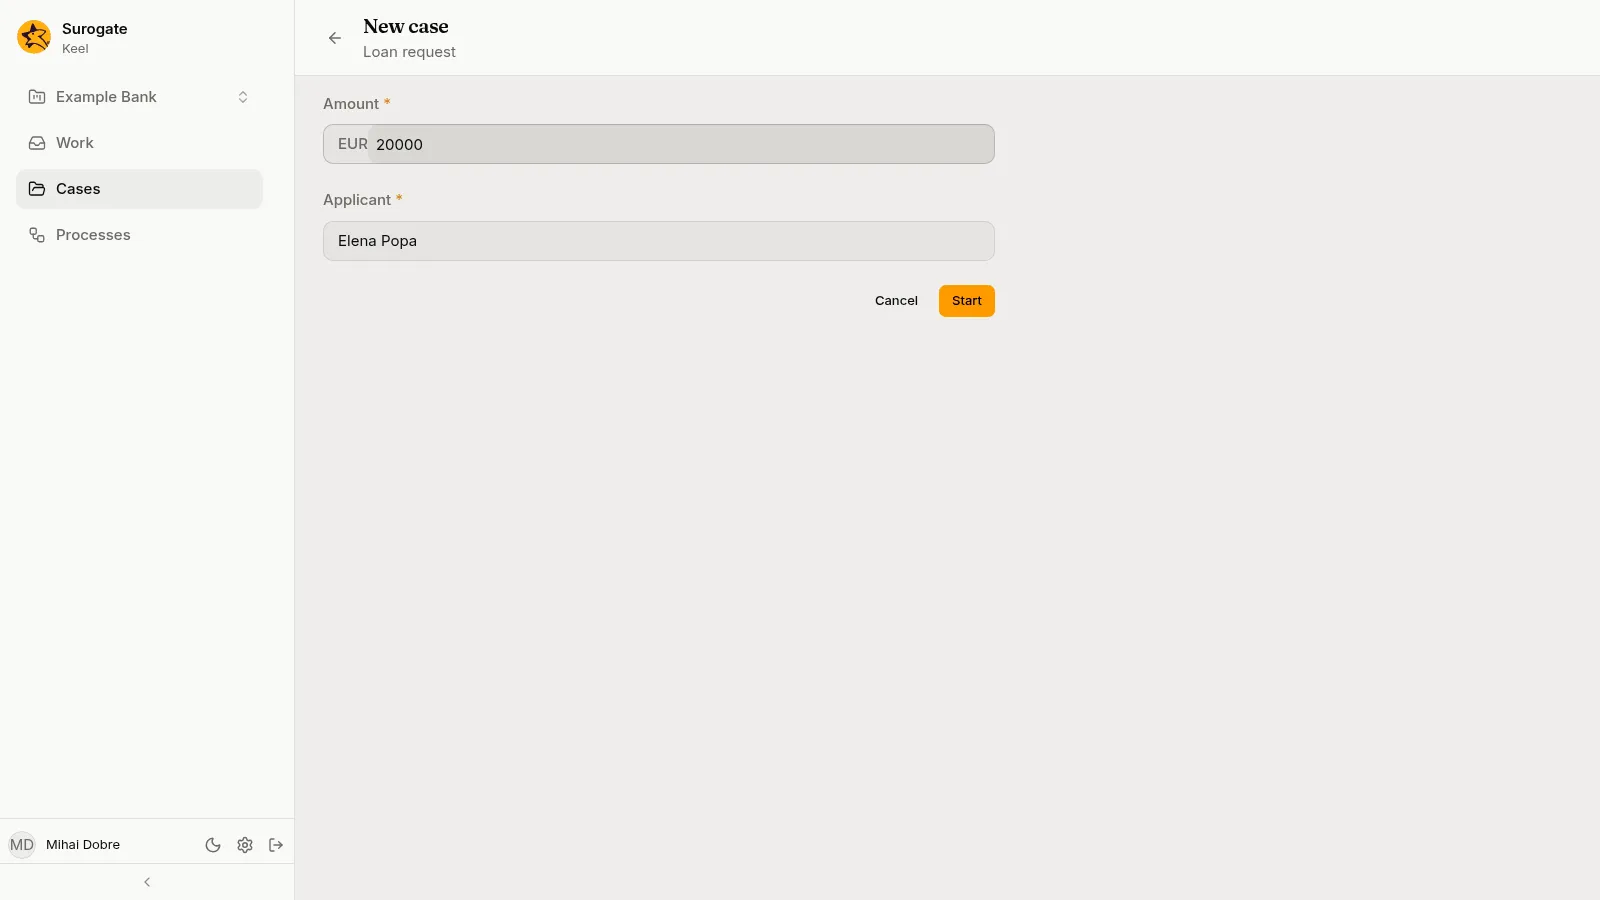
The start form of Loan request: Amount and Applicant filled in, with Cancel and Start
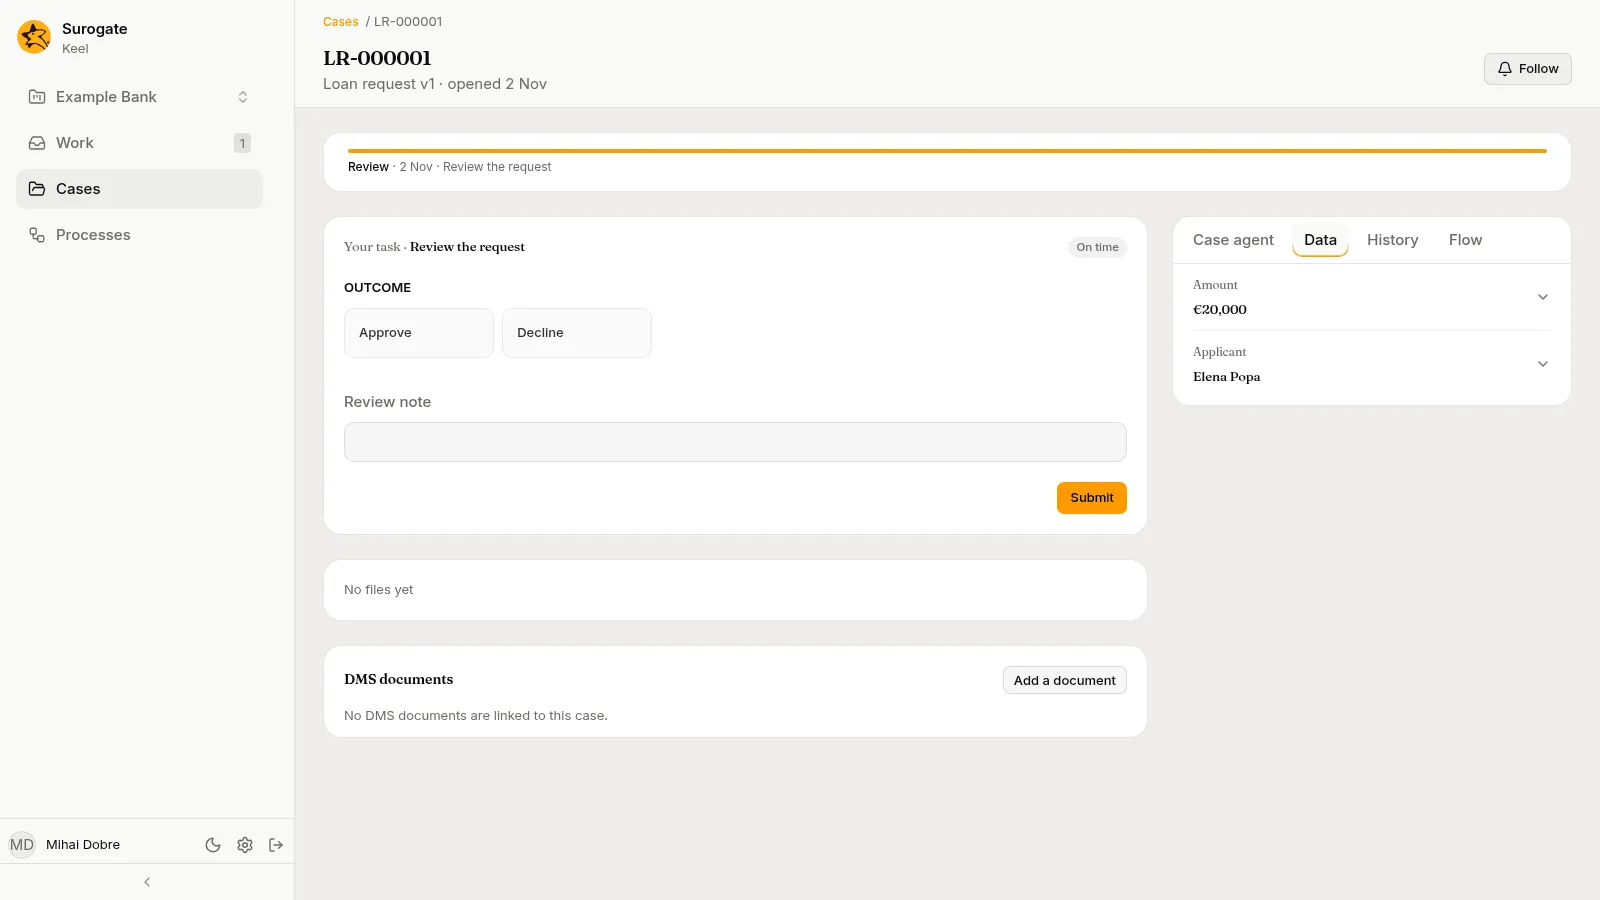
The case opens. The breadcrumb shows its number, LR-000001, and the stage bar shows Review.
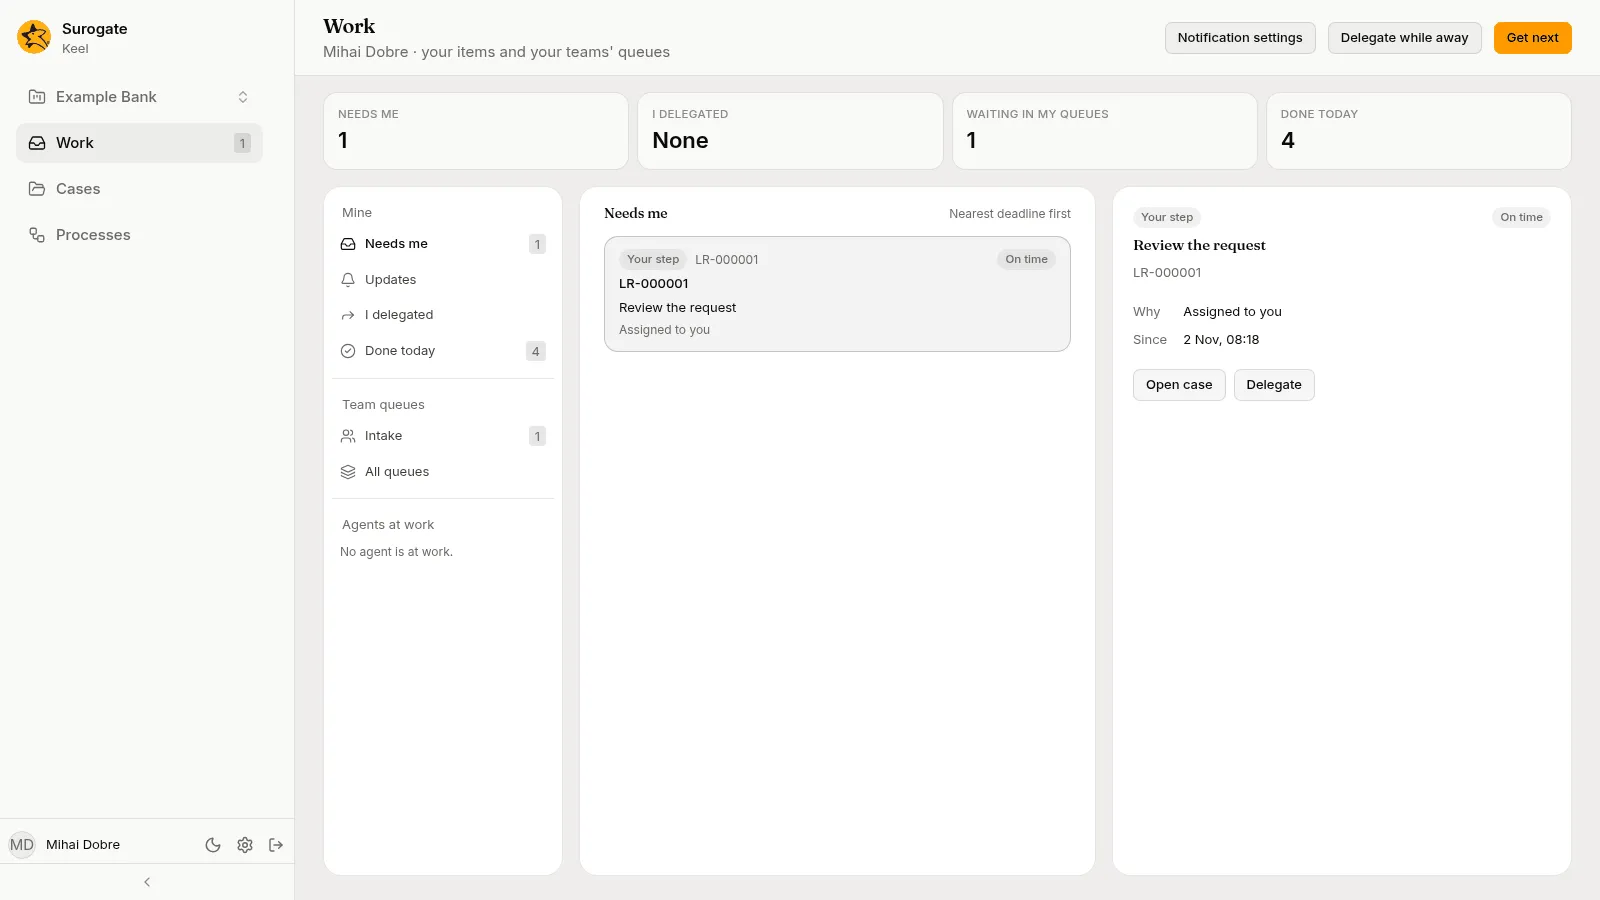
The step is also in the person’s Work page, under Needs me, because the step is assigned to them.
9. Work the step
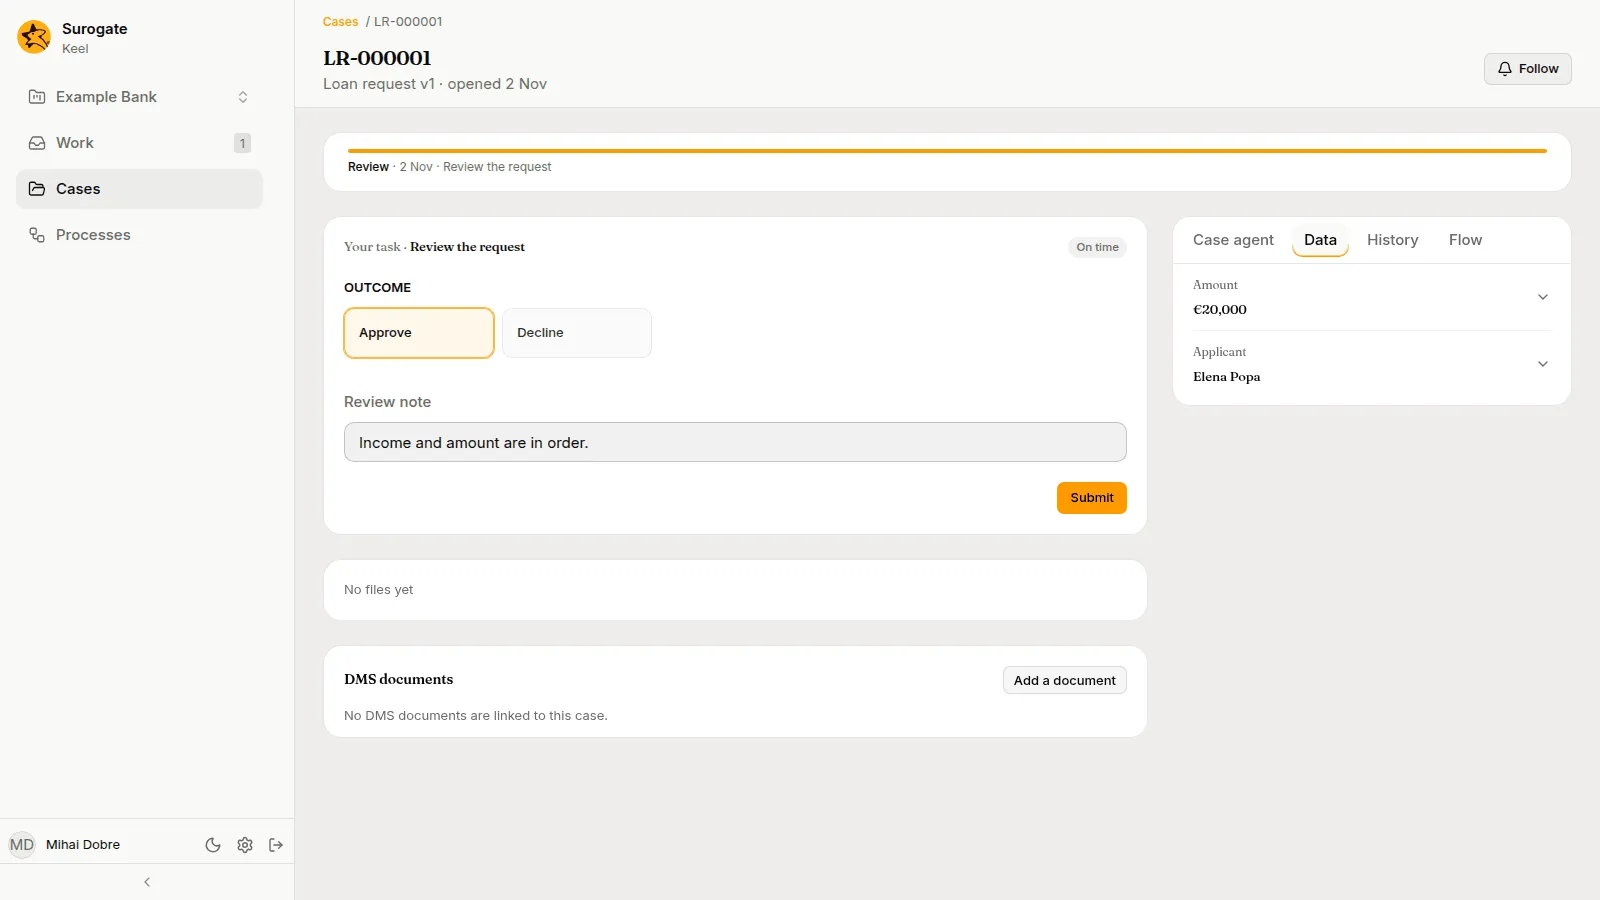
Section titled “9. Work the step”The case page shows a card Your task · Review the request.
- Under Outcome, choose Approve.
- Type a Review note.
- Press Submit.
The card goes away and the page says This case is closed.
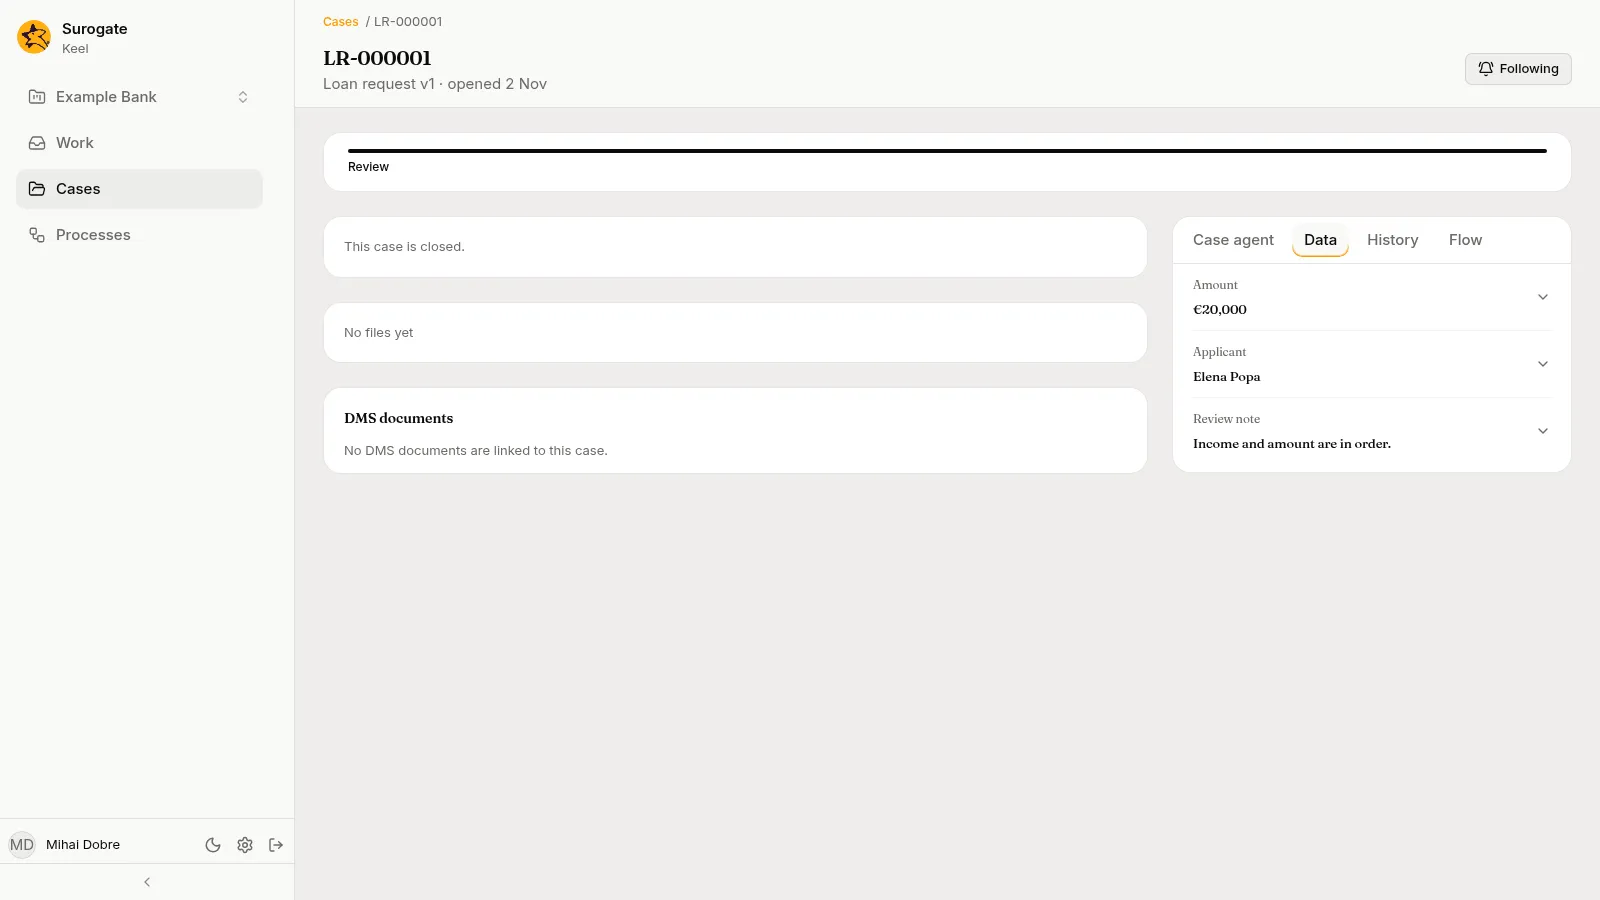
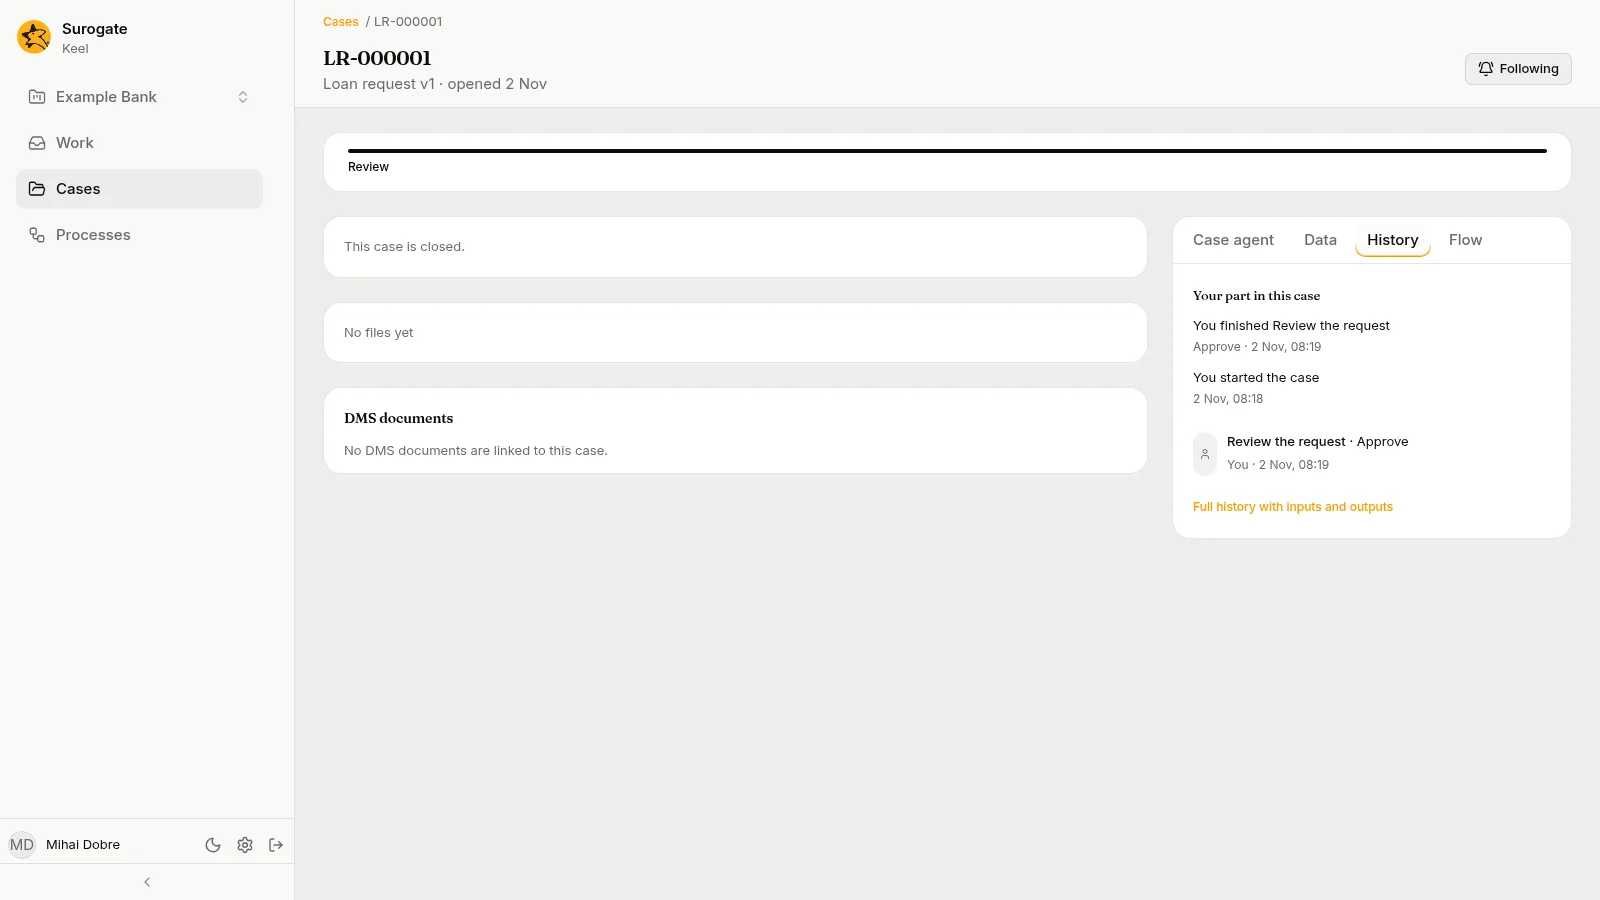
Open History in the side panel to see the step, who did it and its outcome. The side panel’s first tab, Case agent, is a chat with the project’s case agent about the case.
Next steps
Section titled “Next steps”- Continue with the quickstart for the business app: the pages the people who work cases use every day.
- Read Example: mortgage pre-approval to see a case type with agents, a decision, a vote and a committee.
- Add a queue and give the step to the queue instead of one person, so a team shares the work. Supervisors add the queue’s members on the Team page.
- Add a decision that sends large amounts to a second stage.
- Give a step to an agent, and see its work in the business app.
- Write a scenario so every dry run checks the path a case takes.
- Press Ask the designer agent in the designer, and draft a case type from your process documents with the designer agent.